Top

[Tips and Tricks] How to Print Protected PDF in 3 Steps?

PDFelement-Powerful and Simple PDF Editor

Get started with the easiest way to manage PDFs with PDFelement!

PDFs have now become a standard format for storing professional and personal documents. They are safe and easy to share, but what if you want to print protected PDFs? Printing a protected and secured PDF is as simple as unlocking files, providing that you know the complete step-by-step process and use the appropriate tool to do so.

Also, you can print the password-protected pdf only by putting in the right password, so you can open it and then move further to the printing process. If you are going to print the shared, password-protected PDF file, make sure you know about the owner’s password as well, if applied, to carry out the printing process.

Need help figuring out the tips and tricks to print a secured PDF file? Here, we have outlined a detailed step-by-step guide to executing the process within a few clicks online and offline.

Part 1: How to Print Protected PDF with PDFelement?

There are several methods to print protected PDFs, but we’ll root for none other than Wondershare PDFelement, and for several good reasons. This one-stop platform PDF editor is designed to handle all PDF-related functions in one place, thus eliminating the hassle of downloading other applications. It delivers high-end performance in the least possible time to save you time and effort.

The best part about using Wondershare PDFelement is its compatibility. It runs across all devices, including PC, mobile, or web, while supporting almost all operating systems, such as Windows, macOS, Android, and iOS. Its easy and straightforward interface makes the application ideal for beginners and novices who don’t have much experience using PDF editors.

In addition to this, it doesn’t require any internet connection to complete the job. Just download the app, open the interface, and execute the task. The software is launched to perform countless functions, so you can handle PDFs like a pro. These functions range from editing a PDF file, merging two PDFs, extracting pages, and creating a blank PDF to identifying objects through scanned documents, printing secured PDFs, safeguarding the file from unauthorized access, filling out the form, and anything in between.

So, are you ready to print a secured PDF file using Wondershare PDFelement? Here, we have mentioned a step-by-step guide to complete the process. Do not miss out on any of the steps to avoid last-minute hiccups.

Step 1 Choose Target PDF

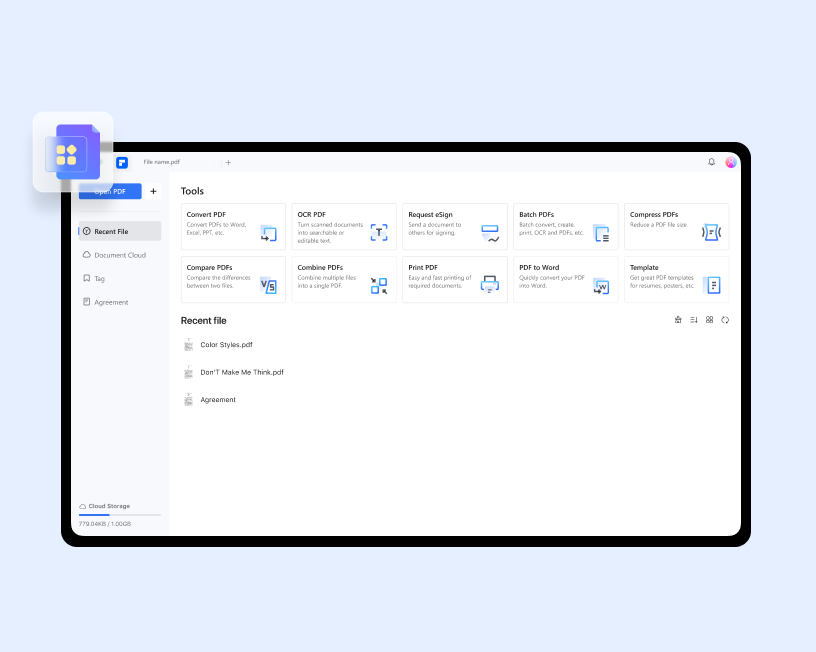
Before you jump into the printing process, download the PDFelement and follow the on-screen prompts to install it hassle-free. Once done, launch the tool on your system and click on the “+” button on the top to add the PDF file you wish to print.

Alternatively, you can click the “Open PDF” button in the left panel to browse the file explorer and select the target PDF. Users can also follow the drag-and-drop approach to save time and effort.

import the target pdf

Step 2 Open Protected PDF with Password

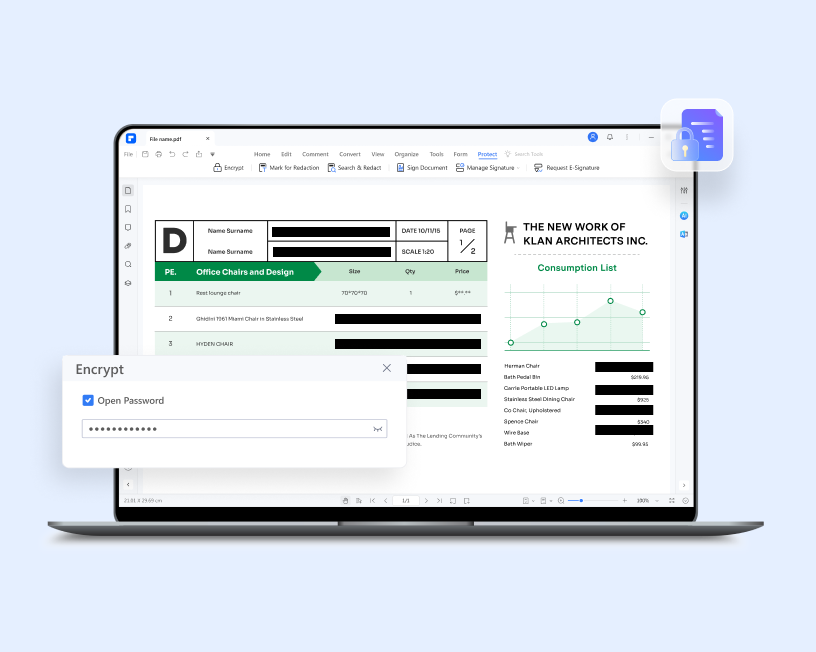
Since the file you are trying to import is password-protected, you must enter the correct password in the respective field to open it. Remember that the tool won’t open the file if you fail to provide the appropriate security code. You can also use Preset Passwords if already applied to the PDF file.

Once you put the password in the designated field, click on the Ok button at the bottom, and the file will open up instantly.

add the password to open the file

Step 3 Cancel the Password (Optional)

The next step is entirely optional and depends on your preferences. If you want to unlock the protected pdf and make it a standard file to make it available for everyone, you can cancel the password.

To unlock the PDF, you must go to the ‘Protect’ tab in the toolbar and click on the ’Set password’ option in the submenu.

click on the protect option

After that, uncheck the Open and Permission password checkboxes, then click ‘save’ to apply your settings. That’s how you can remove the password and make the file open for everyone.

remove the password from the pdf

Step 4 Print Protected PDF

As soon as you are done removing the password, it’s time to move to the final step - printing protected PDFs. For this, expand the File Menu and scroll down to the bottom to locate the Print option. Alternatively, you can also use the keyboard shortcut, Ctrl + P, to open the Print Dialog Box.

click on the print option

Adjust the printer settings if required, choose the number of copies, and get the secured file printed in a matter of seconds.

Part 2: How to Print Protected PDF Quickly Online?

While printing the protected PDF file using PDFelement or any other desktop software is simple and hassle-free, but what if you don’t have your PC at the moment? Well, if so, then don’t freak out, as there’s another way to execute the process. You can simply use an online tool, like HiPDF, to get it done.

However, before you blindly trust the process, it’s important to note down that HiPDF can only unlock the PDF file, but the final printing can be done through one of the desktop software, such as PDFelement, Adobe Acrobat, or any other based on your choice.

HiPDF is widely known for its simple and interactive user interface; hence, you can use it without a second thought. It is a browser-based application and thus compatible with almost all devices, operating systems, and with modern browsers. HiPDF is referred to as one of the safest online PDF editors to opt for. It takes care of the users’ privacy and assures them to delete the uploaded file within an hour of processing. Moreover, it process all files over the cloud storage, thus won’t affect the system’s performance.

Here’s how you can unlock the protected PDF file with HiPDF. Follow the instructions carefully to get the process done with ease.

Step 1 To initiate the unlocking process, launch the browser of your preference and enter the official URL of the HiPDF. Click on it and navigate to the homepage.

Step 2 Click on the All Tools tab in the menu bar and expand the drop-down menu. Select the Unlock PDF option, and a new window will appear on the screen.

Step 3 Tap on the Choose File button to select a protected PDF file. You can either import the file through the computer’s file explorer window or from cloud storage, like Google Drive, Dropbox, etc. You can also drag the file from a specific folder and drop it into the interface for quicker access.

choose the locked pdf file

Step 4 As soon as you are done importing the protected file, you will be asked to enter the appropriate password to unlock it. Make sure you put in the correct information.

Step 5 Now, tap on the “Unlock” button and wait for a few seconds to complete the process.

Step 6 Once done, click the Download button to save the unlocked PDF to the designated folder.

Step 7 You can then print the unlocked pdf with any printer, like PDfelement or Adobe reader, etc. If you use the PDFelement, then simply launch the tool, import the unlocked PDF file, and click on the Print option to get the process done.

Part 3: Edit Protected PDF Like Word File Before Printing

Now that you are aware of the process of printing protected PDFs, it’s time to learn how to edit password-protected files before printing. It’s no secret that PDFs are hard to edit, especially if you don’t know about the rightmost software to do so. And the problem multiplies by manifolds if the file is password-protected and secured.

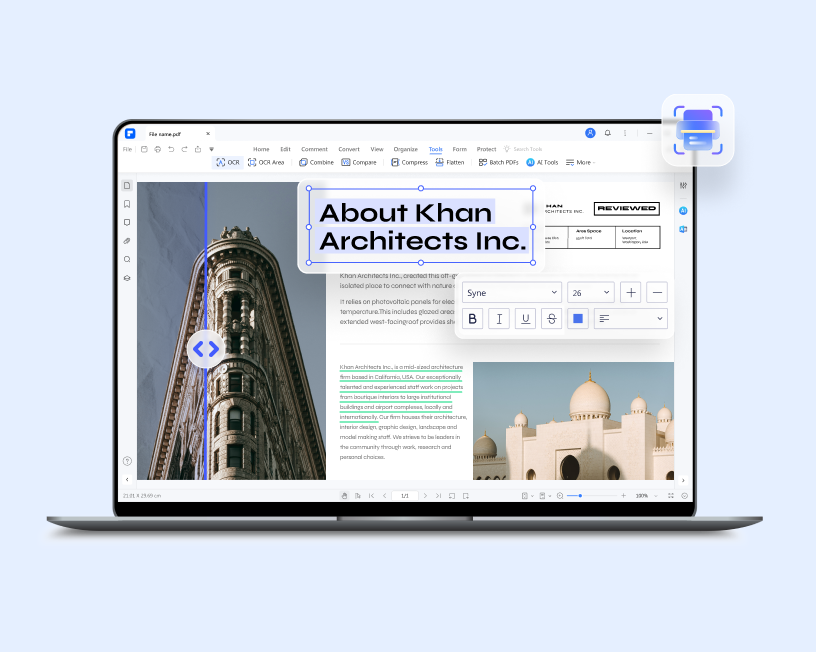
In that case, you must use a prominent PDF editor that lets you edit protected PDF files easily. One such option is Wondershare PDFelement. In addition to unlocking your PDF and printing it, you can also use this tool to make necessary edits, such as adding an image, link, or watermark or changing the font style, color, and size, based on your preference.

edit the protected pdf file with pdfelement

In addition to it, you can use Wondershare PDFelement to edit text with the same formatting, modify text alignment and space, and run the built-in spellcheck. There are several ways to edit a PDF file with this application, such as you can either convert the PDF to an editable word and make editing a breeze, or you can edit the PDF page directly from the interface.

The editing is not just restricted to the font or adding images but opens up various options, like splitting the PDF into multiple parts, deleting the specific page that’s no longer needed, or rotating the PDF file or its content. Another best thing about Wondershare PDFelement is that it allows users to edit PDF forms as well. You can use the tool fill and create fillable forms in your PDF within a few clicks.

Follow the 3 simple steps and edit password-protected documents with the PDFelement like a pro.

Step 1 Import the file to the interface and enter the correct password to access it.

Step 2 Click on the Edit button in the toolbar, and select different editing options from the menu bar, such as adding text, image, watermark, background, and many more.

Step 3 Expand the File menu and click Save or Save As to export the edited file to the designated folder. Or you can use Ctrl + P to print protected PDF files instantly.

You may also like
Top 5 Methods in How To Print Your PDF as a Poster

Explore the top five methods to easily convert your PDF documents into stunning posters. Learn tips and tricks for high-quality poster printing.

4 Methods To Create PDF Booklets Like A Pro

Suppose you have a PDF that you want to convert into a small booklet, but you don't know how. This article will reveal four easy methods to create PDF booklets.

How To Arrange PDF Pages for Booklet Printing

Ensure proper arrangement of the booklet page order while designing booklet pages to provide a beautiful, professional look and feel when printed.

How to Print Specific Pages of a PDF with Online and Offline Methods

Read on and find a complete guide on how to print one page of a pdf in offline and online mode.

How to Print Back-to-Back PDF or Front-and-Back PDF

Want to print a double-sided PDF? Here’s a complete guide on how to print back to back pdf easily.