
How to Print with Bleed Marks
Bleed marks guarantee that the printed content extends beyond the trim area while preventing white edges when cutting. With PDFelement, you can access the bleed marks option and set the appropriate page range. In addition, it allows users to choose the print mode according to the size, poster, multiple, and booklet. Adhere to the guide and ensure that the trimmed document has no unwanted white margins:
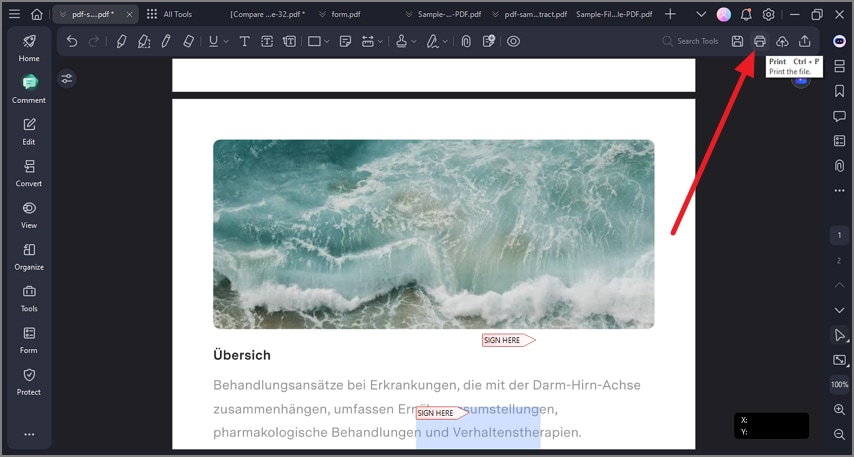
Step 1
After opening the document within the tool’s interface, head to the top-right corner of the interface and press the “Print” icon from there.
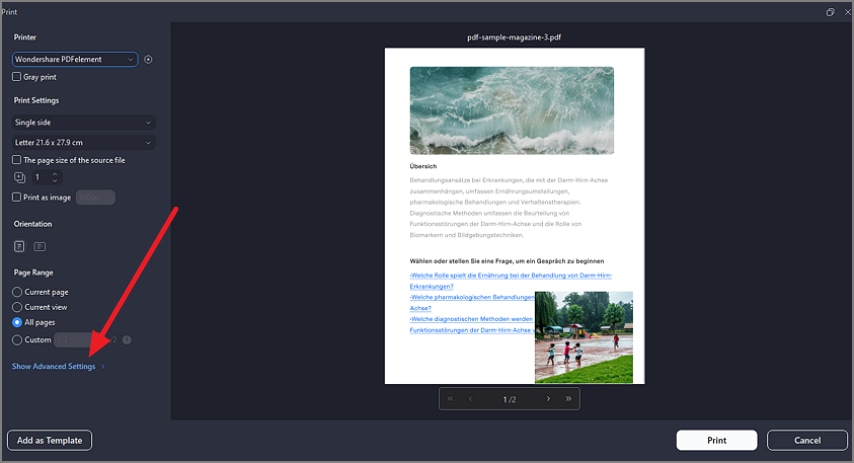
Step 2
Next, head to the left section of the enabled window and configure your settings. Press the “Advanced Settings” option to proceed with the process.
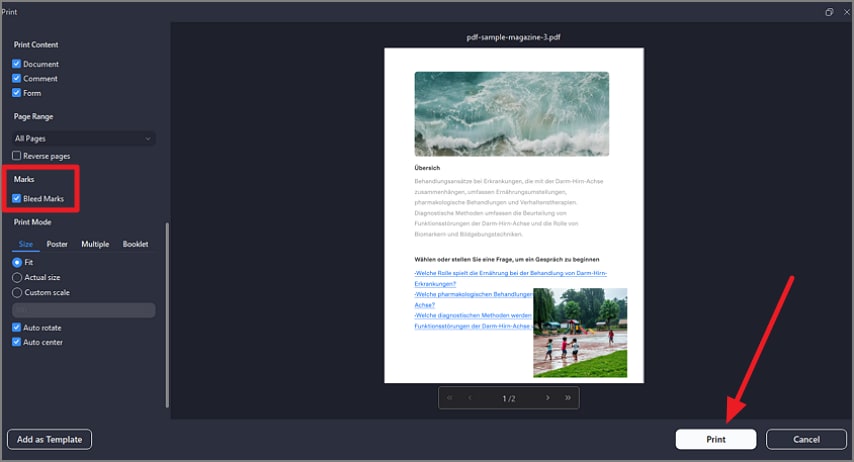
Step 3
Scroll through the section and tick the “Bleed Mark” checkbox available under the “ Marks” section. Finally, press the “Print” button to successfully print the document with bleed marks.
```