How to Add a Time Stamp to a Document
PDFelement provides dynamic stamps that can include the current date and time, which can be inserted anywhere in a PDF for purposes like a signature. Users can also add digital timestamps linked to trusted time stamp servers to certify the exact time an electronic signature or document action occurred, ensuring the timestamp cannot be altered or tampered with. Consider the steps provided next to learn how to add the timestamp using the tools.
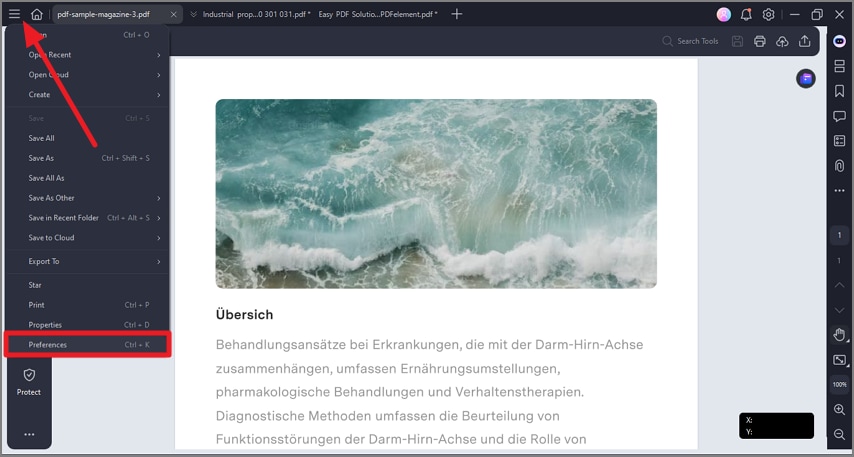
Step 1
Start by importing the document within the tools’ interface and click on the “Three Bars” icon located at the top-left corner of the interface. Head to the bottom of the options and press the “Preference” option.
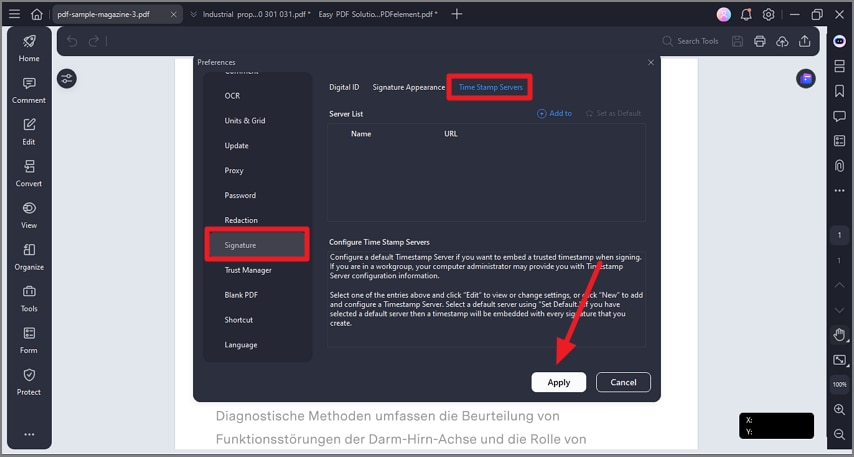
Step 2
Next, access the “Signature” option from the left panel and enable the “Time Stamp” server section. Now, add the server and press the “Apply” button to successfully configure the settings.