How to Add Stamps to PDF
PDFelement’s stamp feature provides users with a flexible way to add predefined or custom stamps to PDFs for enhancing document workflow and communication. It offers various types of local stamps, such as Standard, Dynamic, and Digital Stamp. Users can also create custom stamps by uploading images or designing their own graphics, which can be used repeatedly across documents.
Moreover, you can sync the stamps from other devices and apply them to your PDF document. To learn how to add stamps to your document, read the steps mentioned below:
Add Local Stamps
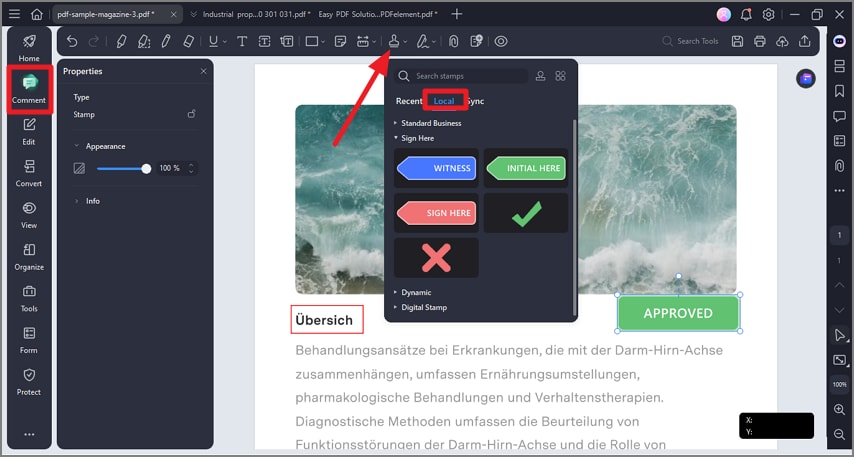
Start by launching PDFelement and opening the document within its interface. Next, click on the “Comments” option from the sidebar on the left and enable the “Stamp” icon from the toolbar at the top. Now, access the “Local” section and choose the stamp of your choice. Apply it to the page, and customize the appearance from the panel enabled on the left.
Create Custom Stamp
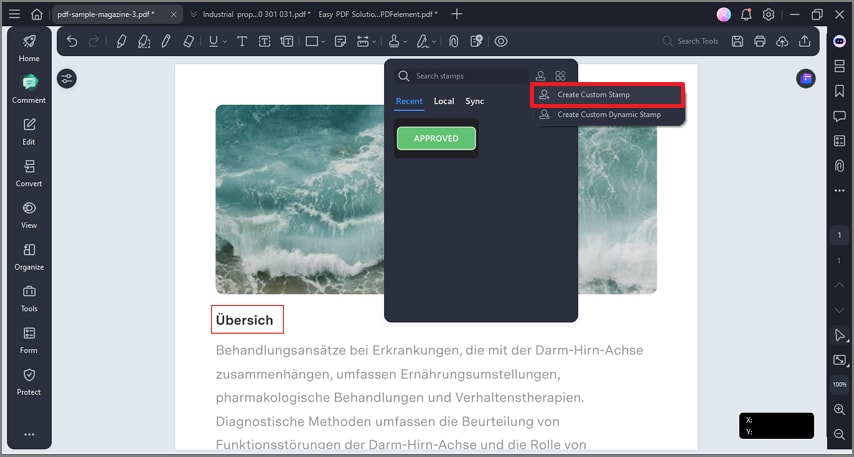
Step 1. To create your custom stamp, access the “Stamp” section and click on the “Stamp” icon. Next, opt for the “Create Custom” icon and click on it.
Step 2. Click on the “File” option and add the stamp from your device’s storage. Set up other configurations and hit the “OK” button located at the bottom. Now, apply the created stamp by accessing it from the category you added.

Manage Custom Stamp
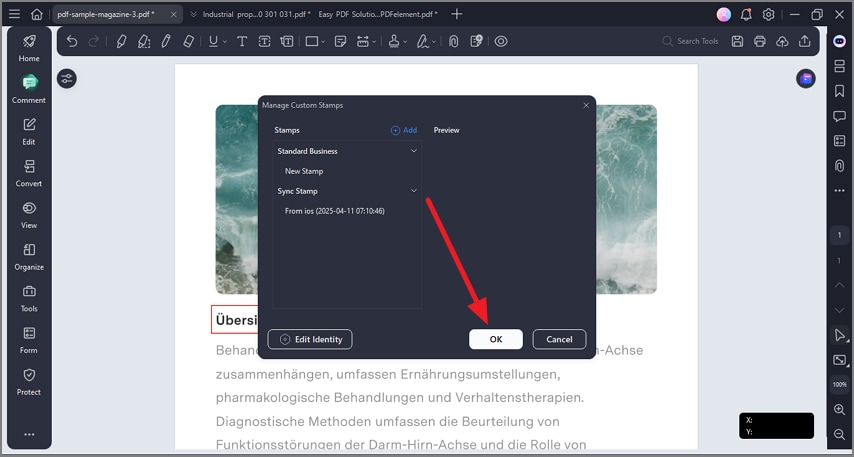
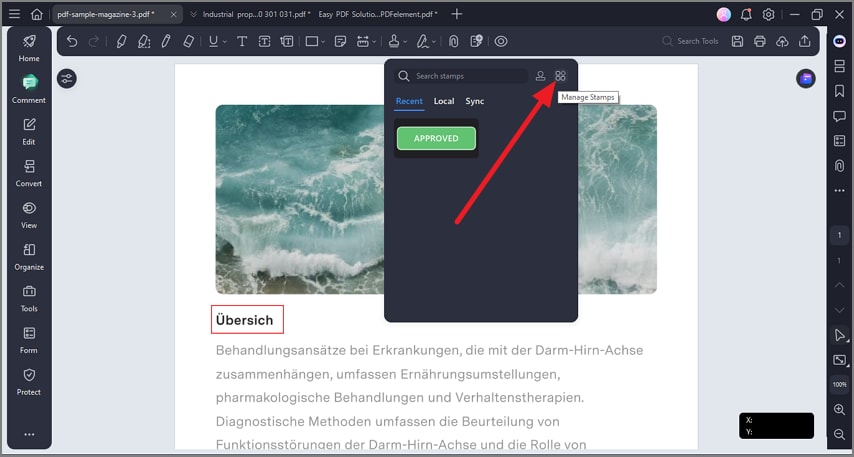
Step 1. After accessing the “Comment” toolbar, expand the “Stamps” option and press the “Manage Stamps” icon located at the corner.
Step 2. In the following small window, configure the settings and press the “OK” button to confirm the settings.