How to Use Intelligent Image Editing
The Intelligent Image Editing feature provides functionalities such as background removal, object erasing, image upscaling, and generative fill, allowing users to enhance and customize images directly in their PDFs effortlessly. Users can adjust image opacity, rotate or flip images, and apply intelligent edits that seamlessly integrate with other PDF content.
To learn how to edit the image in your PDF using the Smart Image editing feature in PDFelement, read the steps mentioned below:
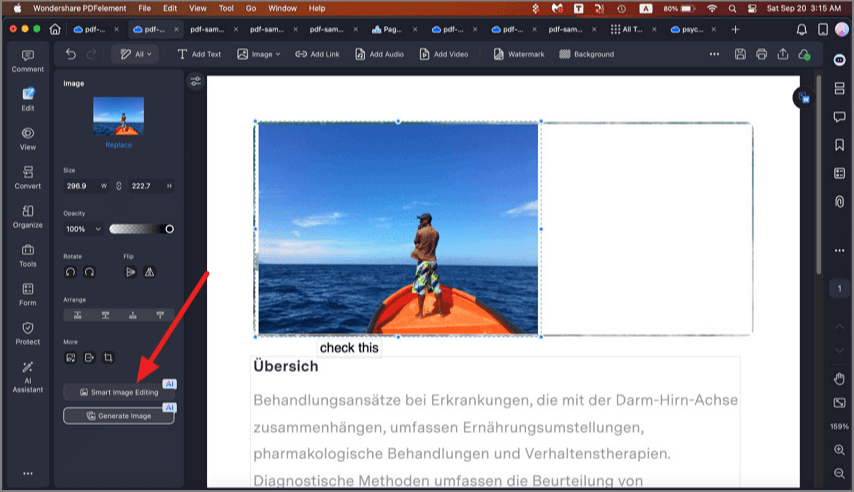
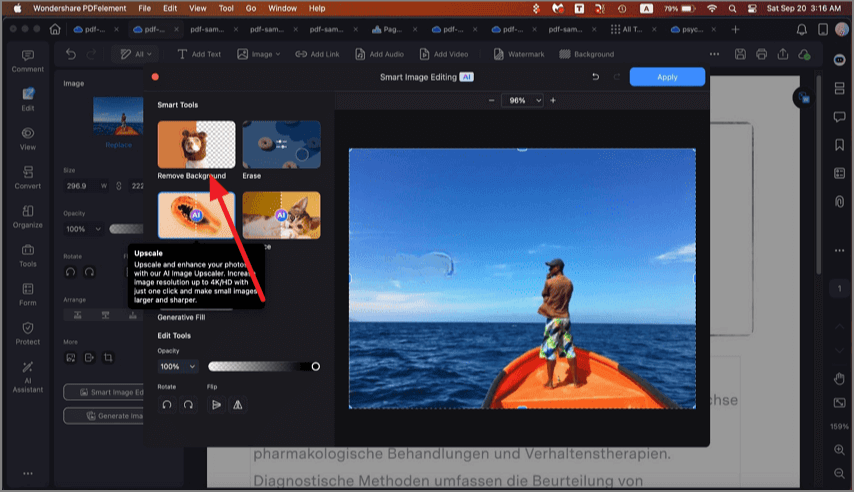
Step 1. After opening the document within the tool's interface, click on the image you want to edit. Now, press the "Smart Image Editing" button located on the left side panel.
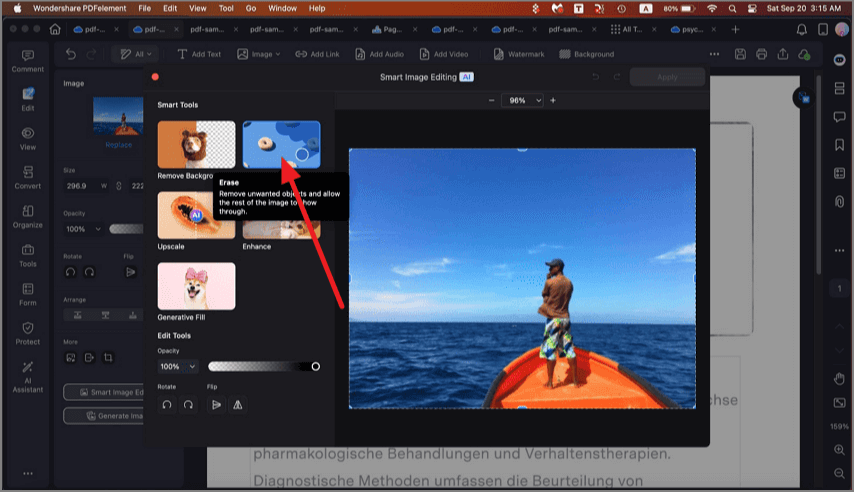
Step 2. In the following interface, press the "Erase" tab to automatically remove any object from the image.
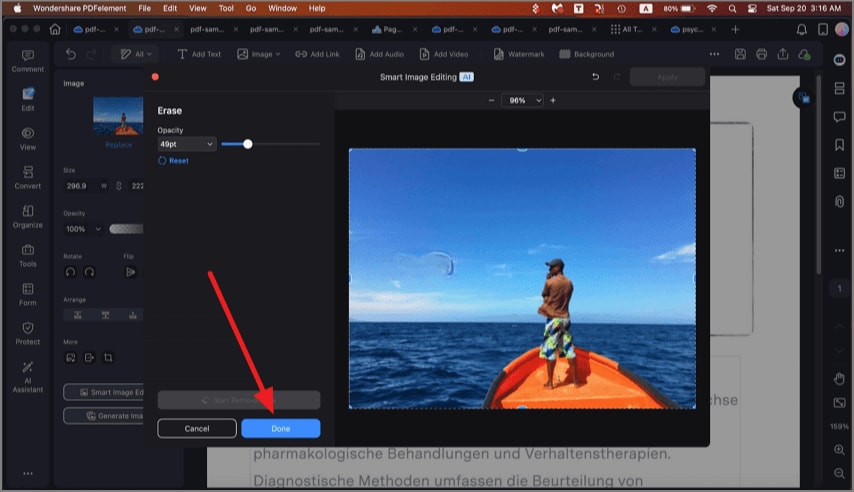
Step 3. Select the part you want to remove by grading the cursor over it and press the "Start Removal Task" button to execute the process.

Step 4. Once successfully removed, press the "Done" button to save the changes.
Step 5. Next, opt for the "Remove Background" option to remove the unwanted background from the pictures.
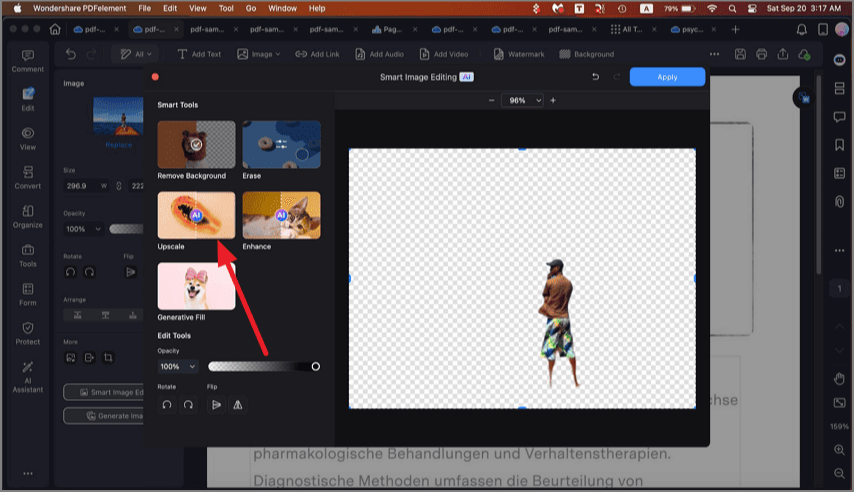
Step 6. With a single click, the subject will be isolated from the image. Press the "Upscale" option to enhance the image quality.
Step 7. Select the Upscaler quality from the option provided and click on the "Done" button.

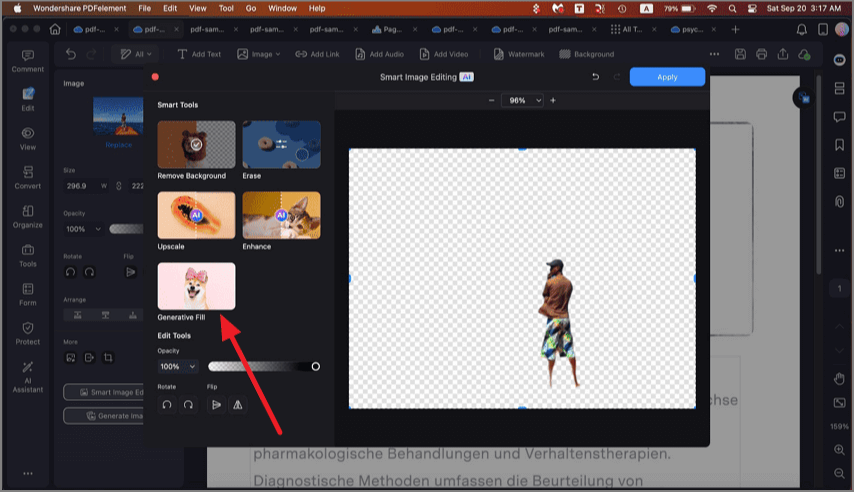
Step 8. Once the image is upscaled, click on the "Generative Fill" option located within the interface.
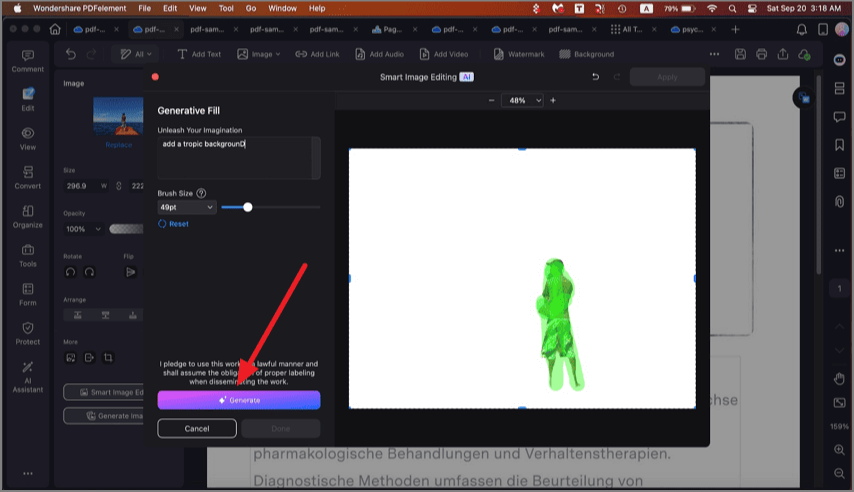
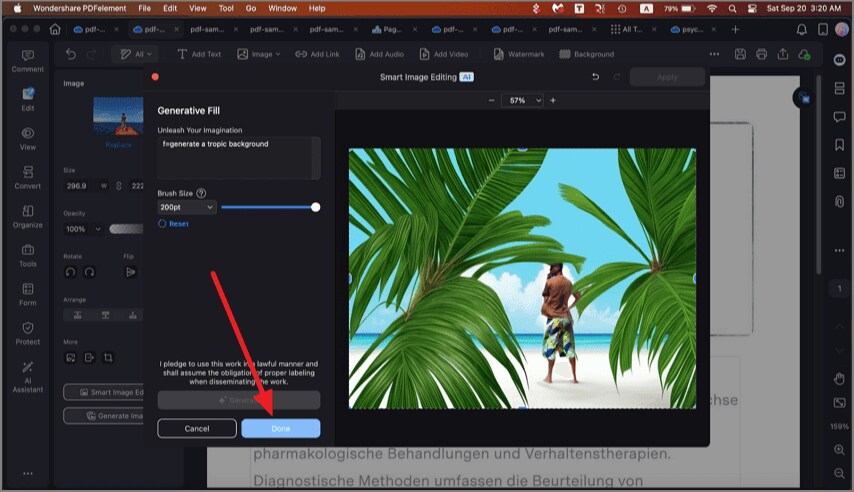
Step 9. Select the area in which you want to add visuals from AI. Input the text requirement and press the "Generate" button.
Step 10. When the image is generated, click the "Done" button to save the results.
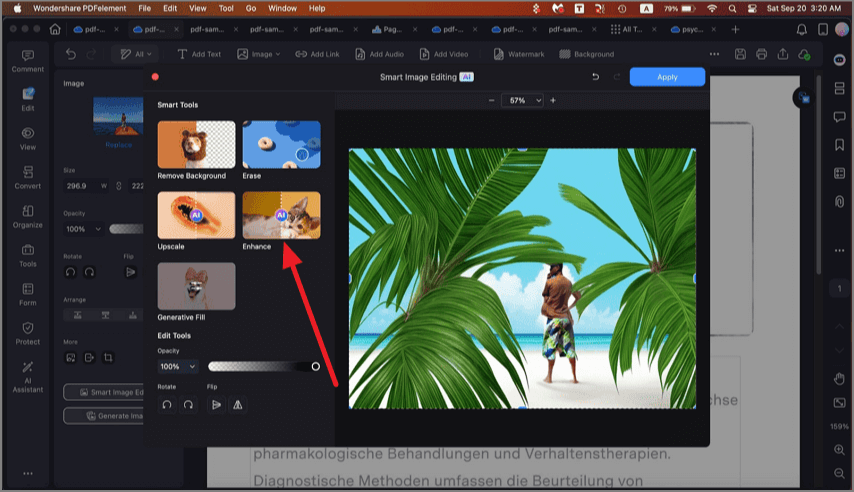
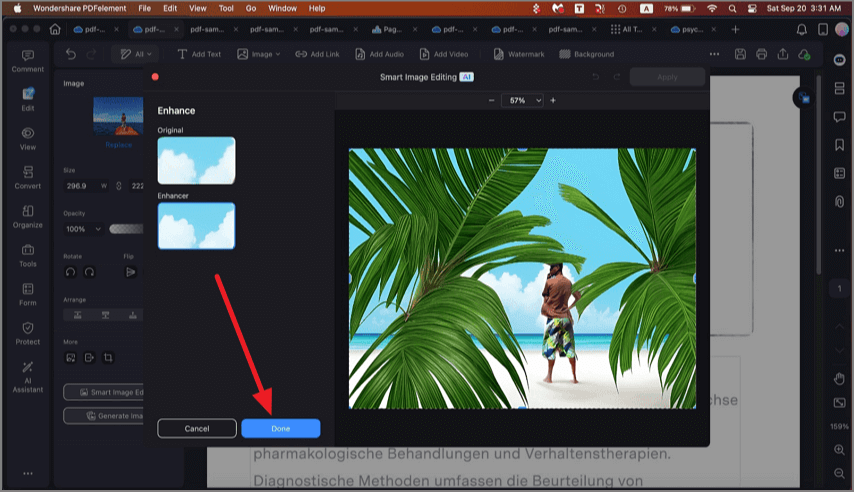
Step 11. Now, click on the "Enhance" tab to enhance the overall visuals of the image.
Step 12. Click the "Done" button once the picture is successfully enhanced.
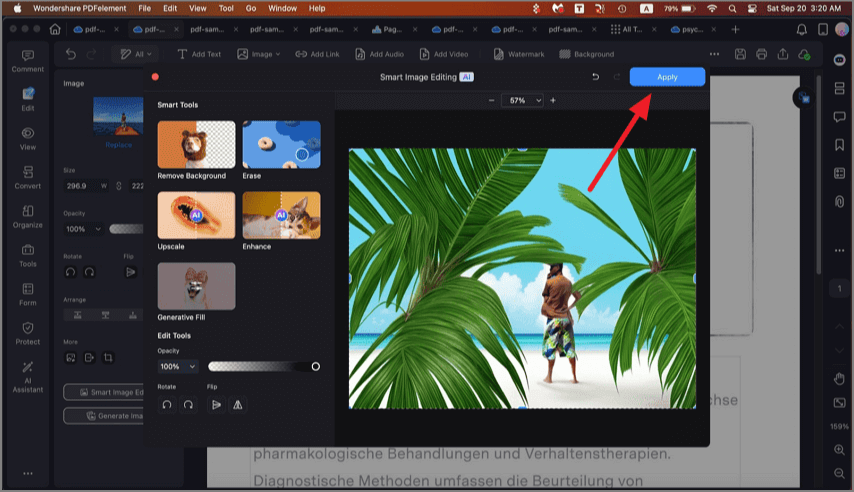
Step 13. Perform other editing functions like adjust opacity or orientation and hit the "Apply" button once you are satisfied with the results.