 Home
>
macOS Tips and Tricks
> How to Install macOS 11 on External Drive in Easy Steps
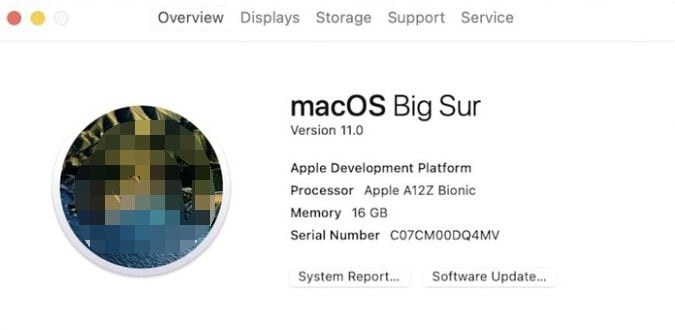
To install maos 11 on an external drive is an awesome trick and one that comes with a great bunch of benefits. This trick comes in handy when you don’t wish to update your operating system or mess up with it. More so, it is the best way to test the new macOS 11 operating system prior to installing it into your main drive. Being able to switch between the current operating system and the macOS 11 in the external drive helps you make comparisons and best decisions on the best operating system to use.
What You Need to Install macOS 11 on External Drive
Why can’t I install OS 11 into my drive? If you’re asking yourself this question then you need to know that there are a couple of things that you will need and get them prepared before you download and install and use macos 11 on an external drive. First, you will need a fast flash drive; most recommended ones are USB C or Thunderbolt 3 drives. Fast external drives are efficient and will save you precious time in the entire process. More so, you should ensure that the external drive has at least 12GB of storage, however, having more storage is much better just to be on the safe side.
Additionally, you will need an active internet connection to download and install the macOS 11 on the external drive. The time taken in installing the macOS 11 will entirely depend on the signal strength of your Wi-Fi; the stronger the signal the faster the download. More importantly, you should ensure that the device in which you are going to run the macOS 11 is compatible. Some of the compatible models of mac include; MacBook Air, MacBook Pro, iMac, and all the iMac Pro models.
How to Install macOS 11 on an External Drive
Follow these simple steps if you’re unable to install macos 11 on external drive.
Step 1: Preparing the External Drive for Installation
1. Connect the USB C, Thunderbolt 3, or the desired external drive to your Mac device.
2. Go to the new Finder window, choose the Application tab, and click on Utilities. Launch the Disk Utility app on your Mac.
3. Click on the View drop-down icon from the open window and in the top left corner. You should ensure that the Show All Device option is selected.

4. On the left side menu bar of the Disk Utility window, tap on the External Drive you inserted on your Mac device.
5. Tap on the Erase button.
6. Click on the Format drop-down icon from the new window that pops up and selects Mac OS Extended (Journaled) as your option.
7. Still, on the open window, tap on the Scheme drop-down icon and specify to GUID Partition Map.

8. Give the External Drive a new name and that you should easily remember.
9. Click on the Erase tab and wait for the Disk Utility to generate the partition as well as set up your external drive. Once this is done, tap on the Done button.
Step 2: Downloading the macOS 11
1. Launch the Mac App Store on your mac device.
2. You will be needed to login to the Apple Developer Program to download the macOS 11.
3. Once signed up, look for the macOS 11 with the help of the Search text box.
4. Click on the Download icon to download the macOS 11 version on your Mac device. The downloading process may take a while since it involves downloading a big file. The time taken will also depend on the strength of your WiFi signal.
5. Once downloaded, you can access the macOS files by going to the Finder tool on your Mac device and clicking on the Downloads folder.
Step 3: Installing the macOS 11 Version on your External Drive
1. Open the Finder window from your Mac device and navigate to the Application tool.
2. Search for the macOS 11 installer and click on it to launch it.
3. Tap on the Continue button on the first window that pops up while setting up the installation.
4. Go through the developer terms and conditions and when satisfied, click on the Agree tab followed by the Continue button.
5. Tap on the Show All Disk tab. Do not tap on the Home tab to avoid installing the macOS 11 version on your main drive on the Mac device.
6. Specify the external drive from the Show All Disk option and tap on the Install button.

Wait for a couple of minutes as the macOS 11 version gets installed in the external drive. However, you should note that the installation process may fail or stop if you had not set up your external drive correctly and as GUID Partition in the previous steps.
Best PDF Editor for macOS 11 - PDFelement for Mac
Once you install and use macos 11 on an external drive, you will need a couple of applications and programs to spice it up. The apps will serve different purposes on your mac device such as gaming apps, productivity apps, social media tools, and so on. However, the program list would be incomplete without a PDF reading tool. PDF files are common and the most used document file hence you will need a program to both read and manage PDF files. There are numerous PDF readers and editors in the market but PDFelement for Mac has been at the top of the list.

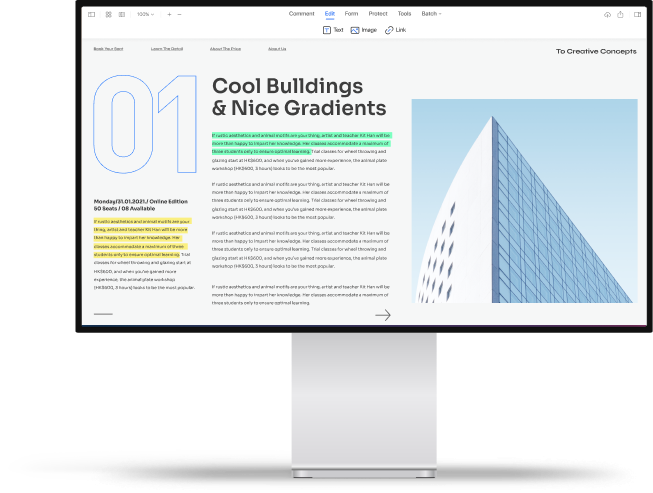
PDFelement should be your first choice when dealing with PDF files and if you wish to enjoy the benefits of the tool. This program has a simple and intuitive interface hence ease of use; all the key tools are displayed on the homepage hence requires little tutorial or training. PDFelement has the best editing tool making it easier for you to edit the size, font, and style of your text. You can also secure the content of your document by setting up both the Open and Permission password.
In case you may need to convert your PDF file into another format, PDFelement simplifies this task as it supports several output formats. Another feature that makes this program unique is the Batch processing tool which allows you to process several documents at the same time.
Free Download or Buy PDFelement right now!
Free Download or Buy PDFelement right now!
Try for Free right now!
Try for Free right now!
 100% Secure |

Audrey Goodwin
chief Editor