Wondershare PDFelement New Release
eSign PDF Across All Your Devices
Quickly and securely fill and sign PDFs from any device, anytime, anywhere.
Digital Signatures to PDF Easily
Your Documents Via Cloud.
Click With Digital Certificates

eSign PDF easily on any device, any time.
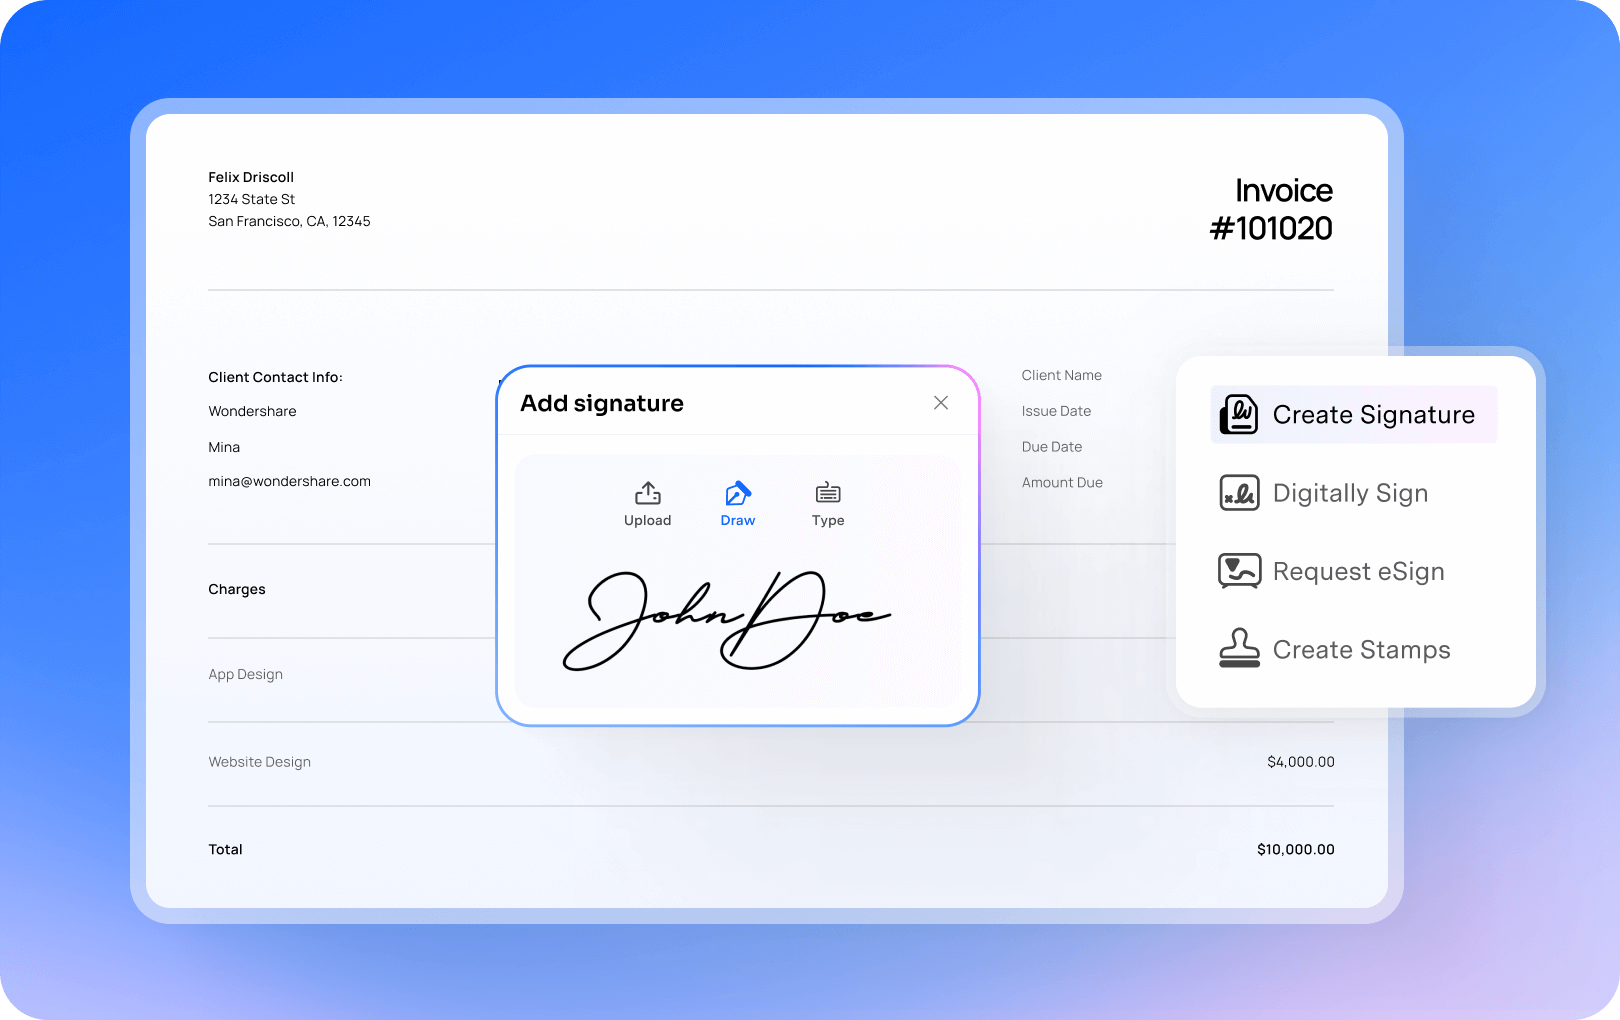
Create an e-sign for PDF
Generate a signature that fits your style—handwritten, typed, or from an image. All signatures auto-sync across all your mobile or desktop devices for seamless signing.
Create signature for PDF.
Create and add digital signature to PDF.
- Digitally sign PDFs to securely confirm author identity and verify document integrity. A digital signature can appear as text or an image, including a scanned handwritten signature (Windows and Mac only).
- Batch Digital Signing – Apply a digital certificate to multiple PDFs at once, saving time while ensuring consistency and security.
Create and add digital signature to PDF.

Send and electronically sign PDF.
Need a signature from your clients or team members? You can send a document to others and get their electronic signature safely with real-time status tracking (Only for Cloud). Signers will receive an email to access and sign the document from any device.
Esign PDF with PDFelement Cloud >>Send and electronically sign PDF.

Create a stamp for PDF.
Use ready-made templates or design your own stamp from an image. Access all your stamps as they auto-sync across all platforms.
Create stamp for PDF.

Secure, Compliant, and Professional PDF Software - Award-Winning.
PDFelement has won G2 Best Software Awards 2024 - Top 50 Office Products, received ISO 27001-Information Security Management certification, and is a recognized member of the PDF Association.


Your Complete Top Choice PDF Tool to Sign PDFs. Available for:


Sign PDFs anywhere – desktop power vs. online simplicity.
Feature

Sign PDF on Desktop
Full PDF signing suite: certificates, batch signing, reusable signatures, verification, and more.

Sign PDF Online
Quick & simple signature online for free.
Add Signature to PDF


Digital Certificate Signatures

Signature Verification

eSign & Collaboration

Cross-Platform Sync


We make it easy for everyone to eSign PDFs.
Choose the PDFelement plan that works for you.
Digitize paper files on Windows - Create, edit, print, read, and eSign PDF documents.
Digitize paper files on Mac - Create, edit, print, read, and eSign PDF documents.
Digitize paper files on Windows, Mac, iOS, Android, and Web - Create, edit, print, read, and eSign PDF documents.
- Perpetual Plan of PDFelement for Windows and Mac.
- 3-Year Plan of PDFelement for iOS, Android, and Web.
Digitize paper files on Windows, Mac, iOS, Android, and Web - Create, edit, print, read, and eSign PDF documents.
- 1-Year Plan of PDFelement for Windows and Mac.
- 1-Year Plan of PDFelement for iOS, Android, and Web.
Join our social community to get more news, trends, and updates!
How to sign an electronic PDF easily?


Signing PDF FAQs.
To sign PDF without Adobe Acrobat, you can try PDFelement, a more affordable Acrobat alternative that can help you create electronic signatures and add signatures to PDFs to PDFs digitally without printing.
PDFelement can help you create handwritten signatures for digital use. Just go to PDFelement > Handwritten Signature and select Upload to upload an image of your signature to create a digital version. Then you can add the signature to PDF file easily.
PDFelement for Mac allows you to easily add signature to PDF in three ways: upload an image of your handwritten signature to create a signature; type your signature or draw a signature with mouse cursor.


Simplified by AI.
Fast, easy, and affordable PDF editor. Convert, edit, sign PDFs, and more.


Modify and sign contracts anywhere
I use PDFelement for my day-to-day business needs: organizing, signing, and editing lease agreements. It really helps my work.
——Ed Romaine, Sales Manager
Sign PDF documents without printing
I save most of my contracts, invoices, and other documents as PDF so I'd be able to read, extract and combine pages. It's very convenient to electronically sign contracts without printing.
——Nick, Civil Engineer
Get quick signatures from others
Creating forms and signing is a must for me. PDFelements and its PDFelement Cloud help me get quick signatures from families and employees.
——Anthony, Educational Administrator