How to Add Image to PDF using Preview
How can you add an image to PDF using the Preview app? This article will give a step-by-step guide on using Mac Preview to insert image to PDF on macOS.
 100% Secure |
 Home > Edit PDFs on Mac > How to Add Image to PDF using Preview
Adding images into PDF may sound like an elementary task, but doing it can prove daunting. If you are a Mac user and tried to add image to PDF with Preview app, then you understand how complicated it can be if you don't have the know-how. Luckily this article has prepared you with a thorough guide on how to insert image into PDF using Preview with ease.
If you need a more powerful way to add image to PDF on Mac, you should use PDFelement for Mac, which allows you to rotate, flip, crop and adjust the images added in PDF. The PDF editor can also add text, signature, watermark and more to PDF.


 G2 Rating: 4.5/5 |
 100% Secure
How to Add Image to PDF with Preview on Mac
If you are a Mac user, then you know what Mac Preview App is. Being the default app for viewing documents and images, there is a high chance that you have used it before. This app offers several basic editing features for PDF, including crop, fit, re-size, and encrypt PDF, and add text, among others. However, you cannot add image to PDF with Preview directly. You can only copy and paste your image to PDF with Preview. To add images to PDF using Mac Preview App, follow the following steps.
Open PDF with Preview on Mac
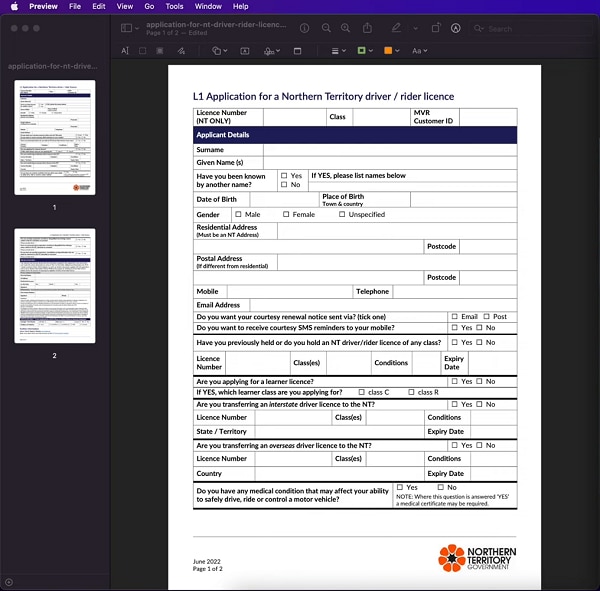
Step 1. Launch the Preview app and go to the "File" menu. Select "Open" and upload the PDF file.
Copy Image with Preview on Mac
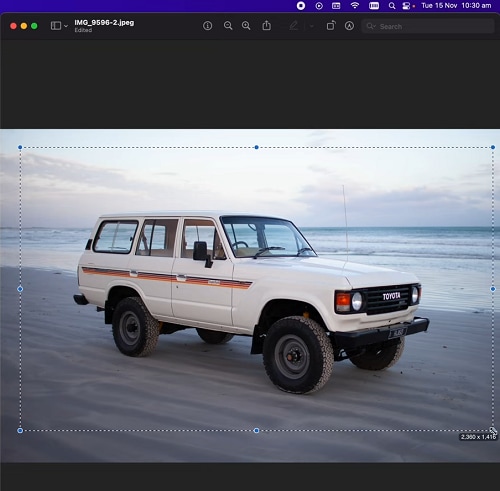
Step 2. After opening the PDF file, open the image you want to add in Preview. Press Command+A to select the entire image and then click Copy button to copy the image.
Add Image to PDF with Preview on Mac
Now, here is the trick - paste the image to cover the original image and then copy the pasted image again. Now you can go to the PDF file and paste the image into the PDF.
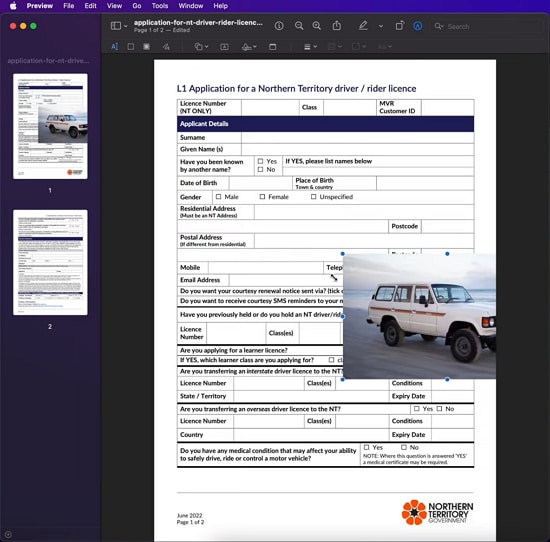
Note: You can't add the image to PDF via Preview if you just copy the image once. You have to copy the image twice in Preview.
Pros and Cons of Adding Image to PDF with Preview on Mac
The Mac Preview app is no doubt useful and has plenty of advantages. However, it is plagued by several flaws as well. Let's see some of the advantages and disadvantages of the Mac Preview app.
Advantages
- It is free, and therefore you don't need to chuck out any cash to purchase.
- It is an inbuilt Mac app, and you don't have to go through any installation process.
- It is easy to use.
Disadvantages
- You can only add the entire image to PDF, which will be inconvenient if you want to add just part of the image to the PDF.
- It is a little complicated as you have to copy the images twice to make the trick work.
- It doesn't work well if you need to add a signature image to PDF.
It is crystal clear that the Mac Preview App is a basic application and is not suitable for professional or important PDF editing. The assortment of drawbacks would make you look elsewhere if this Preview App was your favorite tool.
How to Add Image to PDF in Preview Alternative on Mac
1. PDFelement
PDFelement for Mac solves all your problems and provides you with an incredible PDF editing platform. The program is enriched with a variety of editing features that allows you to flawlessly and seamlessly add images of your choice to the desired PDF file. You can also delete, copy or paste, rotate, replace, extract, and crop images with ease.
Step 1. Open a PDF
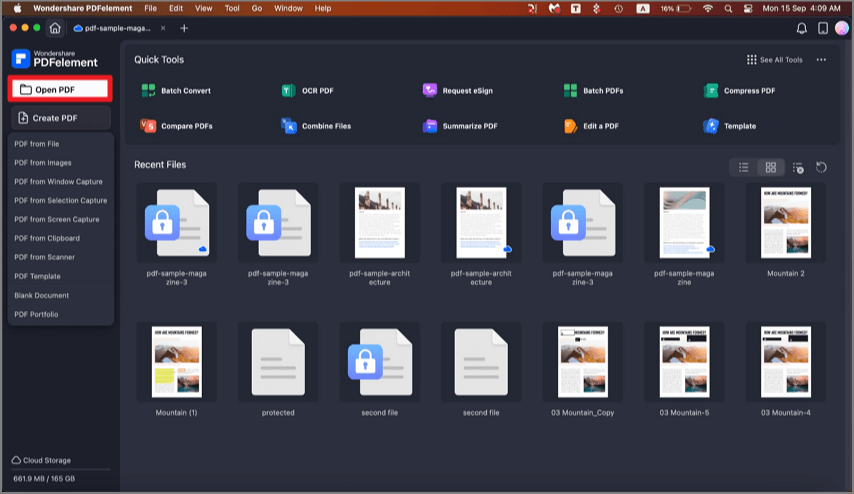
After installing PDFelement, tap its icon to open the main interface. In its primary interface, click the "Open" button. You will be directed to the file directory window. Navigate the folder where the PDF of interest is located. Choose the PDF file and click "Open" to open it.
Step 2. Insert Image to PDF with Preview Alternative
When the PDF file is successfully uploaded to the program's interface, hit the "Edit" > "Add Image" icon on the top toolbar to add an image to the PDF from the Mac computer.

Step 3. Select Image to Add to PDF on Mac
Now the program will automatically direct you to the file directory window. Choose the respective source folder and select the target image. Click "Open" at the bottom right to add the image to the PDF file.
G2 Rating: 4.5/5 |100% Secure

Note: PDFelement Now Supports AI Image Generation.
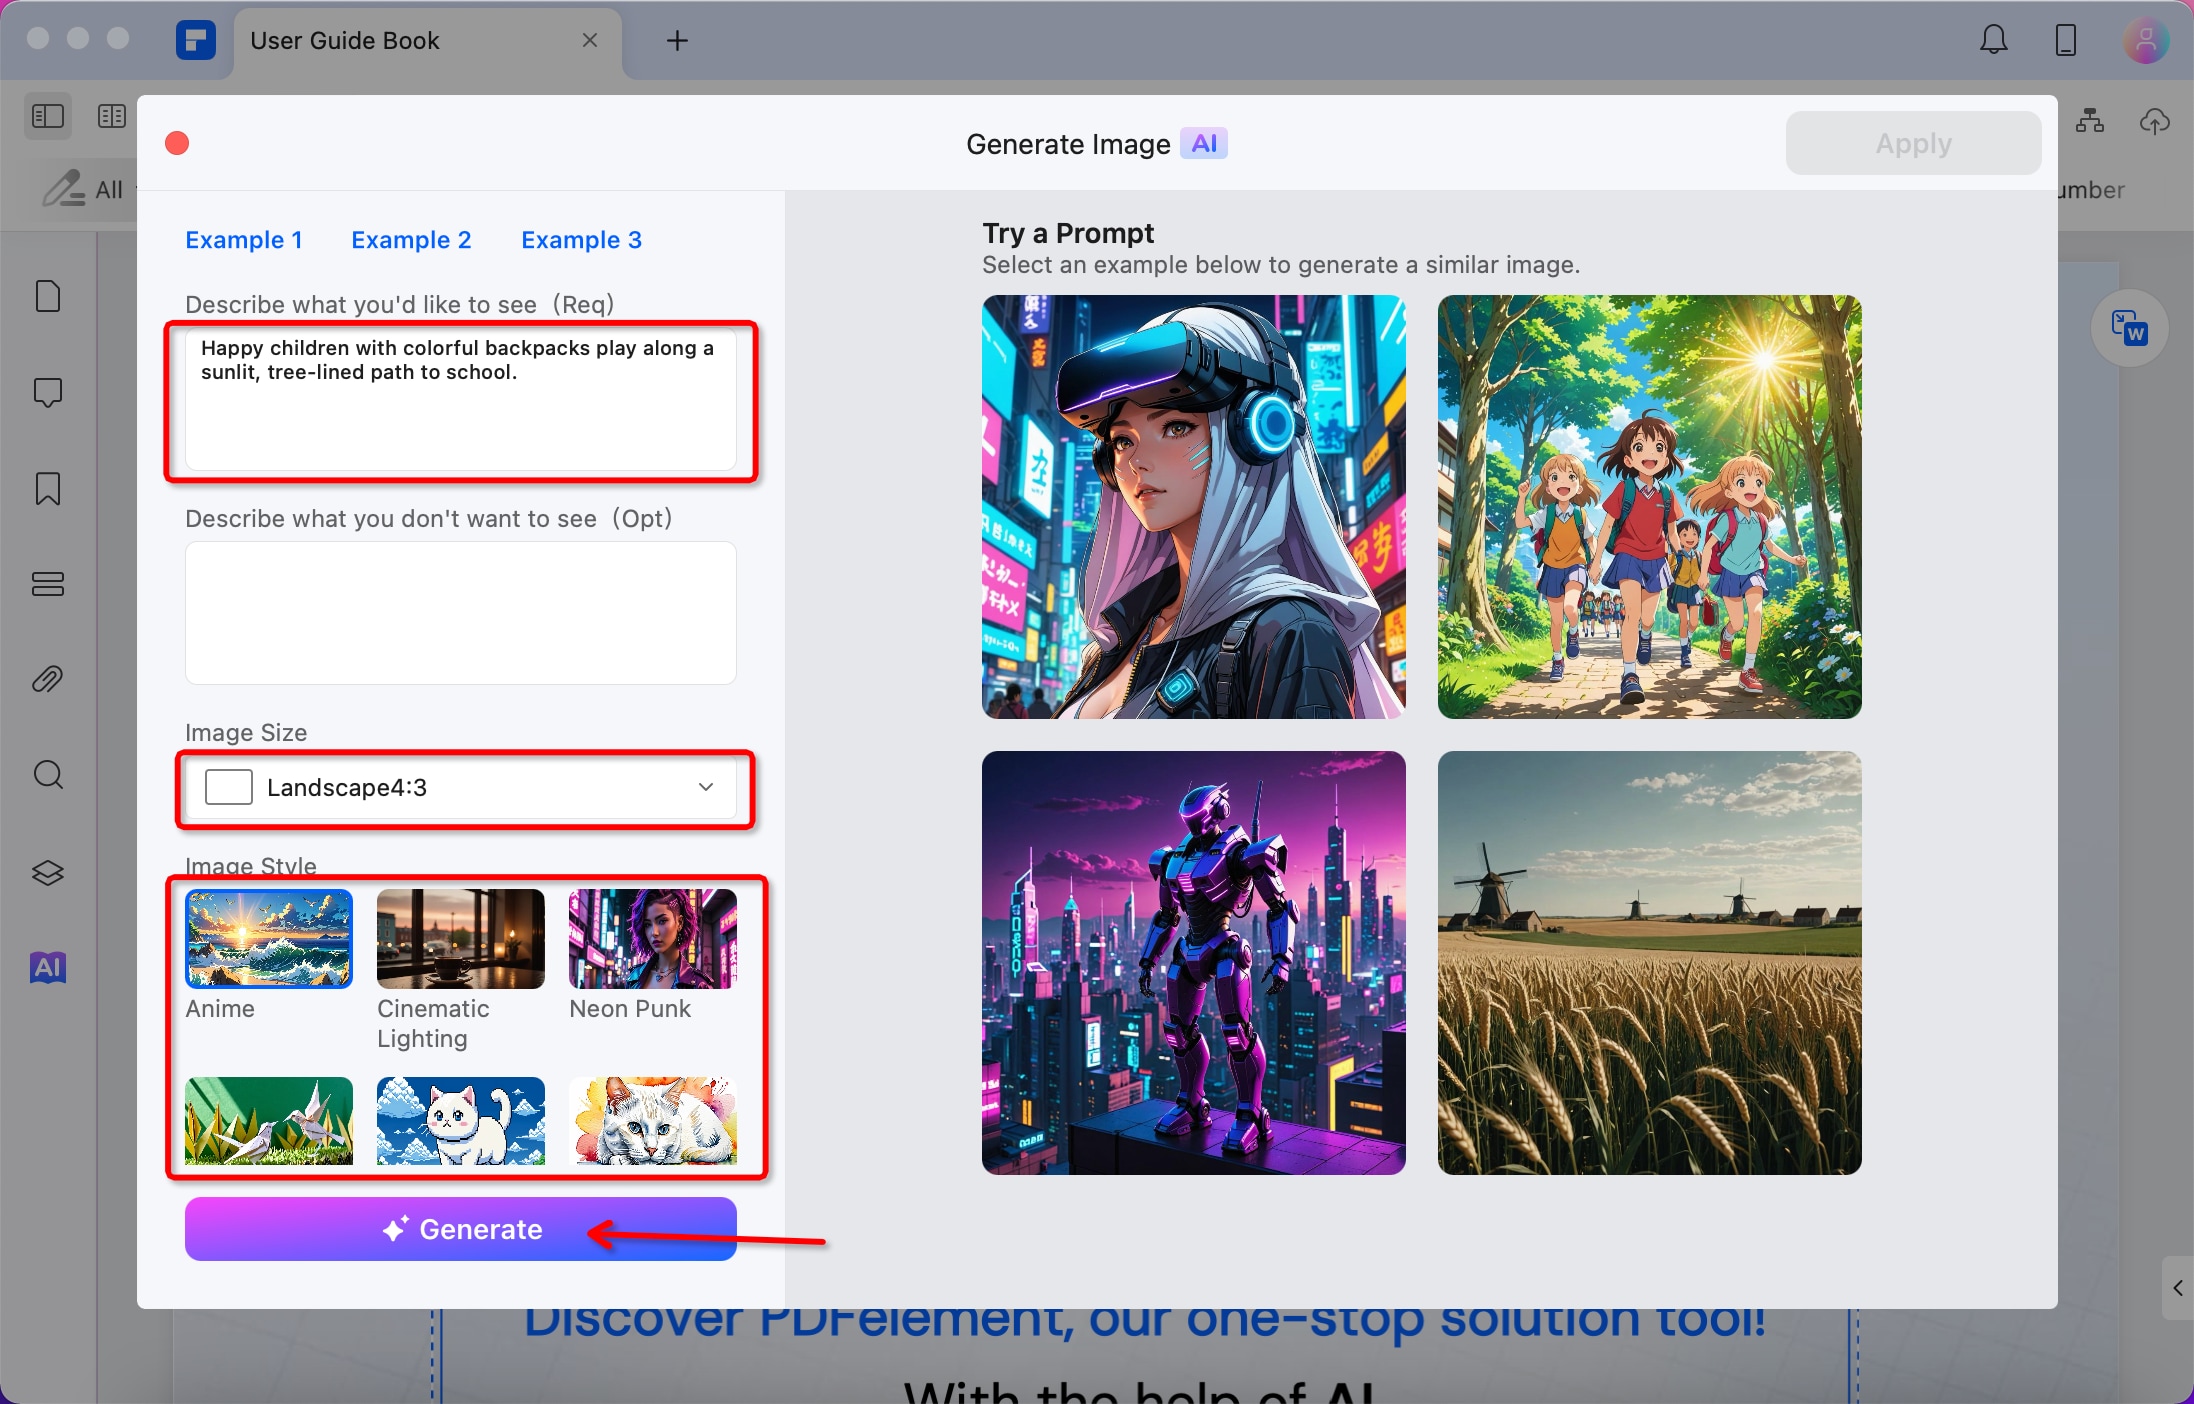
PDFelement introduces the AI Image Generator, a powerful tool to create custom visuals directly within your PDF documents. Simply describe what you want, choose an image style like Anime or Cinematic Lighting, and let the AI generate stunning images instantly. Enhance your PDFs with unique, professional-quality visuals in just a few clicks. Just open your PDF file and navigate to 'Edit' > 'Image' > 'Generate Image' to try it out.
More features of Preview Alternative for Mac
Free of bias, PDFelement is the ultimate PDF editor tool for you if you are looking to add images to create stunning PDFs. Other features include:
- Add text, links to PDF.
- Create fillable forms and use them to import or export data.
- Perform PDF OCR to unlock texts on scanned PDFs.
- Protect your edited PDF file with combinations of passwords and permissions.
- Approve PDF documents digitally using digital signatures.
- Shrink the size of your PDF file without lowering its quality.
- Share the edited PDF files via Add People, Email attachments, Notes, AirDrop, and Messages.
- Print PDFs with ease using various print options and properties.
- Convert PDFs to and from a wide range of file formats.
- Annotate PDFs with comments, drawings, text markups, and stamps.
- Organize PDF pages and change page order as per your need.
G2 Rating: 4.5/5 |100% Secure
2. Insert Picture into PDF Mac With Adobe Acrobat
Adobe Acrobat is an advanced PDF reader and editor. It is widely regarded as a major industry-standard application that can add pictures to PDF files in an effective manner. Additionally, it enables the management and modification of PDF documents, as well as the extraction of PDF data and other capabilities.
You can use the editing tool to put photos into the PDF file, and you can also use it to manipulate the images that are already there. The picture editing capabilities include features such as replacing, adding, resizing, adjusting alignment, and so on.
Here are the steps to add images to PDF using Adobe Acrobat:
Step 1. Open Your PDF
Open the PDF document in Adobe Acrobat on Mac.
Step 2. Choose "Edit PDF"
Click the "Tools" menu in the top menu bar and choose "Edit PDF."
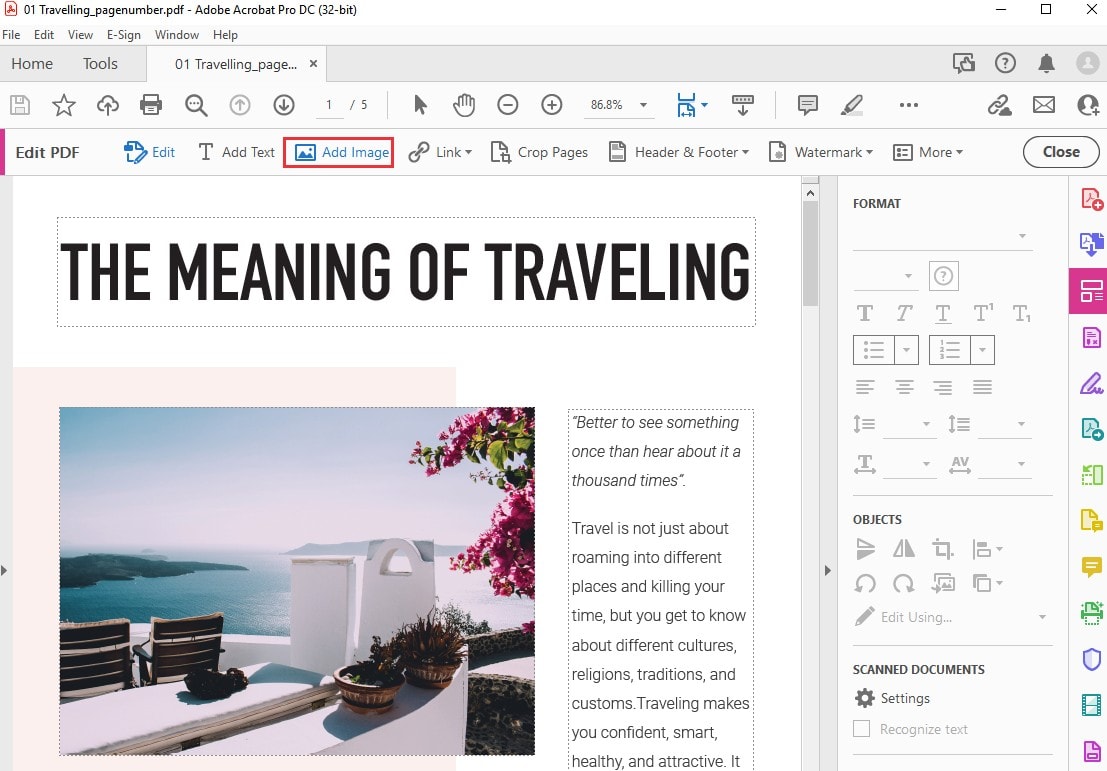
Step 3. Select "Add Image"
In the editing toolbar that appears, click "Add Image." Select the image file you want to add from your Mac and click "Open." Move the image to its desired location in the PDF using your mouse.
Step 4. Save your changes
Save the changes to the PDF file by clicking "File" in the top menu bar and choosing "Save."
How to Add Image to PDF Online
1. HiPDF
You can add photos to PDFs on a Mac using HiPDF, a web-based PDF editing program that is straightforward and user-friendly. It can be accessed from any device that has access to the internet, and you are not required to download or install any software to use it.
The following steps will walk you through adding an image to a PDF file that you have created:
Step 1. Open HiPDF Website
Launch a web browser and go to the HiPDF website when it's open.
Step 2. Import Your File
After selecting the "Edit PDF" option from the top navigation menu, you'll need to import the file by clicking the "Choose File" button or one of the cloud provider icons below the window.
Step 3. Add Your Image
To add an image, use the "Add Image" button in the toolbar located above your PDF. When you can finally see the picture on your PDF, you can place it anywhere you want.
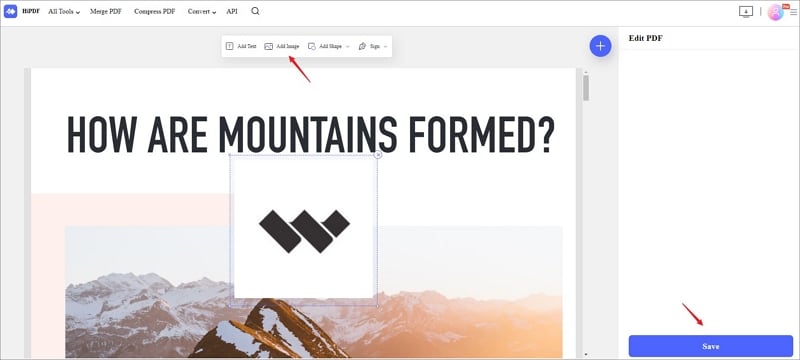
Step 4. Save Changes
You will be finished after you click the "Save" button at the bottom of the screen, then save the file to a folder on your local computer.
2. PDFescape
PDFescape can annotate and organize PDF pages and print, encrypt, and download altered PDFs. It can also insert text, images, links, form fields, whiteouts, and freehand drawings into PDF documents. Here are the steps to follow to insert images into PDF using PDFescape:
Step 1. Open PDFescape in your browser
Enter PDFescape Online into the address bar of your computer browser.
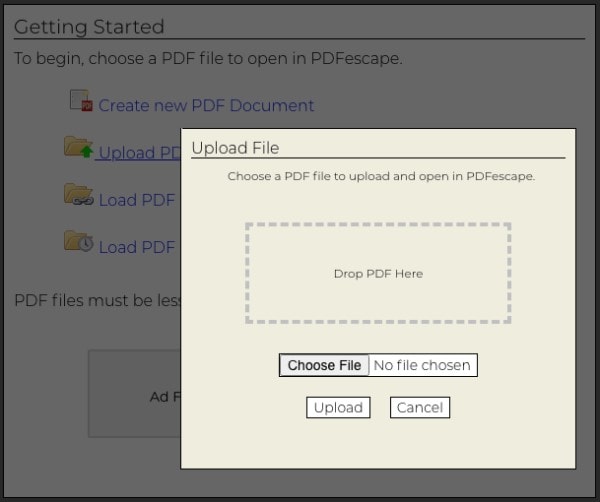
Step 2. Upload your PDF
Choose upload PDF>Drag PDF from the menu to import your PDF.
Step 3. Insert Image to PDF
Select Insert>Image from the menu, then browse and upload the desired image to add to the PDF.
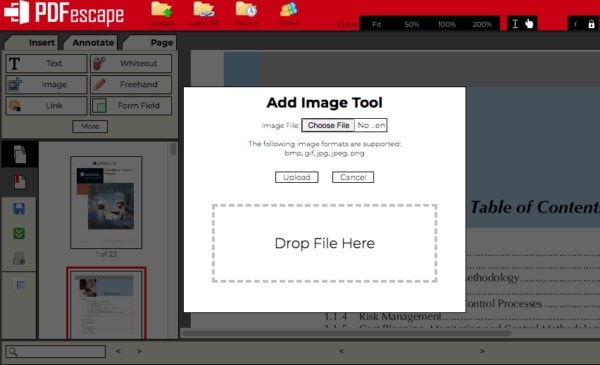
Step 4. Edit the Image
You can remove, duplicate, or modify the picture parameters after you have inserted the image by clicking and dragging on the page.
3. Google Docs
Utilizing Google Docs from Google Drive is yet another choice if you want to incorporate a picture into a PDF file on a Mac using an online service. Better than PDFescape because it allows users to edit the PDF file with more control.
It opens PDFs in Google Docs, allows users to edit the file the same way they would edit a Word document (i.e., you can insert, delete, and change contents), and then saves the document in PDF format. Adobe Systems developed PDFescape. Therefore, it may be worse than PDFescape since instead of preserving the original format. It transforms your file while editing and saving it.
Step 1. Upload Your PDF
You can upload the PDF file by logging into your Google Account, navigating to Google Drive, and using the drag-and-drop method.
Step 2. Open PDF
Open the PDF file in Google Docs by using the right mouse button on the file.
Step 3. Make Your Changes
Move the mouse cursor to where you want the picture to go, then click. Go to Insert, then choose a method from the drop-down menu to upload the picture you wish to use. Adjustments can be made using the image settings.

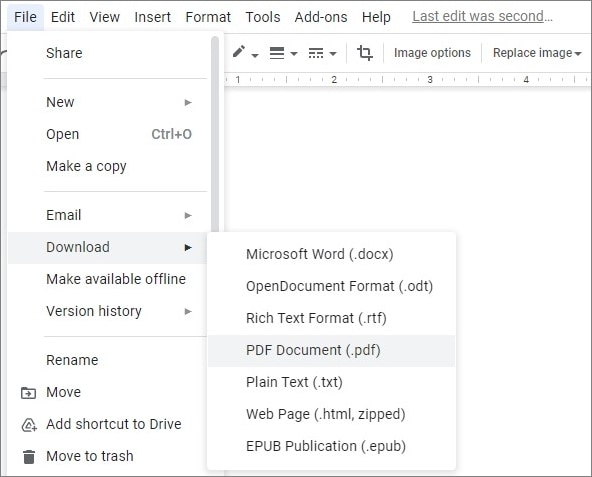
Step 5. Download Your Files
Navigate to the PDF document by selecting File, then Download.
FAQs about Using Preview to Add Image to PDF?
1. How to add image to PDF to Mac online free? .
One of the easiest ways to add an image into PDF on Mac is by using online PDF editors. There are many free online PDF editors that offer various helpful features that can make this process easier. For example, you can add image to PDF on Mac using HiPDF, an all-in-one PDF solution to edit, convert and compress PDF online. To add an image to PDF for free, upload the PDF file to the HiPDF online PDF editor tool and click on the ‘Add Image’ option provided in the toolbar. Once you select the image from your Mac, you can place it anywhere within the PDF document. Finally, save your edited PDF to your Mac.
2. How to use Mac Preview to insert image as signature in PDF?.
Here's a quick tip on how to add your signature to a PDF using Preview on Mac. Simply open the PDF with Preview and click the signature icon. If you've already created your signature, insert it into the PDF. If not, no worries, select "Create Signature". Then you can create a signature for PDF by using trackpad, the built-in camera of your Mac or your iPhone/iPad. Once you've created your signature, you can insert the signature and move or resize it to fit the document perfectly.
3. How do I paste an image into a PDF on Mac?
To paste an image into a PDF file on Mac, you can use Preview or a PDF editor software that allows you to add images. Open the PDF file with Preview or an PDF editor, select the location where you want to insert the image, press Ctrl+V to paste the image into the PDF document.
3. How do I use the AI Image Generator in PDFelement?
Using the AI Image Generator is simple:
- Open your PDF in PDFelement.
- Access the AI Image Generator tool.
- Enter a description of the image you want.
- Choose an image style from the available options.
- Generate and insert the image directly into your PDF.
This feature streamlines the process of adding unique visuals to your documents, saving you time and effort.
Free Download or Buy PDFelement right now!
Free Download or Buy PDFelement right now!
Buy PDFelement right now!
Buy PDFelement right now!
Related Articles
- How To Easily Make PDF Files Editable on Mac?
- How to Search on a PDF on Mac
- How to Edit Scanned PDF on macOS 11 in 2026


Elise Williams
chief Editor
Comment(s)