How to Insert Picture in Word 2016 for Free
How do I insert a picture in Word without moving text? Read this article and you'll know the easiest way to insert photos in Word documents.
 100% Secure |
 Home
>
Word Tips and Tricks
> How to Insert Picture in Word 2016 for Free
Home
>
Word Tips and Tricks
> How to Insert Picture in Word 2016 for Free
There are a lot of people who see Microsoft® Word as a tool for just writing text but are not aware that you can actually insert picture in Word documents. If you work with Word, it is advisable to know how to insert picture in Word and this is exactly what this article will show you plus an added bonus of inserting pictures in PDF with Wondershare PDFelement - PDF Editor Wondershare PDFelement Wondershare PDFelement.
How to Insert Picture in Word without Moving Text
It is easy to insert a picture in Word with just a few steps below with the " Insert Picture " button.
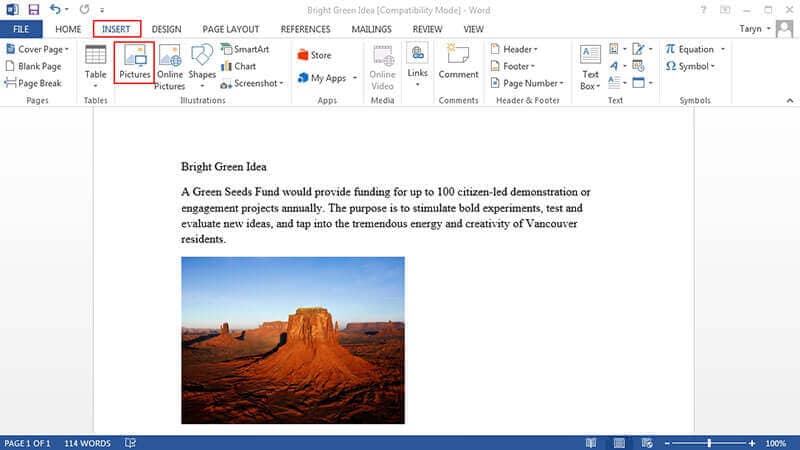
- Open a new Word document and go to the "Insert" tab. Note that anything that can be inserted into a Word document is located in the "Insert" tab.
- Click on the exact location you intend to insert a picture in Word and then click on "Pictures". This will browse the image file stored in the system.
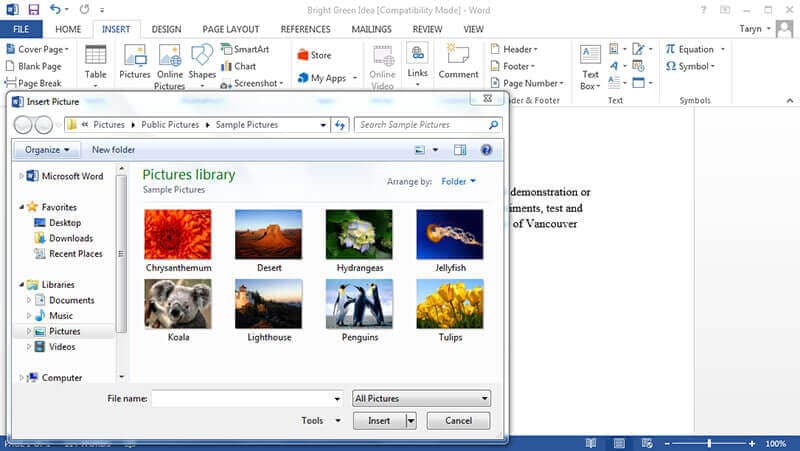
- Select the picture you want to insert into the document. Note that to insert multiple pictures, you can use the Ctrl button to select each of them by holding it down.
- Finally, to insert an image in Word document, click on "Insert" and the selected pictures will then appear in your Word document. You have the choice to resize it or adjust quality of image, size, color and add some effects if desired.
Wondershare PDFelement - PDF Editor Wondershare PDFelement Wondershare PDFelement is cost-effective when compared to other competitors that are also great. One name that comes to mind is Adobe. However, with PDFelement, you can get all the top-notch features of Adobe, and the good thing is that it comes at a fraction of the price of Adobe. This is why it is regarded as the most cost-effective PDF editor.
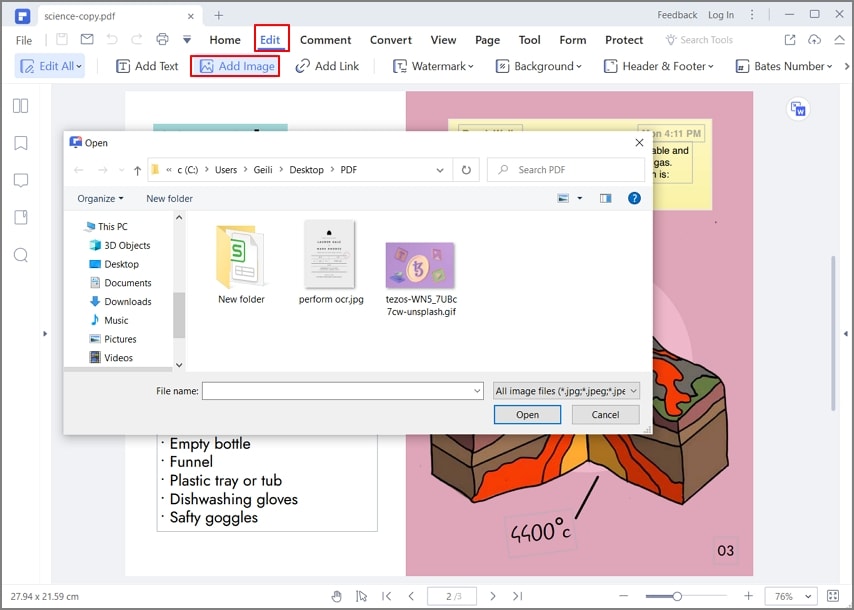
After opening a PDF file in PDFelement, you can click the "Edit" tab, then click on the "Add Image" button to insert a picture in the PDF file directly. If you want to remove images from PDF, please check here for more steps.
How to Insert an Online Picture to Word?
In addition to uploading pictures from the device, Microsoft Word allows you to insert online pictures into your document. For this purpose, the Bing browser is integrated into this document-handling platform. While creating professional or educational text content, you can easily add images to your documents. You only need to follow these simple steps to learn how to insert pictures in Word.
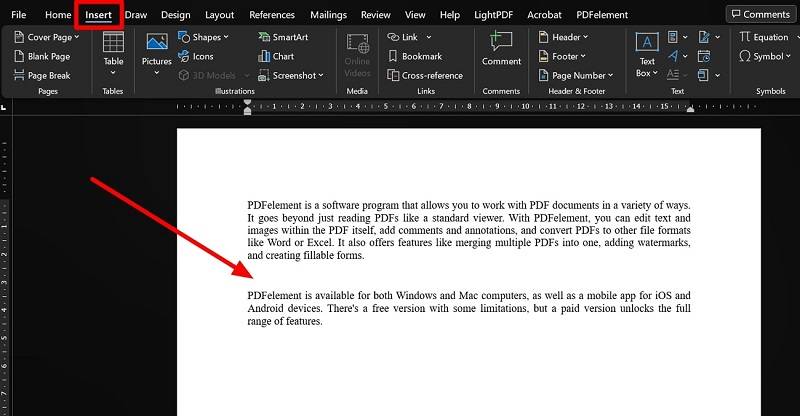
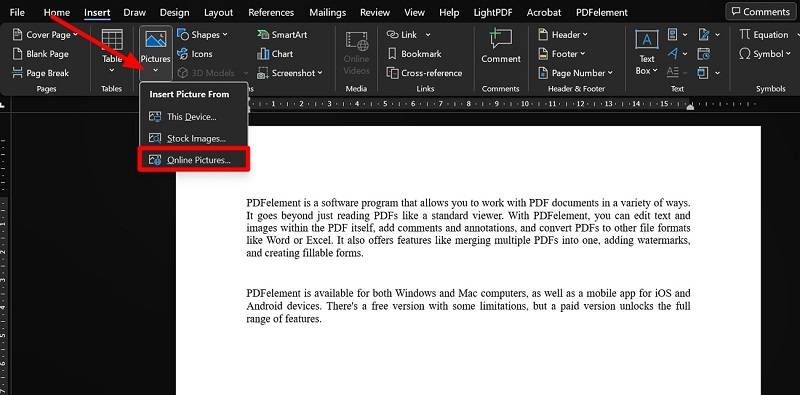
Step 1. Begin the process by opening the document to which you want to add online pictures. Now, click anywhere in the document to determine the place for image insertion. Next, hit the "Insert" tab to reveal several options for adding elements to the document.
Step 2. Afterward, press the "Pictures" feature to access a new drop-down menu for image insertion. From this menu, choose the "Online Pictures" option to start searching for the required image.
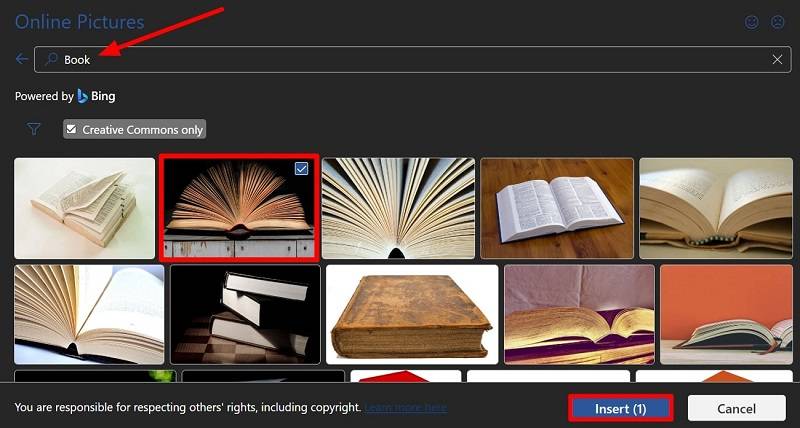
Step 3. In this new window, write about the picture you want to add in the "Search Bing" text box. Then, select the desired image from the numerous options related to your entry. Finally, hit the "Insert" button to add online pictures to your file.
How to Adjust a Picture in Word Without Moving the Text?
As we know, users can face difficulties while adding and adjusting the pictures in the file. After going through the above section, you have learned how to put a picture on a Word document. Once the image is added, adjusting its size without moving the text may become complicated. Here, we will solve your problem with these two simple methods to adjust the image size and position.
Resize Picture in Word
Now that you already know how to add a picture in Word let's get into the details of adjusting its size. Go through these simple steps to perform this action for easy image handling.
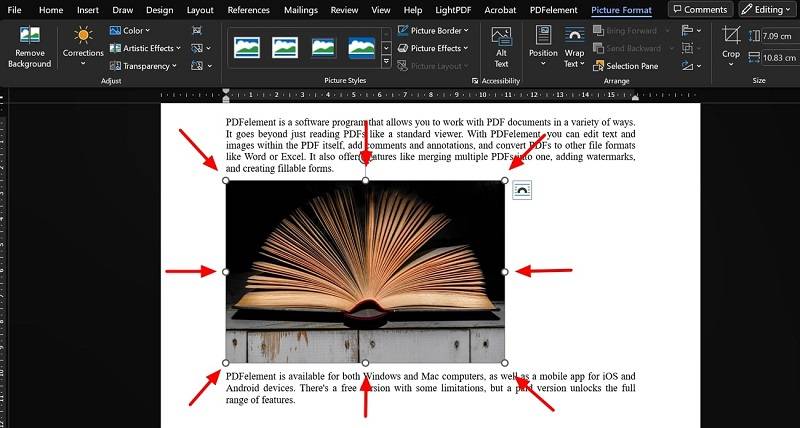
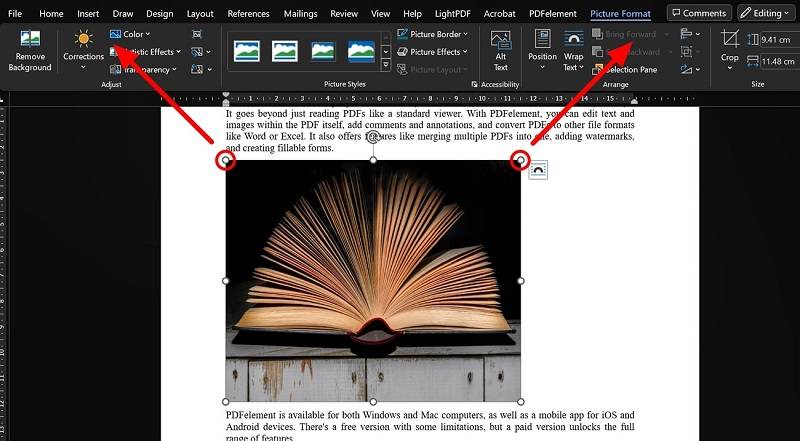
Step 1. After adding the image to your document, click on that image to reveal a surrounding box with circles at each corner.
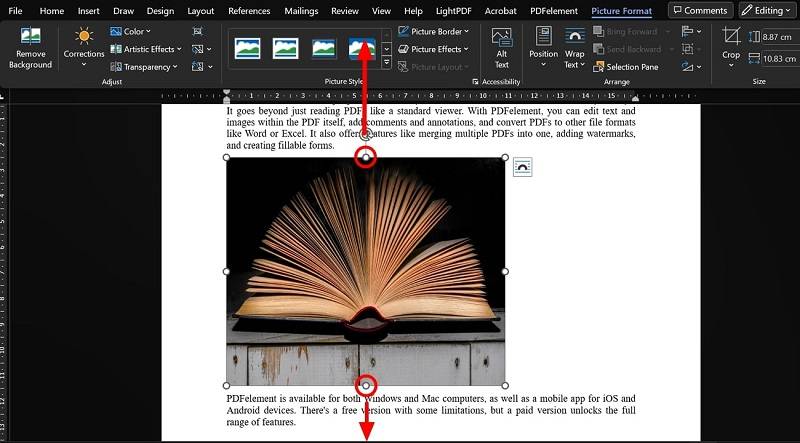
Step 2. Now, move the upper-middle and the lower-middle circle in opposite directions to elongate the picture. Both these circles will help increase the size of the image vertically.
Step 3. Moving forward, you can increase the overall size of the image by holding and dragging any circle on the sides of a box surrounding the image.
Changing Text Wrapping Settings
After learning how to insert a picture in Word and adjusting its size, you may need to move around the image without disturbing the text. For this purpose, you need to bring an image in front of the text using the following steps.
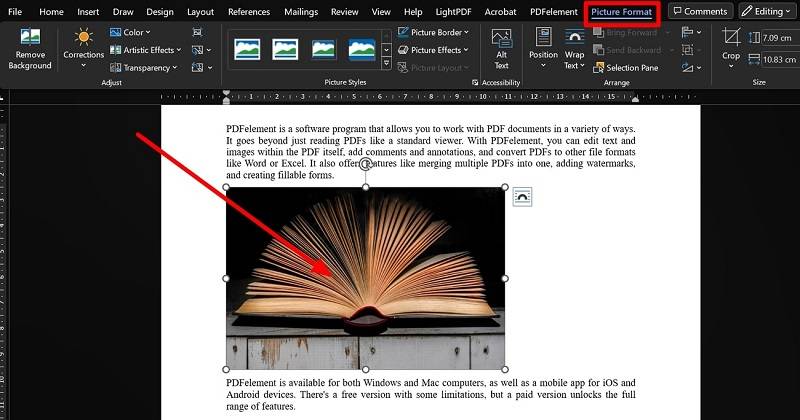
Step 1. Upon inserting the image in your document, double-tap on the added picture to reveal the "Picture Format" tab. On this tab, you will see several text wrapping and other image-related settings.
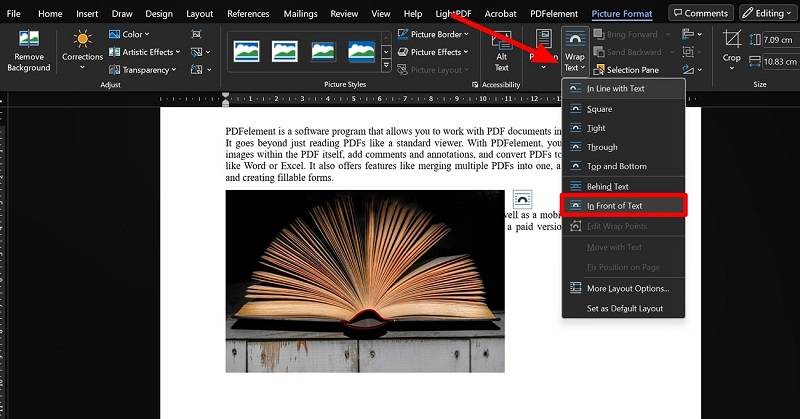
Step 2. Once the settings are revealed, hit the "Wrap Text" feature for the extended options. Within this menu, tap on the "In Front of Text" option to fix the text behind the image problem.
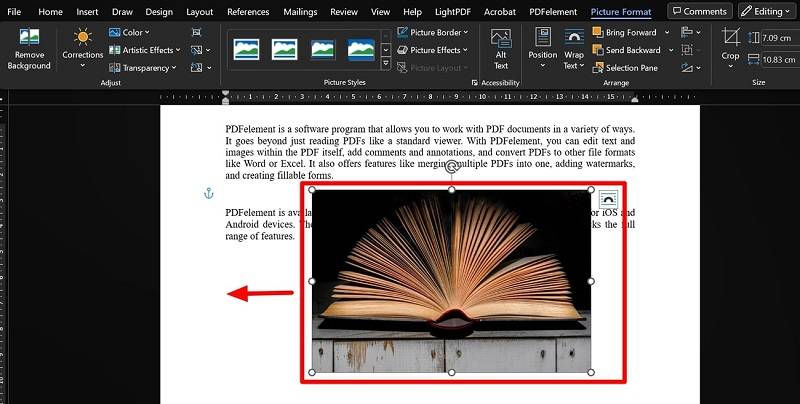
Step 3. Now, hold the image and drag it around the document to place it in a particular place. The previously saved settings will keep the text unmoved while you drag the image.
FAQs about Inserting Pictures in Word
Throughout the article, we have discussed how to add a picture to a Word document. People who are still confused about image insertion into the file can go through these in-depth answers to the commonly asked questions.
Q1. What are the shortcut keys to insert picture in Word on PC/Mac?
There is no single universal keyboard shortcut in Microsoft Word that instantly inserts a picture on both PC and Mac the way a bold or save shortcut works. In most cases, you insert an image by using the ribbon menu with keyboard navigation.
On Windows PC:
- Press Alt+N, then press P, D to opens the "Insert Picture from Device" window directly.
- Press Alt+N, then press P to opens the Insert Picture menu.
On Mac
- Press Option + N to activate the Insert tab, then P for pictures.
Q2. How can you insert pictures in Word side by side?
Professionals making graphical documents can use this technique to improve the visual presentation of their files. You have to follow these steps to learn how to insert pictures side by side in Word.
Step 1. Start the process by inserting both images from your device into the document. Now, adjust the width of these images so that they can be placed side by side in the Word document.
Step 2. Moving forward, adjust the "Wrap Text" settings of these pictures to bring them "In Front of Text" for smooth image movement.
Step 3. Upon bringing both these images in front of the text, hold any one of these images and place it by the side of the other to complete the process.
Q3. How can you insert a background picture in Word?
Using this text editing platform, you can add background images to visually make the documents pleasing. These easy-to-follow steps allow you to quickly learn how to insert a background picture in Word.
Step 1. After opening your document, hit the "Design" tab and access the "Watermark" drop-down menu. From this menu, select the "Custom Watermark" to access a new window.
Step 2. On this mini window, choose the "Picture Watermark" option and press the "Select Picture" button to import the desired image. Now, check the "Washout" selection and tap the "Apply" button to save the settings.
Q4. How to make a watermark out of a picture in Word?
Professionals who need to preserve the integrity of their documents can add picture watermarks. For this purpose, you have to follow these steps to get the knowledge about how to make a watermark in Word.
Step 1. Upon accessing your file, enter the "Design" tab to reveal various settings to improve the document visually. Now, click on the "Watermark" icon and choose the "Custom Watermark" option.
Step 2. By doing so, you will access a mini window in which you need to check the "Picture Watermark" option. Finally, hit the "Select Picture" button to import the picture watermark before applying it to the file.
Q5. How do you insert a picture in Word and type around it?
While writing SOPs for several procedures, professionals may need to add an image and type around it. To perform this operation, users have to follow these simple steps.
Step 1. Once you open the document, access the "Insert" tab and hit the "Picture" drop-down menu. Now, choose the "This Device" option to import the picture from your computer.
Step 2. Moving forward, double-tap on the image and enter the "Wrap Text" drop-down menu. Within this menu, you need to select the "In Line with Text" option and click anywhere around the image to start writing the content.
Free Download or Buy PDFelement right now!
Free Download or Buy PDFelement right now!
Try for Free right now!
Try for Free right now!


Audrey Goodwin
chief Editor