
Is your PC unable to run windows 11? Well, there can be a lot of reasons behind this dilemma. In this guide, you will go through few reasons and solutions to this problem. Make sure you stick to the guide till the end.
In this article
Part 1. Why Is PC Not Compatible with Windows 11
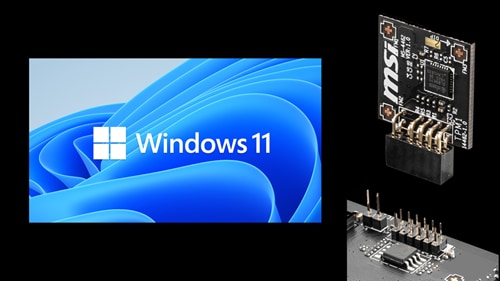
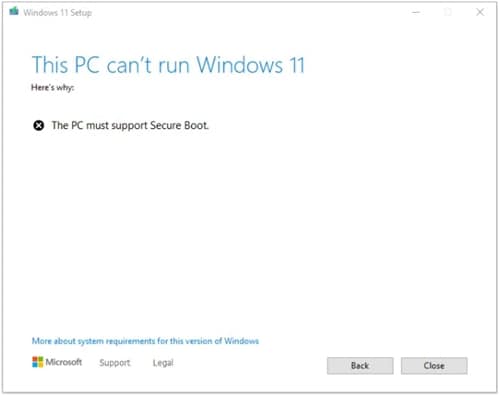
Recently announced windows 11 has new system requirements due to which a range of new problems has emerged. If your PC is unable to run Windows 11, it may be because your system doesn't have two security settings turned on. Secure Boot and TPM 2.0 are features that are built into the latest computers. If your system is supporting both, turning them on might solve your problem. All machines running windows 11 should enable Secure Boot and TPM 2.0. However, this issue is solvable with few facile methods.
Part 2. What Are TPM and Secure Boot
Before implementing any method to solve the issue, you need to know what are TPM and Secure Boot;
TPM
Trusted Platform Module microchips are tiny devices known as secure crypto processors. There are some which are virtual or firmware varieties. A TPM is attached to your motherboard. It is attached to enhance the hardware security of your machine. On a Windows machine, it became a mandatory piece of tech in 2016. Previously, machines were TPM 1.2 capable to run windows 10. However, windows 11 demands the most recent version which is TPM 2.0.
TPMs are of great concern for security specialists and governments. It defends your systems against firmware attacks. The increase in firmware attacks has made Microsoft more vigilant. It also allows remote attestation and may restrict some software to run. In order to enhance the privacy and security of your system, enabling TPM becomes obligatory.
Secure Boot
It is a significant feature in your computer's software that is known for deciding that which operating systems are allowed to be active on the machine. For a windows machine, it surely has some pros and cons. As it prevents some classes of invasive malware from entering and taking over your system, it acts as a core defense against ransomware.
However, it also prevents you from installing a second operating system on your machine. You will have to make some hard decisions due to secure boot. Suppose, you are planning to test your machine with Linux operating system, Secure Boot could actually stop you. It plays a vital part in preventing windows from pirating. Secure Boot and TPM are two of the most important entities when it comes to the security of your machine. You need to check if your device is capable of TPM 2.0 and Secure Boot or not.
Part 3. How to Enable TPM 2.0
Here is the main part of the guide. To enable the TPM 2.0, you need to reach your TPM switch from the BIOS menu. First, you need to close any open windows and save your valuable files. There are two methods to enable TPM, we will be discussing both of them;
Method 1.From Windows 10s Start Menu
You can use the normal desktop to perform this method;
Step 1 Turn on the computer, open the Start Menu, click on the Settings icon.
Step 2 Click Update Security.
Now, click Recovery and under the advanced startup header, click Restart now. Your system will restart and it will take you to a blue screen with multiple options.
Step 3 Click Troubleshoot followed by Advanced options and UEFI Firmware Settings.
Method 2. From Start-up Menu
When you turn on your system, you have few seconds to kick into the BIOS settings, dont miss out. Follow the steps;
Step 1 Restart your system and as it boots
you will witness a message telling you to press a key to enter the BIOS. Different machines have different keys for this purpose. However, most Dell systems display the message Press F2 to enter Setup. The key totally depends on your system, it can be F1, F8, F10, F11, or any other key. You can also search online about your systems BIOS key.
Step 2 Navigate to the Security tab and hit enter.
You can also expand the submenu with + key in some systems.
Step 3 Look for the TPM settings.
It will be labeled as TPM Devices or TPM Security. If you are using an Intel machine, it might appear as PTT or Intel Trusted Platform Technology. In some cases, it can appear as AMD TPM Switch. Be vigilant here, don't make the mistake to clear, update or restore it to factory default, as you will lose all data encrypted by the TPM.
Step 4 Find the switch that turns on the TPM.
You will be looking for a toggle or switch. Once you see it, use your arrow keys to flip that toggle or switch.
Step 5 Look for the Save option and save your settings.
Restart your system and the issue will be resolved.
Part 4. How to Enable Secure Boot
If the software you're trying to run is incompatible with the Secure Boot, the machine will refuse to load Windows properly even after enabling the Secure Boot. However, it may not happen every time you turn on the Secure Boot. Here are the methods to enable Secure Boot and solve the problem PC cant run Windows 11.
Method 1. From Windows 10s Start menu
As you already know the steps to reach UEFI Firmware Settings, use them first and then follow the steps mentioned below;
Step 1 Look for the Secure Boot setting.
Check under the tabs labeled as Boot, Security, or Authentication.
Step 2 Toggle the switch to turn it on.
Step 3 Find the Save option
And your system will reboot and bring you back to a normal Windows desktop. Sometimes, the method gets stiffer as some machines may restrict you from enabling Secure Boot due to certain reasons. In this situation, don't take any chances and get professional help.
Method 2. From Start-up
If you are not planning to work with UEFI, you can also enable Secure Boot in BIOS settings.
Step 1 Hit F2 or the BIOS key for your machine to enter the BIOS menu.
Step 2 Go into BIOS Setup and choose the option Advanced.
Step 3 Select Boot Options
Step 4 Find Secure Boot in that list and enable it.
Step 5 Save your settings and restart the system.
Conclusion
Microsoft has given some of the easiest ways to install Windows 11. Yet, many troubles may arise in the procedure. You are required to stay calm and find the root cause of the problem. Once you've understood the actual cause of the dilemma. You can use the preferred methods to get rid of it. Make sure you use every method step-by-step.