Edit PDF Image Files without Losing Quality
Editing PDF images can be very easy. Get the right PDF image editor here and follow a few simple steps to edit pdf images.
 100% Secure |
 Home
HomeThere is no denying that PDF is one of the most widely used and safest formats for sending documents between different devices. Most operating systems have a native PDF file reader, which will allow you to read a document. However, neither Windows nor macOS has a powerful enough PDF editor to edit PDF image files. Here, you can learn how to edit PDF as image files with Wondershare PDFelement - PDF Editor Wondershare PDFelement Wondershare PDFelement and more tools


 G2 Rating: 4.5/5 |
 100% Secure
How to Edit Image in PDF
PDFelement is an all-in-one solution to edit and manage your PDF files. Unlike most PDF editors, PDFelement will not only allow you to edit the text in your PDF file but also the images in the easiest possible way. With PDFelement, you can:
- Add images or change images in PDF.
- Change the size of your image and rotate it by 90 degrees.
- Change the transparency of the images in PDF.
- Crop PDF images to remove unwanted parts.
- Edit image text in PDF.
G2 Rating: 4.5/5 |100% Secure
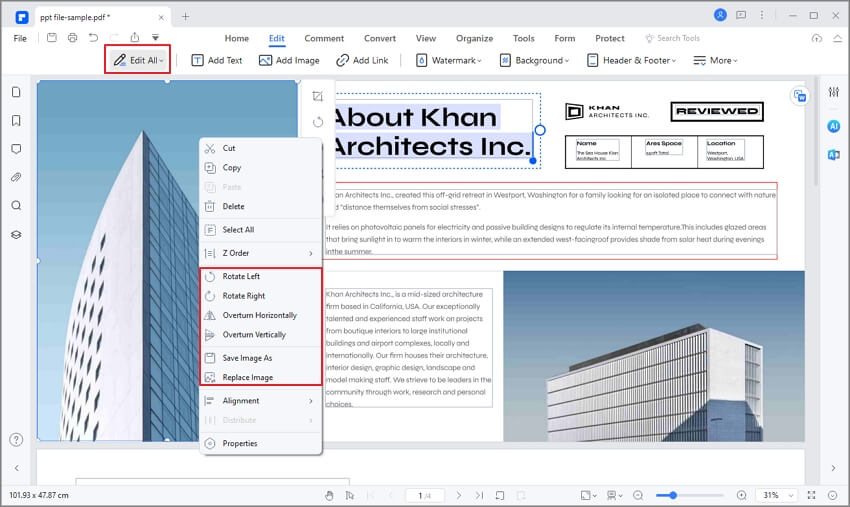
Here, you can learn how to edit an image in PDF with PDFelement. After opening the PDF document into PDFelement, click the Edit button, then right-click the image. You will get the option to rotate, overturn, extract, replace, or crop the image as you need.
1. Open File in PDFelement
After installation, open the PDF file in which you want to edit the images. To do this, click the "Open files" button on the Home window. Select the folder from where you want to open the PDF file and click on the "Open" button again.

2. Edit a Picture in PDF Document
Go to the Edit tab and click "Edit" to enable the image editing mode. You can right-click on the image and cut, copy, and paste the image, adjust its size, and position, or simply delete it according to your needs.
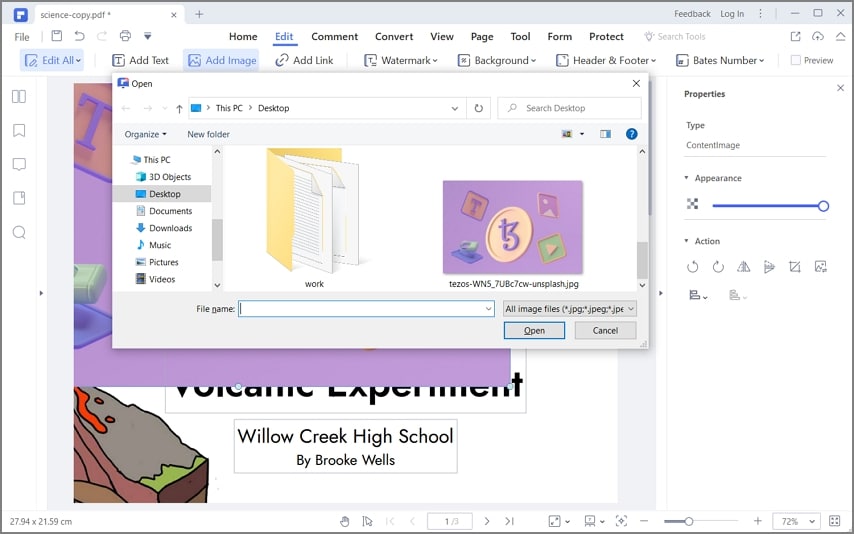
3. Add Images to PDF
If you want to add new images to your PDF file, click on the "Add Image" option and select the images that you want to add to the PDF file. Once the images have been imported, you can place them anywhere in your PDF file.
G2 Rating: 4.5/5 |100% Secure
4. Edit Image Text in PDF
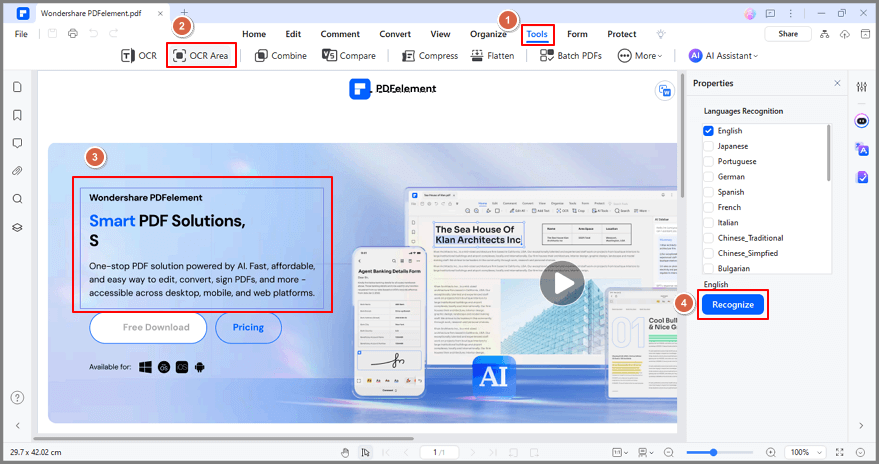
The image editing features of PDFelement don't end here. You can also edit image text in a PDF file with the latest OCR feature on PDFelement. It will automatically scan the image in PDF and allow you to edit the text in the image.
On PDFelement, go to Tools > OCR Area, select the image text that you need to edit, and select the language of the text. Once the OCR process is complete, you can change text in the image like Word.
G2 Rating: 4.5/5 |100% Secure
Edit PDF Image - How to Make a PDF Image Editable
Sometimes, you get an image in PDF format and don't know how to make the PDF image editable. This part will show you how to edit PDF image with 3 different methods: use a PDF editor, a photo editor, or an online tool.
1. Edit PDF Image with a PDF Editor
A PDF editor is a tool to view, create, and edit files in PDF. With a PDF editor, it becomes incredibly easy to edit a PDF image.Here we will show you how to edit PDF image with Wondershare PDFelement, a powerful and intuitive PDF editor for you.
- Open a PDF image in PDFelement. If it is a text-based PDF image, the PDF will be editable once it is opened in PDFelement. If it is an image-based PDF, proceed with the following steps.
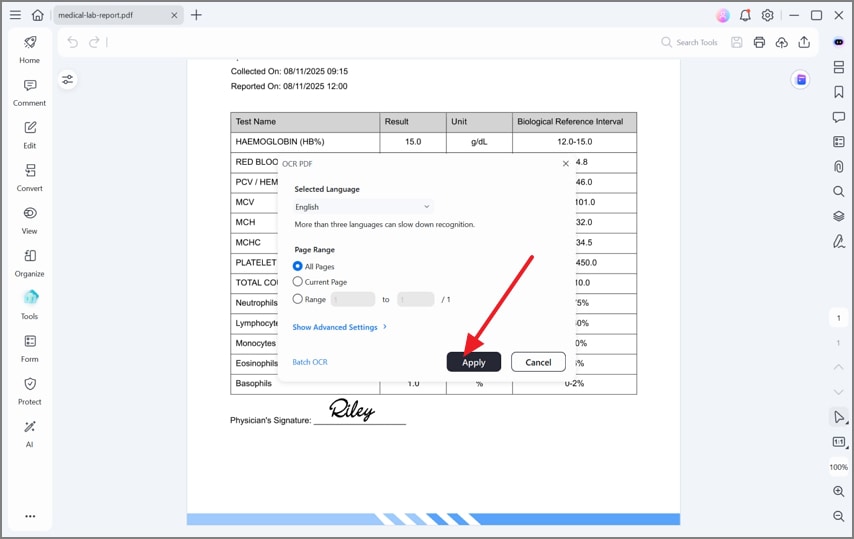
- Go to Tools > OCR. Select "Scan to Editable Text" and select the language of the PDF image and click Apply.
- After performing OCR on the PDF, the PDF image is now editable. You can edit text, images, links, and more on the PDF image.
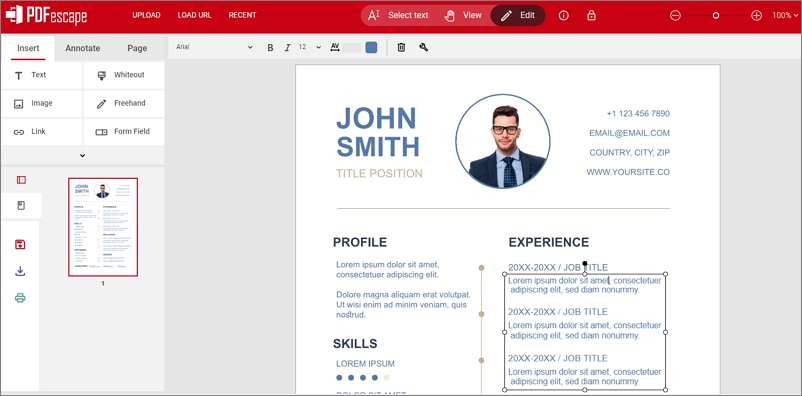
2. Edit PDF Image Online
An online PDF editor can also allow you to edit PDF images. You can change text, highlight content, add watermarks, draw on PDFs, and more. Here we will show you how to edit PDF images online by using PDFescape.
Tip: If your PDF is created from an image, you need to use an OCR tool to convert the PDF image to the editable version before you can edit it online. There are many image to text converters available online.
- Open PDFescape PDF editor online, and upload your PDF image online for free.
- After uploading, click the Edit button on the top menu to make the PDF image editable. You can also add text, images, and links with this online PDF editor
- Once you have done editing the PDF image, click Save and download the image.
3. Edit PDF Image with Photoshop
Photoshop is designed for photo editing, you can also use it to edit photo in PDF format. Here is how you can do it.
Tip: This solution is right for those who are familiar with Photoshop and have a Photoshop subscription.
- Launch Adobe Photoshop and open the PDF image within the application. Import the PDF image as pages to Photoshop.
- Copy and paste the layer to create a duplicate.
- Right-click the Lasso tool. Outline the text areas you wish to edit, then click Edit > Fill to remove the texts.
- Right-click on the area where the texts were removed and choose Deselect. Select the Text tool to add new text to the area.
Other PDF Image Editors on the Internet
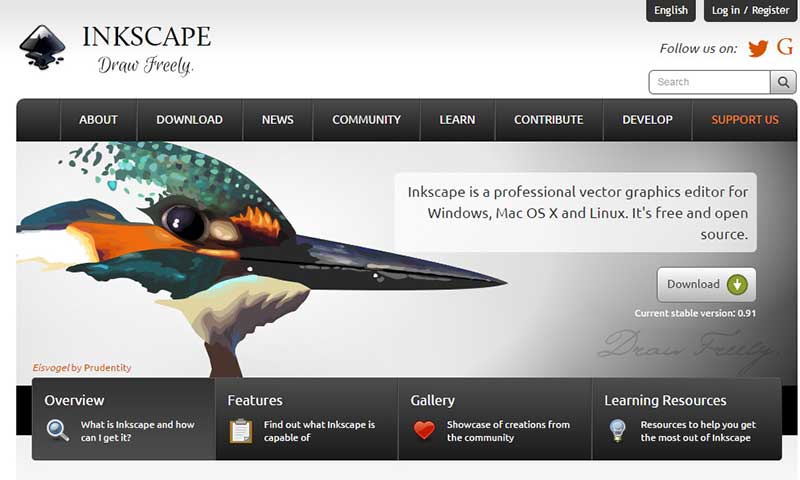
1. Inkspace
Inkspace is not a free PDF image editor yet. This Pro image editing application will let you import and export PDF files in the program. This program is not suitable for basic users as editing the text within the PDF file can become very difficult for most of the users. On the other hand, you can add different images or draw vector graphics within the PDF file. The whole PDF document will be divided into different layers, and you can edit every layer to cater to your needs.
Support OS: Windows
Price: Free
Rating: 3/5
2. CutePDF Pro
CutePDF Pro is not a standalone application to create or edit PDF files, but it is one of many tools that will work together with other programs. The image editing features are only present in the Pro version, and you will need to install another third-party plug-in to make this feature functional. Apart from that, this PDF image editor provides tons of features to edit PDF pages, including the ability to extract pages from your PDF file, add new pages, replace existing pages with new pages, or convert PDF files to other formats such as Image or doc, and DOCX.
Support OS: Windows
Price: $89.99
Rating: 3/5
Free Download or Buy PDFelement right now!
Free Download or Buy PDFelement right now!
Try for Free right now!
Try for Free right now!


Audrey Goodwin
chief Editor