PDFelement-Powerful and Simple PDF Editor
Get started with the easiest way to manage PDFs with PDFelement!
Photos capture moments in time we wish to cherish forever. Unfortunately, printed photos can deteriorate over time due to factors like fading, discoloration, or physical damage. Scanning them helps preserve the original image in a digital format, ensuring its longevity and preventing further degradation.
Scanning photos also allows you to create a digital archive, making it easier to organize and search through your photo collection. Digital photos can be sorted, tagged, and categorized, making it simpler to locate specific images when needed.
The good news is that scanning is now easier than before since you can do it using a device that is right in your pocket, your phone. Here are some methods you can use to scan photos with your phone:

Method 1: Scan Pictures With iPhone Using PDFelement
PDFelement app is an efficient scanning app available for iPhone users. It is the perfect solution when you want to digitize your printed photos and save those valuable moments you hold dear forever. It is an excellent contender when looking for the perfect scanner since it allows you to fine tune edges for a polished result.
Note: You should ensure the app has permission to access your iPhone camera to make the most out of it.
Here is a step-by-step guide to help you navigate scanning photos using PDFelement:
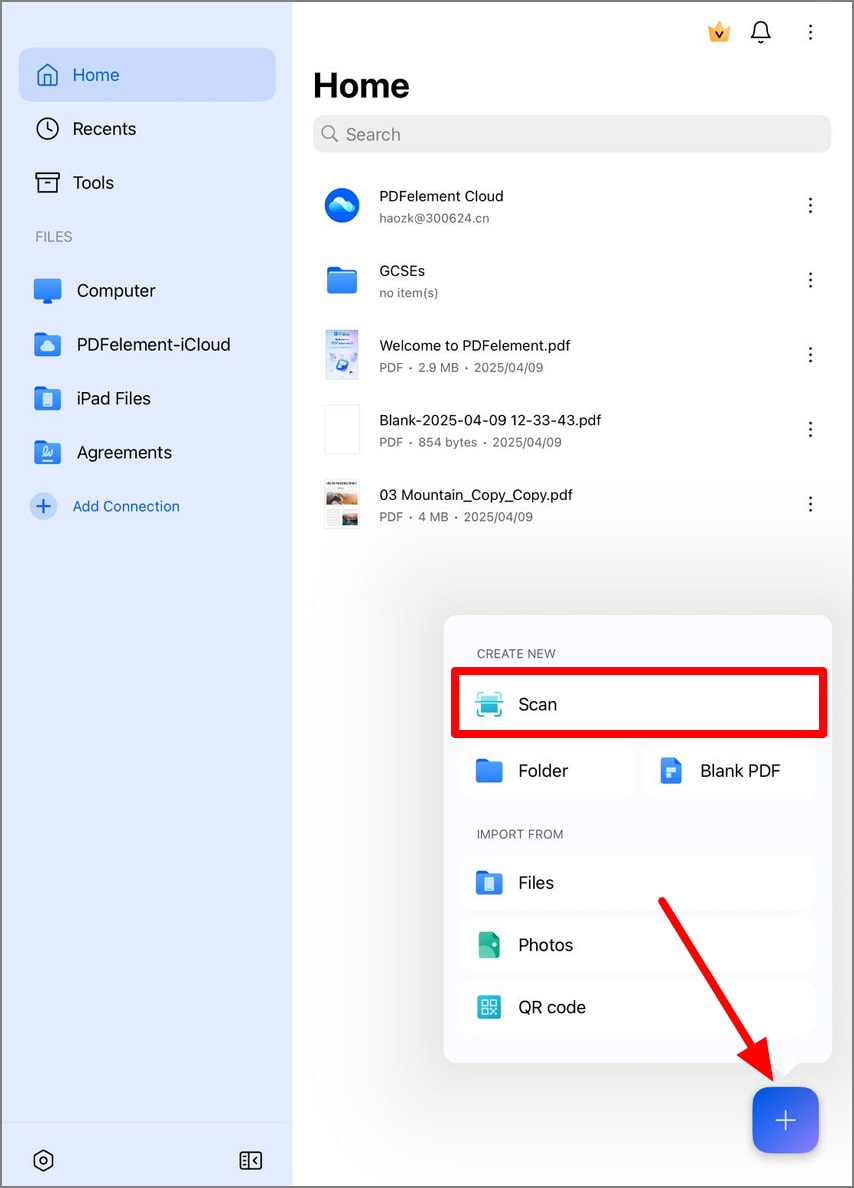
Step 1 Download the app from the App Store, launch it, and tap the Scan button to start the scanning process.
 .
.Step 2 After taking a picture of the printed photos, you can look at the thumbnail to get a preview of the picture. If they meet your expectations, tap the green Next icon to continue.
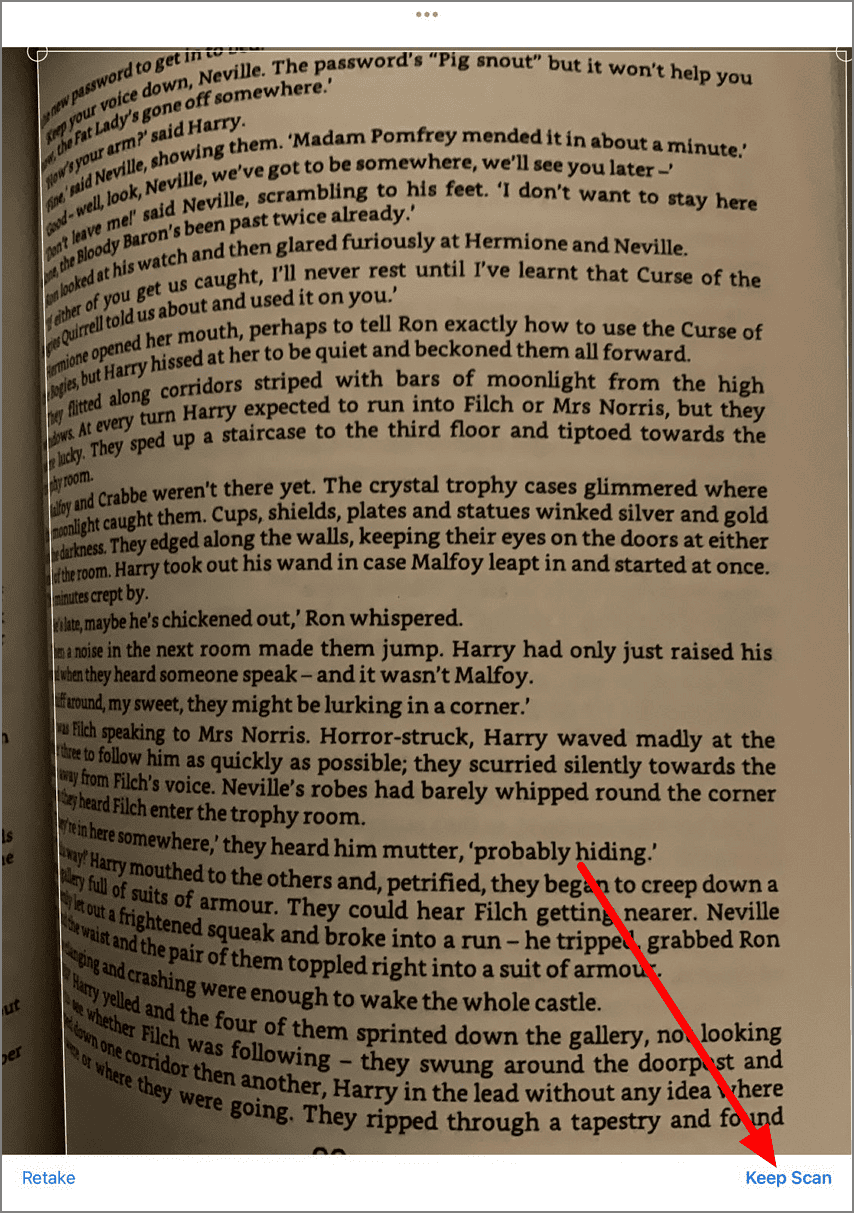
Step 3: Check out the different customization options to help you refine your scanned documents. You can crop the scanned document by activating the cropping function. The crop window has several options to help you expand the cropping area and rotate the picture to the right or left as you crop.
Step 4: Tap the Organize button to access the Organize window, where you can add new pages, copy and paste, delete pages, or merge pages.
Step 6: Finally, tap on the Done button to finalize the scanning process. Then, save your scanned files.
Method 2: Scan Photo With Phone Using Dropbox App
iPhone and Android users also have the option of using Dropbox App to scan documents and photos. The app allows users to scan and organize their digital files to their mobile device. Follow the steps below to learn how to scan photos with the Dropbox Scan app:
Step 1 Start by opening the Dropbox Scan app on your phone.
Step 2 At the bottom of the screen, you will see a camera icon. Tap on it to launch the camera.
Step 3 You have the option to either choose an image from your camera roll or take a new picture of the photos you want to scan.
Step 4 Make any additional edits and changes. You can rename by tapping on the pencil icon, add additional pages by tapping Add page or reorder the scans by tapping Reorder button.
Step 5 After you have made all the necessary edits, Tap "Done."
Note: Connecting your Dropbox account will automatically send your scans for a folder labeled Scans.
Here is how to connect your Dropbox account:
- Open the Dropbox Scan app.
- Click Connect. It is next to the Dropbox logo.
- Follow the prompts you will be provided.
You can also use the images in your Dropbox accounts and convert them to scans. The image should be a .jpg, .jpeg, or .png to be converted to a scan.
Below is a guide for converting images in your Dropbox account to scans:
Step 1 Open the Dropbox app.
Step 2 Tap "..." (ellipsis) next to the file you want to make a scan from.
Step 3 Click on Save as Scan.
Step 4 Make any additional edits or add more pages to your scanned file.
Step 5 Tap Next and make any final adjustments to the save settings. Once you are done, tap Save.
For best results when scanning your photos with Dropbox app:
- Ensure that your printed photo is not crumpled.
- Only include part of the photo you wish to scan.
- Ensure that there is no glare on the photo you want to scan.
- Hold your camera directly above the printed photo.
Method 3: Scan Photo to PDF With Your Android Phone's Camera
Android users also have several options for scanning photos using their phones without needing to install a scanner app. There are several ways you can scan a photo using your Android phone's camera (depending on your device)
For example, if you have a Samsung Galaxy Device, follow the following steps:
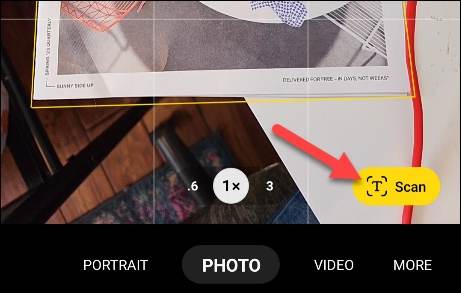
Step 1 Open your camera and ensure the whole printed photo is in frame. When the camera detects the document, a Scan button will appear at the bottom corner. Tap on it.
Step 2 Adjust the corners.
Step 3 Once you have finished, tap Save.
You can also scan photos directly from your Xiaomi's phone camera with the following steps:
Step 1 Open the camera app.
Step 2 On the camera menu, click on More. You should see the item Documents.
Step 3 Point at the photo you want to digitize then take a picture of it. The app will automatically crop the image, removing unnecessary background mess.
Step 4 Use the filters available to enhance the photo to your liking.
Step 5 Save the scanned photo as a PDF in the gallery.
Method 4: Scan a Photo on Your Phone With CamScanner
You can also scan photos using the CamScanner app on Android phone or iPhone. The app allows you to scan photos, then save, and share any documents in PDF, JPG, Word, or TXT formats. After scanning a document, you can select the visualization of a page such as a color document, black and white. There are other options to remove any ambiguity if present.
Here are the steps to scan photo with CamScanner app:
Step 1 Download CamScanner from the Play store, launch it and open it on your phone.
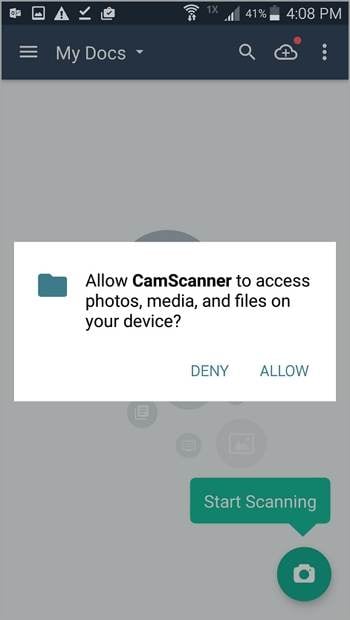
Step 2 Grant CamScanner the permission to access photos, media, and files on your mobile device.
Step 3 Tap the camera scan icon at the bottom right corner. Then, allow CamScanner to capture pictures and record video.
Step 4 Choose whether to go with the single page mode or multiple page mode. Then, capture your photos under good lighting conditions.

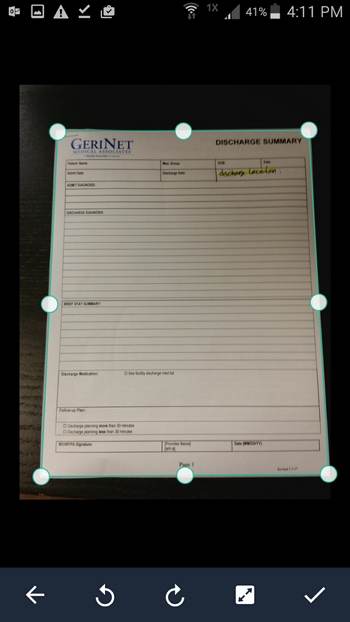
Step 5 Adjust the document to your liking. Once you are satisfied with how the scanned files look, tap the checkmark button at the bottom right corner.
Step 6 Rename the scanned file and tap OK.
Method 5: Scan a photo on your phone with Photomyne
Photomyne app is a robust and versatile scanning tool that covers a wide range of items. Whether it's precious photos, slides, negatives, your children's artwork, important documents, or even scrapbooks, the app has you covered.
Its capabilities extend beyond mere photo scanning, allowing you to digitize various materials and formats with ease. With Photomyne, you can unlock the potential to preserve, organize, and share an extensive array of valuable and cherished items, all conveniently captured and stored within the app.
Here is a step-by-step guide for scanning Photos with Photomyne:
Step 1 Download and open Photomyne App.
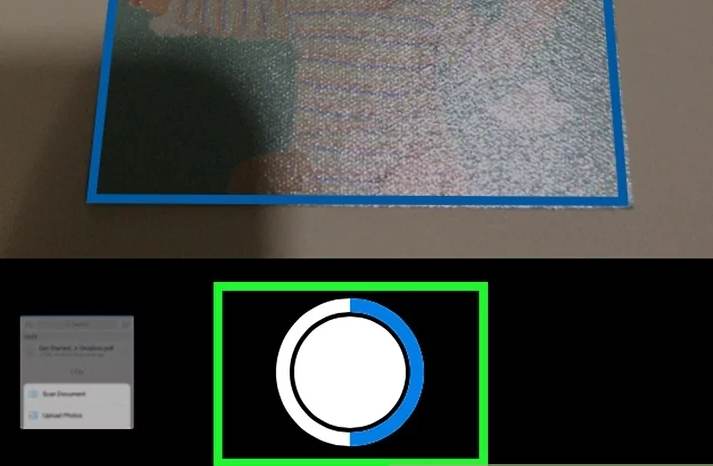
Step 2 Put your phone above the phone album and ensure the lighting is sufficient. Then, tap on the camera icon and wait until the circle is full.
Step 3 Repeat the process for all other photos you want to scan. You also have the option of scanning up to four scans at a time.
Step 4 Tap Done and review the scans. You can automatically crop and adjust the boundaries.
Step 5 Save the scanned photos to an album. Then, add additional details like the title, year and location to the scanned photo.
Step 6 You can edit photo appearances using the preset filters. You can also move and reorder one or a bunch of photos. You can also share the scanned photos with your friends and family.
Conclusion
Scanning photos offers numerous advantages in preserving, organizing, and sharing memories. By digitizing physical photos, you can protect them against deterioration, ensuring their longevity. Scanned photos can be easily organized, tagged, and searched, making it convenient to locate specific images within a digital collection. Furthermore, scanning enables easy sharing with friends and family through various digital platforms, bridging geographical distances. It helps that scanning has become easier with the different scanning apps available to use on iPhone or Android.
 Home
Home

