
In this article
- What “Add a Border to a PDF” Means
- Quick Choice Guide For Adding Borders to PDFs
- Workflow: Prepare Safe Spacing First with Page Margins
- Workflow: Precise Borders with PDFelement
- Workflow: Add a Border Online (Fast, No Install)
- Workflow: Decorative Frames via Background Images
- Design Choices that Matter (Readability & Print)
- Quick Recipes: Copy & Adapt
PDF format is often used to share documents and files across platforms and devices. As the recipient reviews the document, readability plays a vital role in how quickly they read it. Adding a border to PDF files enhances visual structure, improves readability, and creates a more professional document appearance.
Well-designed borders separate content clearly and reduce visual clutter, making documents easier to present. This article is a detailed guide to adding a border to a PDF file for better organization and readability.
What “Add a Border to a PDF” Means
Adding a border to a PDF means applying a visible frame around each page for professional presentation. It involves choosing vector or decorative styles, page scope, and suitable print safety margins.
Common Use Cases
- Reports: Borders enhance structure and guide reader focus.
- Certificates: Decorative borders add formality and authenticity.
- Worksheets: Simple vector borders organize problem areas.
- Flyers: Eye-catching borders frame content creatively.
- Legal Documents: Clean borders define margins clearly.
Key Choices for Each Use Case
- Vector Line vs. Decorative Image
- Single Page vs. All Pages
- Print Safety (Margins/Bleed)
- Editable vs. Permanent
Quick Choice Guide For Adding Borders to PDFs
| Route | Best For | How it Works | Why Choose It |
|---|---|---|---|
| Precise control and batch apply-to-all | Professional documents | Use a PDF editor like PDFelement | Maximum accuracy and consistency |
| Fast, no install | Quick one-time edits | Use an online PDF editor | Saves time |
| Decorative frame graphic | Creative layouts | Insert PNG or SVG background | Custom branded designs |
Workflow: Prepare Safe Spacing First with Page Margins
Why First: Adding margins before the border prevents text from touching the frame or being trimmed on print.
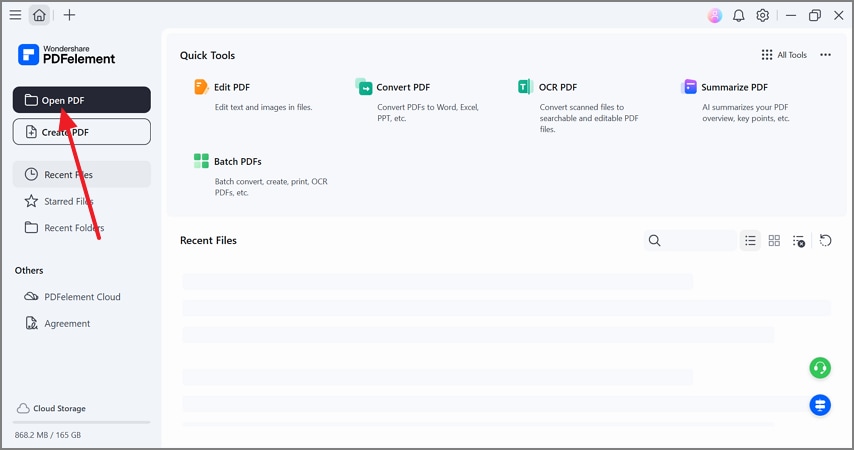
Step 1Open a PDF File on PDFelement
Select the “Open PDF” button on the top left and load your document.
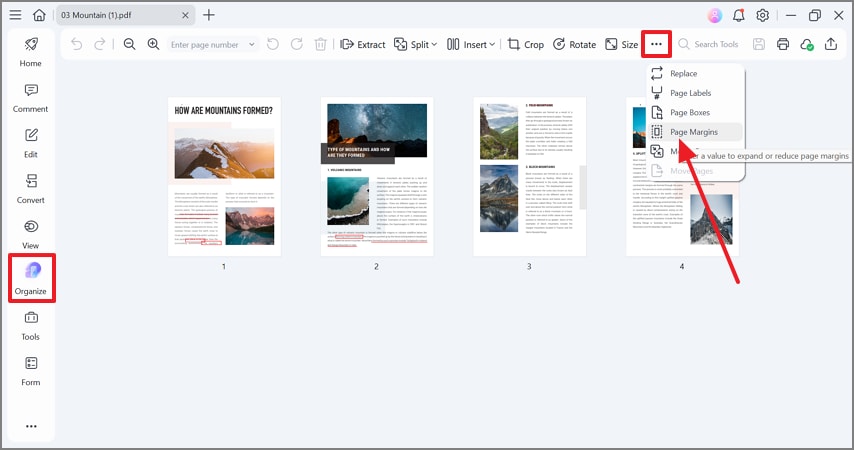
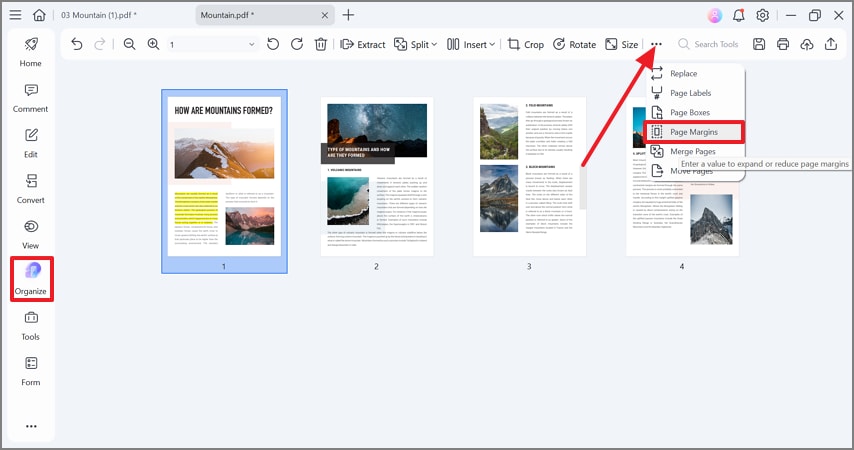
Step 2Use the Organize Mode to Add Page Margins
Enter the “Organize” mode and choose “Page Margins.”


 G2 Rating: 4.5/5 |
 100% Secure
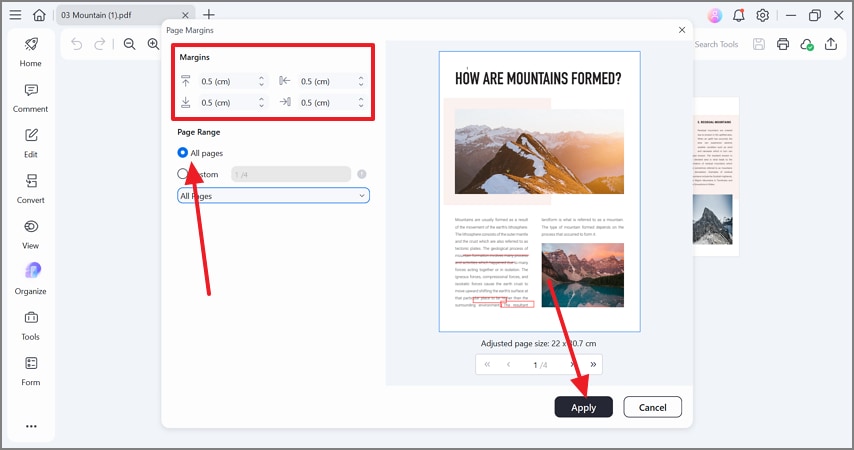
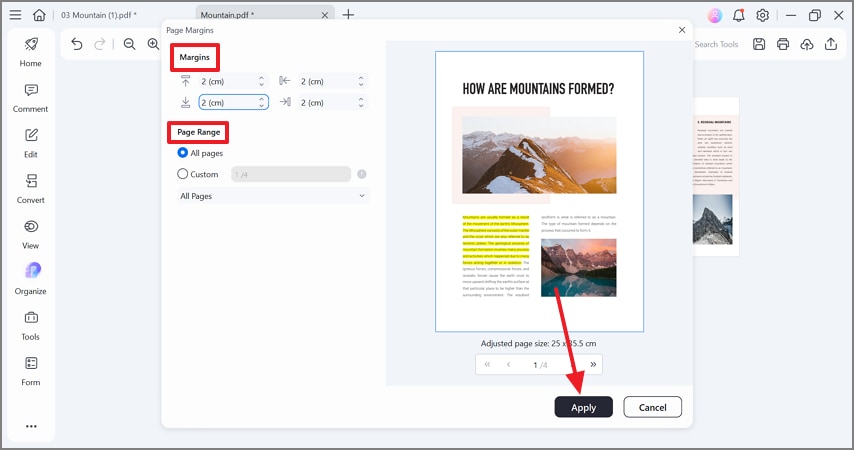
Step 3Set the Margins to All Pages
Set all four margins and apply them to all pages.
Workflow: Precise Borders with PDFelement
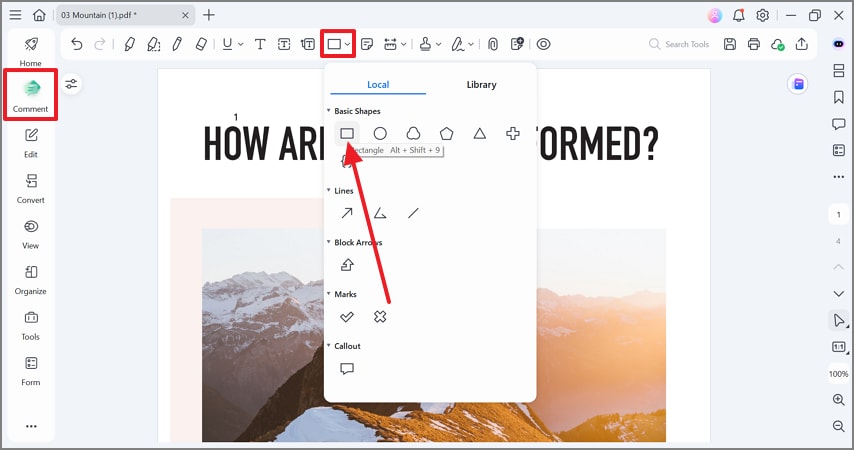
Draw the Vector Border (Rectangle)
Step 1Open a File on PDFelement

Step 2Add a Rectangular Frame to the Page
G2 Rating: 4.5/5 |100% Secure
Style the Border via Properties
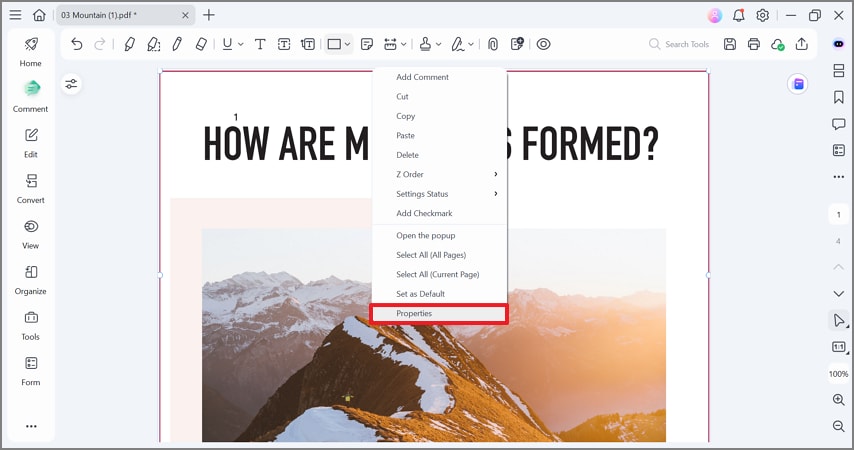
Step 1Enter Frame Properties
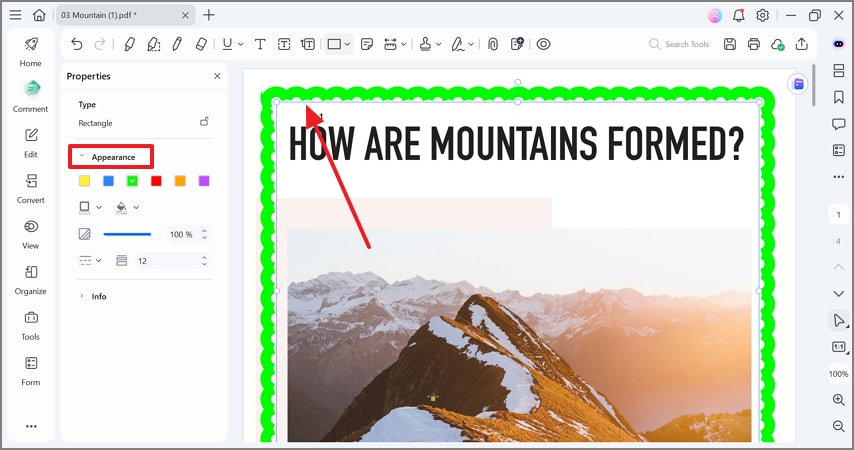
Step 2Set Border Appearance
Workflow: Add a Border Online (Fast, No Install)
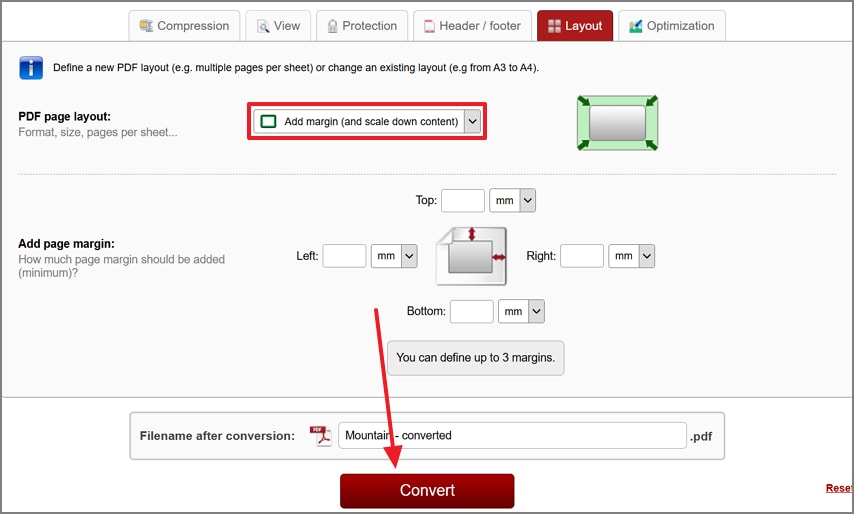
Upload the PDF to an online editor, add margins, and download the file.
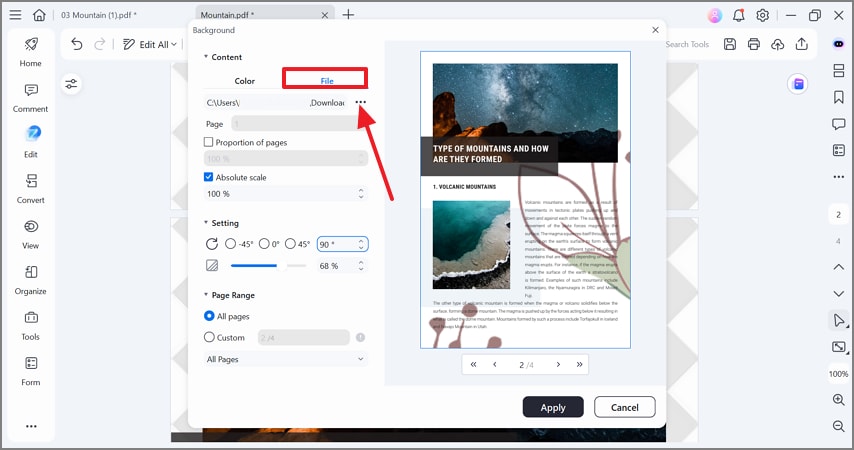
Workflow: Decorative Frames via Background Images
Step 1Add a Background Image
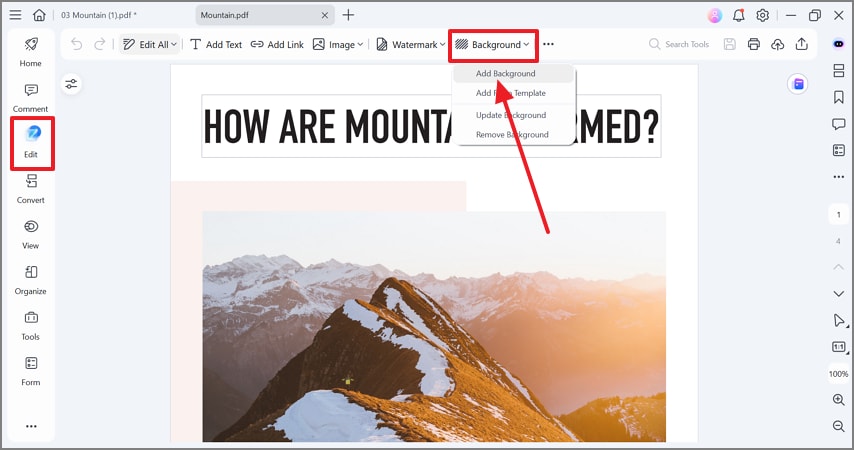
Step 2Import a Transparent Image
G2 Rating: 4.5/5 |100% Secure
Design Choices that Matter (Readability & Print)
Step 1Add Page Margins
Step 2Set Margins and Page Range
G2 Rating: 4.5/5 |100% Secure
Step 3Set Frame Opacity
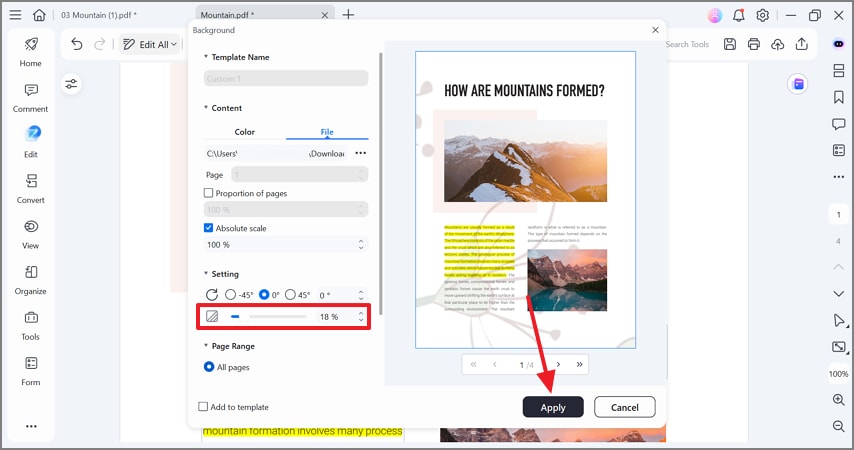
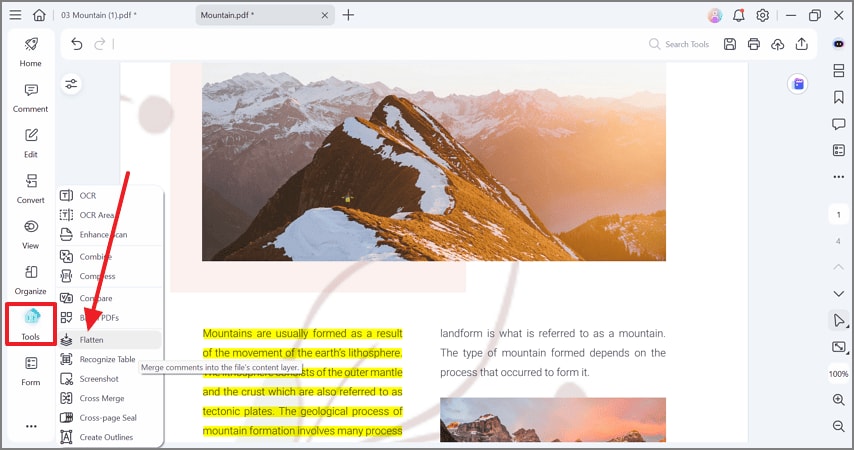
Step 4Flatten and Save
People Also Ask
-
Can I add a border to all pages at once?
Yes, you can copy borders across all pages using PDFelement. -
Should I use vector or image borders?
Vector borders offer better control and scalability. -
Will borders print correctly?
They will if kept within safe margins and flattened.
Quick Recipes: Copy & Adapt
- Professional Report: 12–15 mm margins with a thin gray rectangle.
- Certificate: Decorative PNG or SVG background frame.
- Worksheet: Larger margins and thicker borders.
Conclusion:
Set margins first, add clean vector borders, style them carefully, and flatten the PDF for professional, print-ready results.

