
A contractor reviewing site drawings often needs to crop a PDF in Bluebeam to remove unwanted margins and focus on essential details. When large plans contain extra whitespace or irrelevant sections, trimming them helps create cleaner, more professional documents. Bluebeam Revu makes this process straightforward with built-in tools for precise page adjustments, batch cropping, and quick refinements.
Whether you're preparing construction plans, engineering diagrams, or client deliverables, mastering this feature saves time and improves clarity. In this guide, you'll learn the most effective ways to crop PDFs in Bluebeam and streamline your document workflow.
In this article
- What You'll Accomplish When You Crop a PDF in Bluebeam
- Fast Decision Tree: Pick Your Path for Cropping PDFs in Bluebeam
- Essential Bluebeam Tools for Cropping and Layout
- Workflow A — Clean Page Edges with Standard Bluebeam Crop
- Workflow B — Apply a Consistent Crop Across a Plan Set
- Workflow C — Use Bluebeam Crop Snapshot for Details and RFIs
- Workflow D — Crop and Adjust Page Size/Margins for Print-Safe Output
- Quick Quality Checks After Cropping PDFs
- When to Use PDFelement for Advanced PDF Cropping
Part 1. What You'll Accomplish When You Crop a PDF in Bluebeam
Cropping PDFs in Bluebeam helps you clean up drawings, remove unnecessary elements, and highlight the exact information you need. Whether you're working with construction plans, engineering diagrams, or client-ready documents, these skills ensure your files look polished and stay organized.
- Precisely perform Bluebeam crop PDF to remove borders, title blocks, or unwanted areas, keeping only the essential details.
- Apply a single crop across the current page, selected pages, or the entire document for consistent and polished plan sets.
- Capture regions with Bluebeam Crop Snapshot to reuse for RFIs, markups, presentations, or reports.
- Export clean, print-ready sheets or high-quality detail images for reuse in other documents or workflows.
Part 2. Fast Decision Tree: Pick Your Path for Cropping PDFs in Bluebeam
Cropping PDFs in Bluebeam doesn't have to be complicated. This quick decision tree helps you choose the right approach efficiently:
- Trim Edges/Margins on One or Many Pages → Use Crop Pages (page-canvas crop) to quickly remove unwanted borders.
- Isolate a Detail for Reuse → Use Snapshot (region capture) to select the area, then paste or export it as needed.
- Standardize a Whole Set → Apply Crop Pages with page-range or preset to remove the same border across multiple pages consistently.
- Prepare Print-Safe Sizes/Bleed → Combine crop and page size/margin adjustments to ensure sheets are ready for printing.


 G2 Rating: 4.5/5 |
 100% Secure
Part 3. Essential Bluebeam Tools for Cropping and Layout
Mastering the basic tools in Bluebeam makes cropping and organizing PDFs precise and efficient. These core features help you control page layout, isolate important details, and maintain consistency across your documents.
Key Bluebeam Tools
- Crop Pages: The crop on Bluebeam trims the printable canvas, directly affecting what appears in outputs. Use it to remove unnecessary borders or whitespace for a cleaner presentation.
- Snapshot: Captures any selected region as an image object. You can paste, scale, or export it for reuse in other documents or markups.
- Apply to Pages: Lets you choose whether changes affect the current page, all pages, odd/even pages, or custom page ranges. This ensures consistent results across single or multiple documents.
- Rulers/Guides: Provide precise reference lines for accurate insets on your drawings. They help maintain alignment and spacing when cropping or marking up PDFs.
Part 4. Workflow A — Clean Page Edges with Standard Bluebeam Crop
When your goal is to remove extra borders, whitespace, or irrelevant areas from your PDFs, using Bluebeam's standard crop function is the fastest and most precise method. This workflow ensures that every page looks clean, professional, and ready for printing or sharing without accidentally cutting important content. By setting exact insets and applying them across the desired pages, you maintain consistency across single sheets or entire plan sets.
Steps For Using Standard Crop in Bluebeam
Step 1
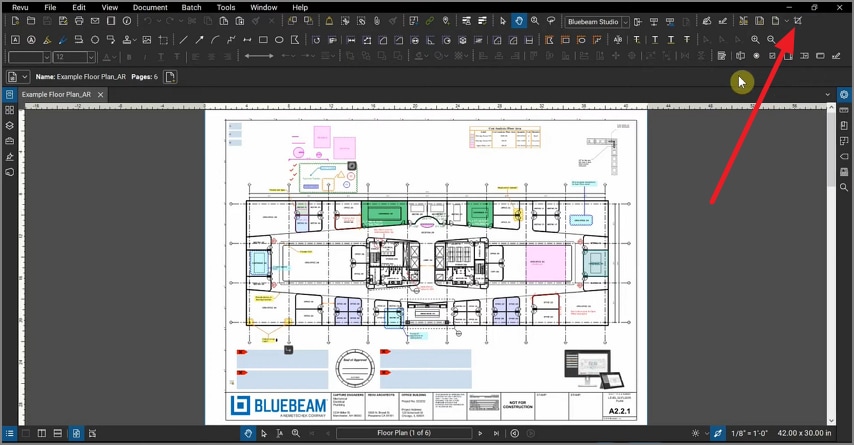
To learn how to crop a PDF in Bluebeam, begin by importing the PDF document and heading to the toolbar at the top. Now, locate the "Crop Pages" icon on the right and click on it. Drag the cursor on the area that you want to crop.
Step 2
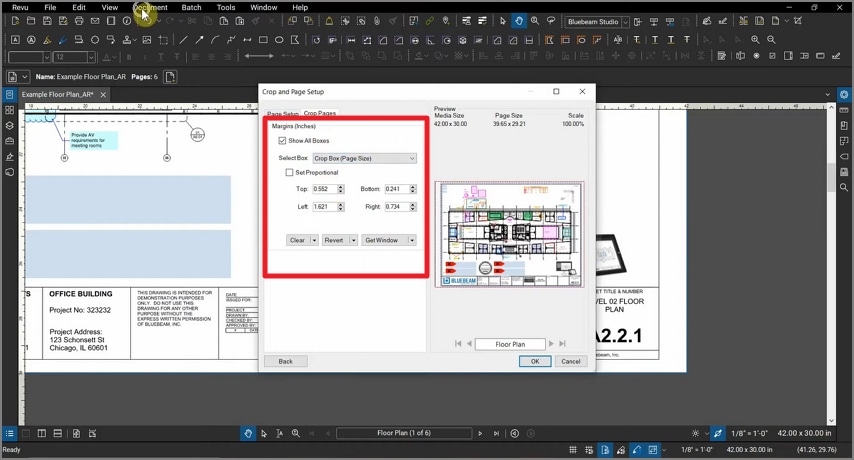
In the following small window, select the "Offsets" and other settings such as "Top," "Bottom," "Right," and "Left," and press the "OK" button to execute the crop.

G2 Rating: 4.5/5 |100% Secure
Part 5. Workflow B — Apply a Consistent Crop Across a Plan Set
When working with multiple sheets that share the same border or title-block layout, applying a uniform crop saves time and keeps your plan set consistent. This workflow ensures all pages maintain the same clean edges while allowing adjustments for sheets with slightly different layouts. By measuring a representative sheet and applying the crop across the set, you can streamline your workflow and maintain professional, organized PDFs.
Steps for Applying a Consistent Crop Across a PDF
Step 1
Launch the tool and import your PDF document. Now, head to the toolbar at the top-most bar and select the "Document" option. Now, click on the "Crop Pages" option from the expanded list to crop on Bluebeam.

Step 2
Moving forward, expand the "Pages" drop-down menu in the following small window and select "All Pages." Next, drag the cursor to select the area for cropping.

G2 Rating: 4.5/5 |100% Secure
Step 3
Now set the measurements such as Offset, Left, Right, Top, Bottom, and hit the "Ok" button to complete the process.

Part 6. Workflow C — Use Bluebeam Crop Snapshot for Details and RFIs
When you need to isolate specific details, callouts, or regions from a larger PDF, Bluebeam's Crop Snapshot tool makes it easy to capture and reuse them. This workflow is ideal for creating focused images for RFIs, markups, presentations, or coordination sets without altering the original sheet. By capturing only the necessary area, you maintain clarity and save time when sharing or annotating important information.
Steps for Using Snapshot in Bluebeam to Crop
Step 1
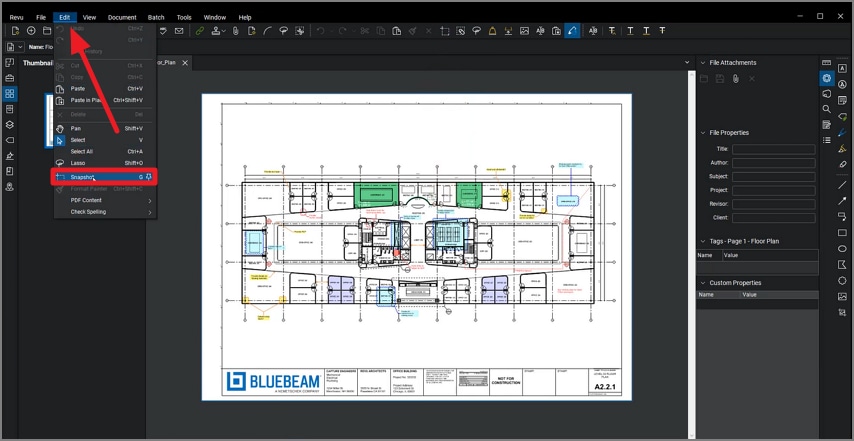
After importing the document, head to the top toolbar and expand the "Edit" menu. Now, locate the "Snapshot" option and click on it.
Step 2
Select the area on the page that you want to crop by dragging the slider. As you release the cursor, a snapshot of the selected part will be taken.

G2 Rating: 4.5/5 |100% Secure
Step 3
Next, right-click and choose "Paste" to paste your cropped page area wherever you want and perform a Bluebeam crop with a snapshot.

Part 7. Workflow D — Crop and Adjust Page Size/Margins for Print-Safe Output
For documents that will be printed or plotted, simply cropping isn't always enough. Adjusting page size and adding margins ensures your content remains fully visible and accurately scaled, preventing important details like callouts, legends, or scale bars from being cut off during printing. This workflow guarantees professional, print-ready PDFs that maintain clarity and consistency across all sheets.
Steps to Prepare Print-Safe PDFs:
Step 1
After using Crop Pages, adjust the sheet to A3, 11×17, or your required format.
Step 2
Include small margins to ensure plotters don't trim callouts, legends, or scale bars.
Step 3
Print a single sheet to verify that all scale bars, titles, and critical details remain fully visible.
Part 8. Quick Quality Checks After Cropping PDFs
Even after carefully cropping PDFs in Bluebeam, performing a fast quality check ensures nothing important is lost or misaligned. These checks help catch clipped content, scaling issues, or disordered pages before sharing or printing:
- Inspect Crop Lines: Check along the crop edges for clipped dimensions, revision clouds, or important annotations. Make adjustments if any critical information is partially cut off.
- Verify Scale Bars: Ensure all scale bars remain accurate and correctly positioned after cropping or resizing. This prevents measurement errors on printed sheets.
- Check Page Count and Order: Confirm that the total number of pages, their order, and sheet orientation match your plan set requirements. Missing or disordered pages can cause confusion during review.
- Review Titles and Legends: Make sure all titles, legends, and headers are fully visible and legible. Adjust crops or margins if any text is partially obscured.
- Spot-Check Key Details: Randomly review critical areas, such as sections or details that are often referenced. This ensures that nothing important is accidentally excluded.
Part 9. When to Use PDFelement for Advanced PDF Cropping
For projects requiring repetitive cropping or object-level edits that go beyond crop on Bluebeam's capabilities, PDFelement offers a powerful complement to your toolkit. Its cropping features allow you to apply consistent crop settings across multiple PDFs quickly, saving time and ensuring uniformity. Whether preparing plan sets, reports, or client deliverables, PDFelement provides precise control over page layout and crop templates, making large-scale editing effortless.
Beyond cropping, PDFelement includes robust tools for annotating, converting, and securing PDFs. These features make it a versatile all-in-one solution for managing PDFs in professional workflows, allowing you to combine editing, organization, and output standardization. To handle tasks beyond Bluebeam's scope, Wondershare PDFelement can seamlessly complement your toolkit. Let us observe these features in the section below:
Batch Crop Many PDFs
Batch cropping in PDFelement is ideal for repetitive tasks. You can add multiple files, apply a reusable crop template, and define the output folder and naming conventions. This method ensures all documents follow the same crop specifications, saving time and reducing errors when working with large sets of PDFs.
Step-by-Step Guide to Batch Crop PDFs Using PDFelement
As discussed, PDFelement provides a comprehensive solution to crop multiple documents. Let us have a look at how to perform the task using this incredible tool:
Step 1Access Batch PDF Feature
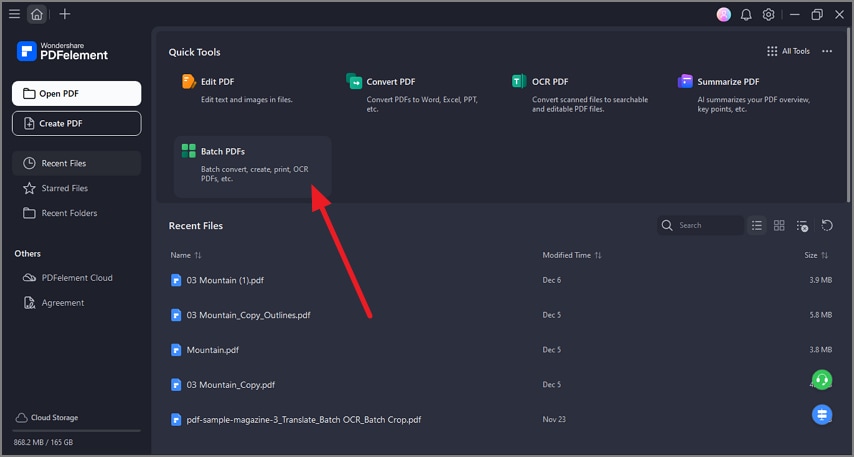
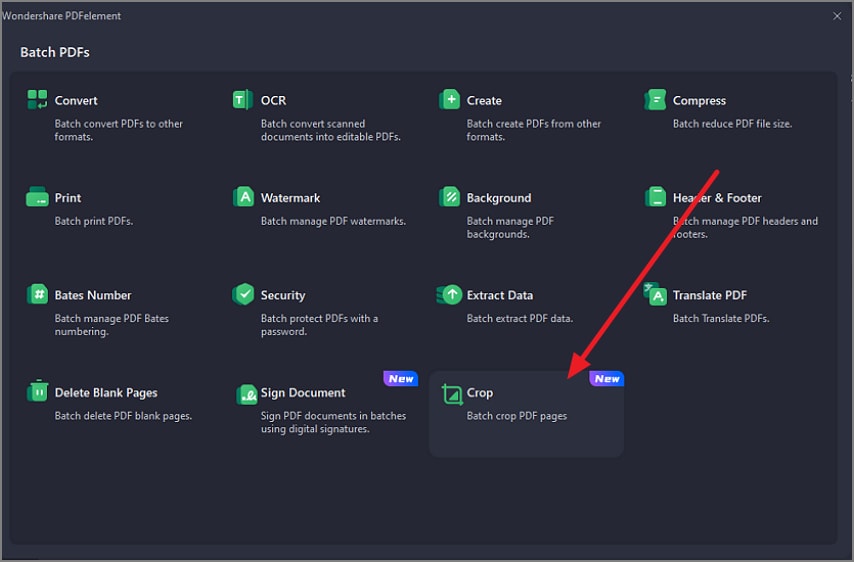
To begin the process, launch PDFelement on your device and select the "Batch PDFs" option under the "Quick Tools" section.
Step 2Choose the Crop PDFs Option
In the following window, locate and click on the "Crop" option to proceed.
G2 Rating: 4.5/5 |100% Secure
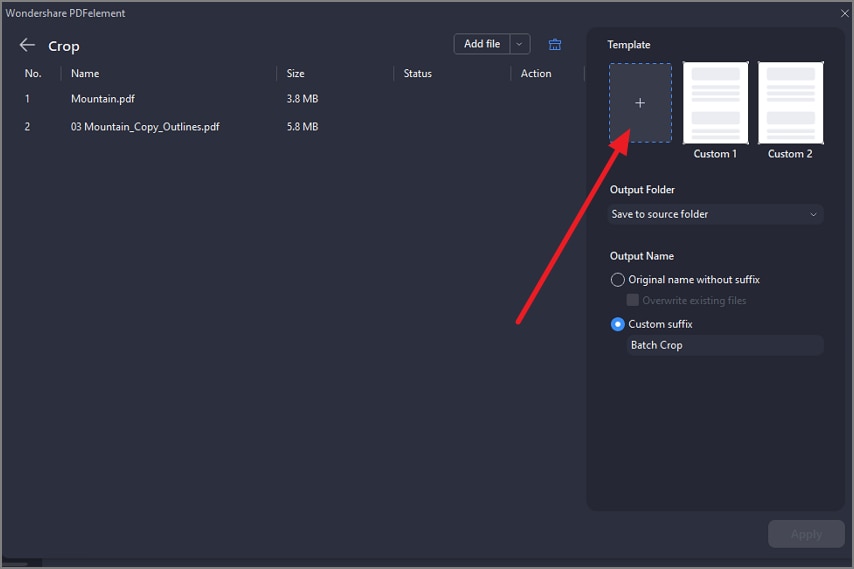
Step 3Import Documents Select Templates
Now, import your PDF files for crop and press the "+" option on the right to customize the template for crop.
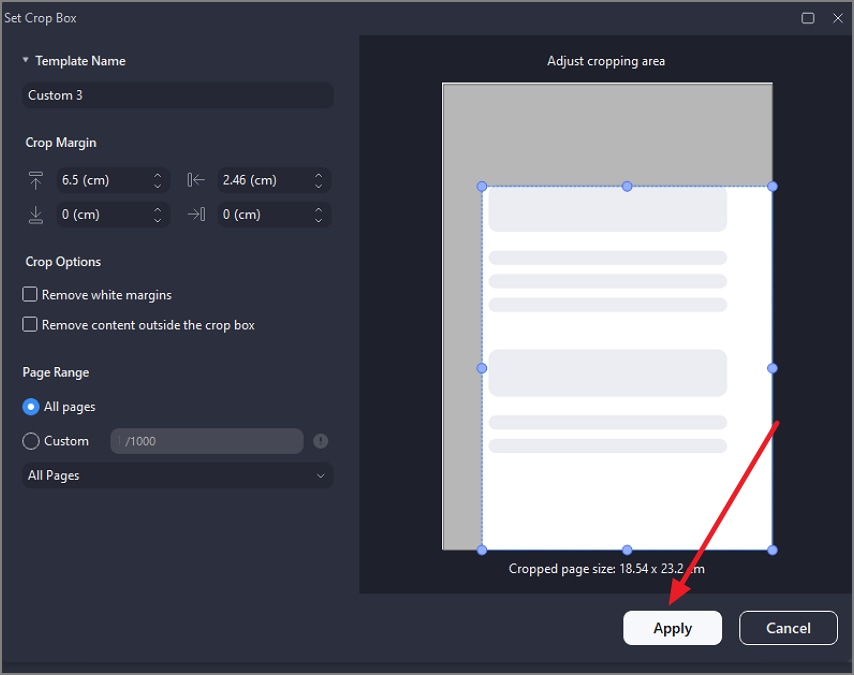
Step 4Adjust Crop and Apply
Adjust the cropping area by dragging your cursor or simply specify the measurements in the designated fields on the right. Once the selection is made, press the "Apply" button to save the crop.
Crop Image Objects Without Changing Page Canvas
PDFelement allows cropping individual image objects, such as logos or photos, directly within the PDF, unlike cropping a PDF on Bluebeam. This approach maintains the original page layout while letting you focus on editing only the image content, providing flexibility that page-level crops cannot achieve.
Comprehensive Steps for Cropping an Image Object in PDFelement
After learning about the image crop feature in PDFelement, let us have a look at the guide on how to use this utility:
Step 1Select Image and Access Tool
After importing the document to the tool's interface, head to the image you want to crop and click on it. This will open a floating toolbar on the side of the picture. Locate and click the "Crop" icon from there.
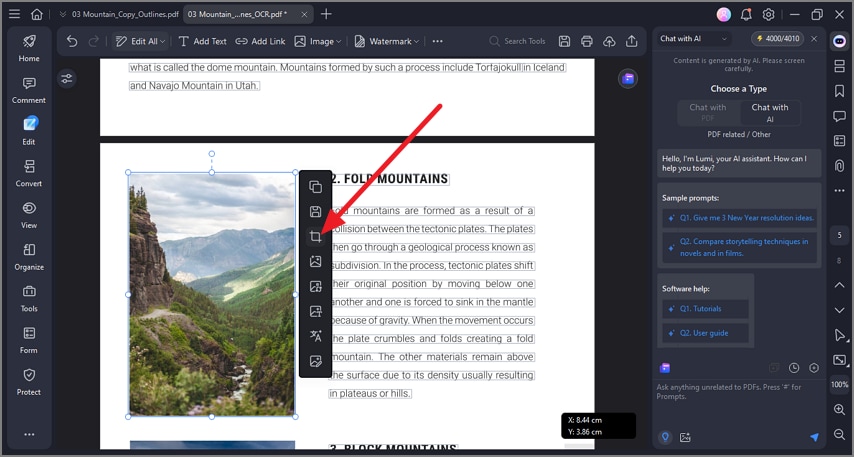
Step 2Crop Area By Selecting
Now, drag the ends of the image to select the area you want to keep in the crop. Release the cursor to save the cropped area within the document.

Print-Safe Boxes for Press Work
For documents destined for printing, PDFelement enables precise control over crop, trim, bleed, and art boxes. Coupled with page size, resize, and margin adjustments, these tools ensure all sheets are standardized and ready for professional press output. This minimizes the risk of cut-off elements or misaligned content, which is not likely to crop on Bluebeam.
Step-By-Step Guide to Crop Print-Safe Pages in PDFelement
As discussed above, PDFelement provides the ability to perform precise cropping with consistent results. Follow the steps mentioned below to learn how to perform the print-safe crop using PDFelement:
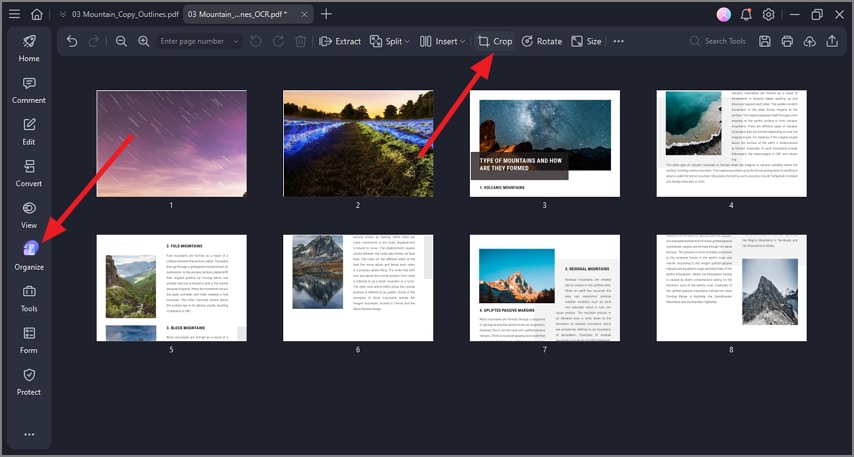
Step 1Select Organize and Crop
Once you have accessed the document within the tool's interface, head to the toolbar on the right and click on the "Organize" option. Next, press the "Crop" option located at the top toolbar.
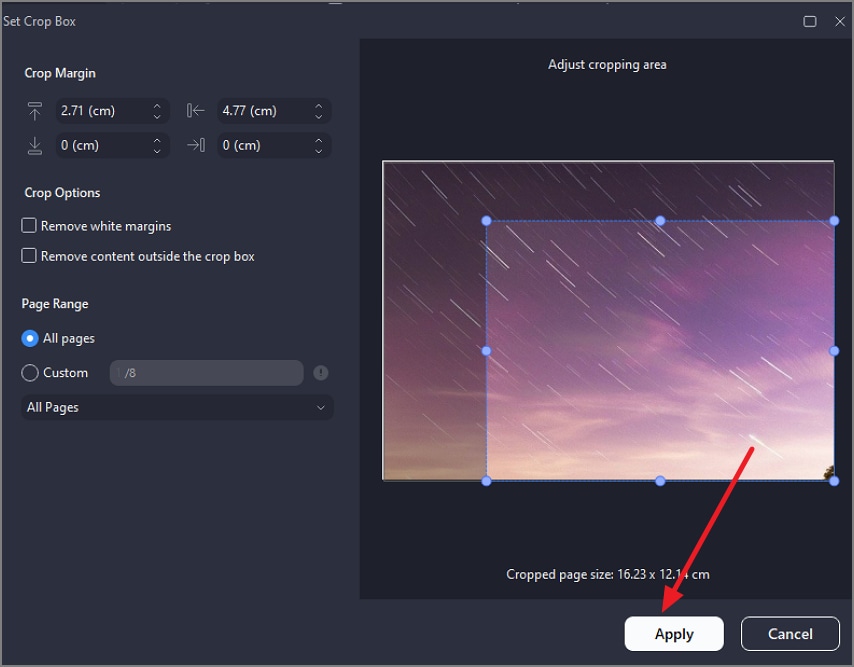
Step 2Select Area and Crop
In the following window, specify the crop by adding measurements or simply selecting the area. Execute the cropping process by pressing the "Apply" button.
People Also Ask
-
What is the difference between Crop Pages and Snapshot in Bluebeam?
Crop Pages trims the entire page canvas, affecting all content, while Snapshot captures only a selected region as an image for reuse. For more precise object-level edits, PDFelement offers flexible image cropping without altering the page. -
How do I apply the same crop to all pages?
Use the Crop Pages tool, select your inset values, and choose "All Pages" or a custom page range for uniform results. PDFelement can also batch apply a crop template across multiple PDFs efficiently. -
Can I adjust/undo a crop later?
Yes, you can modify or undo a crop by reopening the Crop Pages tool and adjusting the insets before saving the PDF. PDFelement provides similar flexibility for page-level and image-object edits. -
How do I keep dimensions/scale correct after cropping?
Ensure scale bars and reference dimensions are visible before cropping and check them after applying the crop for accuracy. PDFelement can adjust page size and margins to maintain print-safe scaling. -
When is a region snapshot better than a full-page crop?
Use a region snapshot when you need only a specific detail or area for RFIs, markups, or presentations without altering the full page. PDFelement allows cropping image objects directly, providing extra control for isolated elements.
Conclusion
To wrap it up, this article provided a detailed guide on how to crop a PDF in Bluebeam. The article also covered how to use Crop Pages to adjust what prints and Snapshot to capture and reuse focused regions efficiently. For large projects, repetitive batches, or precise image-object edits, it's helpful to complement Bluebeam with a template-driven PDF crop workflow.
Tools like PDFelement make it easy to apply consistent crops, maintain clean layouts, and prepare drawings, details, and labels that are ready for review or print.
G2 Rating: 4.5/5 |100% Secure

