Getting Started with Adobe Fill and Sign on MacBook: A Beginner's Guide
2024-09-04 17:59:33 • Filed to: Signature Tips • Proven solutions
In today's digital world, filling and signing PDFs on your MacBook is super important. We all deal with PDFs - from contracts to forms. And let's face it, it's a hassle to print them out. It takes time to sign it by hand and scan it back. That's where PDF tools like Adobe fill and sign come in. They make it easy to do all this digitally. It saves you time and paper. Plus, mastering these skills is a smart move as the need for efficient PDF tools keeps growing.
This guide will show you how to use Adobe fill and sign for Macbook. We'll also explore an alternative to make your MacBook PDF game strong.
Part 1. What Is Adobe Fill and Sign for MacBook
Adobe for MacBook is a user-friendly software designed to simplify working with PDF documents on your Apple computer. It's a versatile, highly valuable tool across various industries and sectors. Take a look at its functions:
- Easy Document Filling: Adobe allows you to quickly and effortlessly fill in PDF forms. You can do it all digitally, whether it's a job application, registration form, or tax document.
- Effortless Signatures: Say goodbye to printing, signing, and scanning. You can add your signature directly to the PDF with Adobe Fill and Sign. This can save time and resources.
- Text Annotation: Make notes and comments on PDFs with ease. Whether you're reviewing a contract or providing feedback on a report, this feature simplifies the process.
- Multiple Document Formats: It's compatible with various document formats. It ensures you can work with a wide range of files without hassle.
Adobe Fill and Sign for Macbook features also provide benefits in different industries:
- Business: Streamline your document workflows and reduce paper clutter. Send contracts for e-signatures, approve invoices, and handle paperwork efficiently.
- Education: Teachers can use it to distribute and collect assignments digitally. No more lost or illegible papers.
- Healthcare: Healthcare professionals can fill out patient forms, consent forms, and medical records electronically. This will enhance patient care and reduce administrative burdens.
- Real Estate: Agents can complete and sign contracts electronically. This makes property transactions smoother and more convenient.
- Legal: Law firms can digitally sign and annotate legal documents. It can also improve collaboration and document management.
- Government: Government agencies can process permits, applications, and forms more efficiently. This can reduce paperwork and wait times.
Adobe Fill and Sign for MacBook is a versatile feature that simplifies document management. It also saves time and resources in various sectors. Its intuitive interface and straightforward features make it an excellent choice for anyone looking to enhance their PDF workflow.
Part 2. How To Fill and Sign PDFs Using Adobe Acrobat on MacBook
To start using Adobe Acrobat on your MacBook for filling and signing PDFs, follow these simple steps:
Step 1. Begin by opening Adobe Acrobat on your MacBook. You can typically find it in your Applications folder or by searching for it using Spotlight.
Step 2. Use the toolbar at the top to select "File" > "Open," and locate the PDF document you want to work on.
Step 3. Once your document is open, you'll see a menu on the right side. Select "Fill & Sign" from this menu. Alternatively, you can choose the "Sign" icon in the toolbar.
Step 4. To add text to your PDF, click on the area where you want to insert text. You can adjust the text's size, color, and font. If necessary, you can also drag the text box to reposition it.
Step 5. Continue filling out the rest of your form, adding text to the required fields.
Step 6. To sign the document, choose "Sign yourself." A signature box will appear; click inside to create your digital signature. Once done, click "Apply" and then "Next."
Step 7. It's a good practice to save your filled and signed document as a read-only copy to prevent further modifications. Select "Save as a read-only copy" to do this.
Step 8. You can generate a shareable link to share the document with others. Click "Get a shareable link" and follow the prompts to create a link to share with collaborators.
With these straightforward steps, you can efficiently fill and sign PDF documents using Adobe Acrobat on your MacBook. This tool simplifies working with digital documents, making it a valuable resource for various tasks and industries.
Part 3. PDFelement for Mac: Best Alternative for Adobe Fill and Sign for MacBook
If you're seeking an alternative to Adobe Fill and Sign for MacBook, look no further than PDFelement for Mac. This user-friendly software offers an efficient solution for filling out and signing PDF documents. These make it a valuable choice for various tasks.
PDFelement for Mac is a top choice because it simplifies the process of working with PDFs on your MacBook. Here's why it's a valuable option:
- Easy to Use: PDFelement features an intuitive interface that's easy to navigate. You don't need to be a tech expert to effectively fill out and sign PDFs.
- Powerful Editing Tools: PDFelement also allows you to edit PDFs with ease. You can add or delete text, images, and pages. This makes it versatile for various document-related tasks.
- Annotation and Comments: Annotate your PDFs with highlights, notes, and shapes. This feature is handy for collaboration and feedback.
- Advanced Security: PDFelement offers advanced security options. This includes password protection and encryption to keep your documents safe.
- OCR Technology: The OCR technology lets you convert scanned paper documents into editable, searchable text.
- Cross-Platform Compatibility: PDFelement works seamlessly on both Mac and Windows. It also works with Android and iOS devices. It provides flexibility for users who work across different platforms.
- Free Trial: Readers can explore PDFelement for Mac with a free trial. This allows you to experience its features. It helps you to determine if it meets your needs before purchase. It's an excellent way to test the software's capabilities. You can see how it can streamline your PDF workflow on your MacBook.
PDFelement for Mac is a robust alternative to Adobe fill and sign feature. It offers user-friendly features, powerful editing tools, and advanced security options. PDFelement simplifies the process while maintaining document integrity. Give it a try with the free trial to see how it can enhance your PDF document management on your MacBook.
How To Fill and Sign PDFs Using PDFelement for Mac
Filling out PDF forms with PDFelement for Mac is a breeze. You may encounter two types of PDF forms: interactive and non-interactive. Here's how to fill both types:
Interactive Forms
Step 1. Launch PDFelement for Mac and open the interactive PDF form you want to fill out.
Step 2. Click on the fillable fields or boxes within the form to add your information. You can easily input text like your name, address, or required details.
Step 3. After you've filled in the form, save your changes. Click "File" and then select "Save" from the menu. Your filled-out form will be saved to your chosen folder.
Non-Interactive Forms
Step 1. If you're dealing with a non-interactive PDF form (no clickable fields), click on the "Form" option in PDFelement's menu.
Step 2. Select the "Text Field" option from the Form menu. Click on the area of the form where you want to add text. A text field will appear, allowing you to type in your information.
Step 3. Once you've completed the form, remember to save your changes as mentioned above. This ensures that your filled-out non-interactive form is stored for future reference.
PDFelement for Mac also offers a variety of ways to sign PDF documents. You can protect or approve content with images, handwritten, electronic, and digital signatures.
Image Signature
Before you add your image signature, let's learn how to include a personal touch to your PDF documents.
Step 1. Click the "Markup" button on the Main Toolbar.
Step 2. Select "Signature" on the Secondary Toolbar.
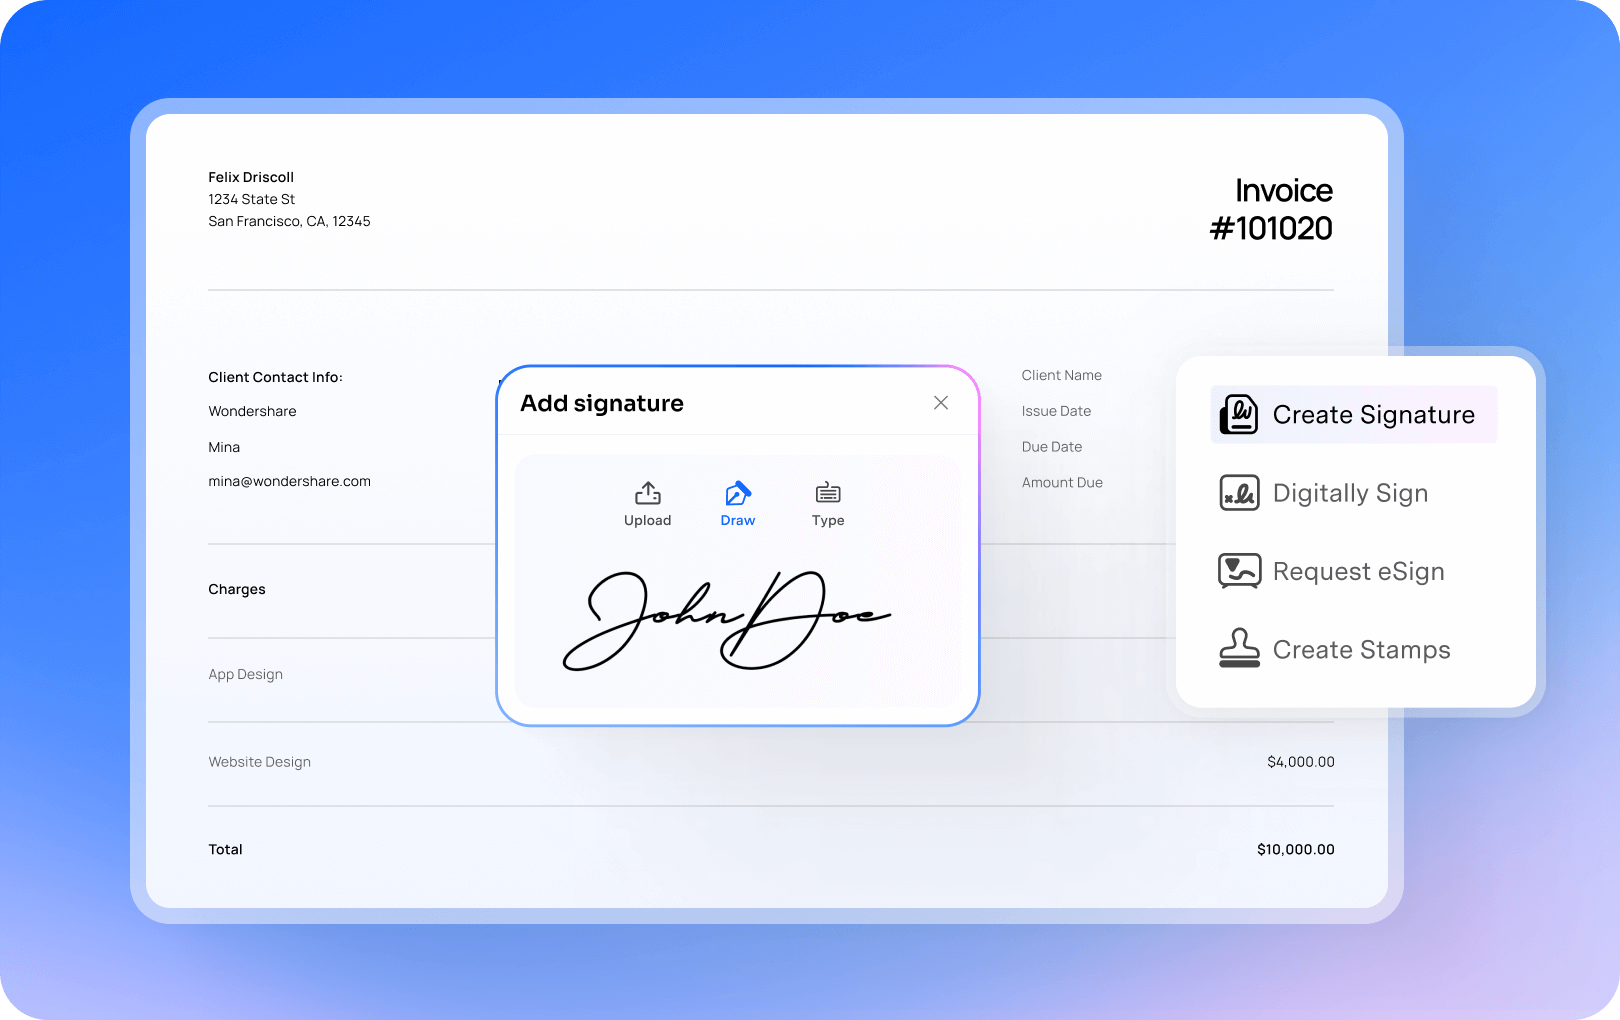
Step 3. Click "Create Signature" on the right pane.
Step 4. Upload your signature image.
Step 5. Choose the signature image from your computer.
Step 6. Sign your PDF by placing the image where needed.
Handwritten Signature
Adding a personal touch to your documents is easy. Let's explore how to create a handwritten signature.
Step 1. Click "Markup" > "Signature" > "Create Signature."
Step 2. Use your mouse to create your handwritten signature.
Step 3. Sign your PDF with the created signature.
Electronic Signature
Electronic signatures offer a quick and convenient way to sign documents digitally. Here's how to create one.
Step 1. Click "Markup" > "Signature" > "Create Signature."
Step 2. Use your Mac's trackpad to create your electronic signature.
Step 3. Sign your PDF using the electronic signature.
Digital Signature
For added security and authenticity, digital signatures are your go-to. Let's set up a digital signature in PDFelement.
Step 1. Open PDFelement Professional for Mac.
Step 2. Click "Form" > "Digital Signatures."
Step 3. Create a digital signature field.
Step 4. Change the signature settings.
Step 5. Others can add digital signatures by clicking "Sign Here" and selecting a digital ID.
Step 6. Create a self-signed Digital ID if needed.
Step 7. Customize the style of your digital signature.
Step 8. Click "Sign" and save the file with the digital signature.
Send PDFs for eSignatures
Sending PDFs for eSignatures with PDFelement for Mac is a breeze. This feature simplifies the process of requesting and collecting electronic signatures from multiple recipients in a secure and legally compliant manner. Here's how:
Step 1. Open PDFelement on your Mac and load the agreement.
Step 2. Click "Request eSign" under the "Protect" tab.
Step 3. In the popup, add recipient emails and set the signing order.
Step 4. Personalize the email message if you like.
Step 5. Configure email sending order and reminders.
Step 6. Add fillable fields like Signature, Date, Title, and Company and assign them to recipients.
Step 7. Click "Send" to dispatch the agreement to recipients.
Signing PDF Agreements
When you receive a PDF agreement through PDFelement's Request eSign feature
A. Using PDFelement Desktop Application
Let's see how you can sign agreements effortlessly using PDFelement's desktop application.
Step 1. Launch PDFelement and find the "Waiting for me" agreement in the Agreement panel.
Step 2. Double-click to start signing.
Step 3. Identify signature fields and choose your signing method (image, mouse, or trackpad).
Step 4. Click "Done" and confirm your signature.
Step 5. Follow the on-screen prompts to finalize.
B. Using Email Link
When you receive agreements via email, follow these steps to sign them quickly and efficiently.
Step 1. Access the agreement through the provided link in the email.
Step 2. Agree to the terms and click "Continue."
Step 3. Find the "Signature/Initial" field and add your signature (type, upload, or draw).
Step 4. Save your signature and download the agreement.
Conclusion
Mastering PDF document tasks on your MacBook is simpler than ever with PDFelement. Whether filling out forms, adding your signature, or collaborating on agreements, this user-friendly software covers you. Plus, the option for a free trial lets you try it out risk-free. Boost your productivity and efficiency with PDFelement for Mac today!
Free Download or Buy PDFelement right now!
Buy PDFelement right now!
Up to 18% OFF: Choose the right plan for you and your team.
PDFelement for Individuals
Edit, print, convert, eSign, and protect PDFs on Windows PC or Mac.
PDFelement for Team
Give you the flexibility to provision, track and manage licensing across groups and teams.
Audrey Goodwin
chief Editor
Generally rated4.5(105participated)