Want to insert an added layer of security? Sign password protected PDF and keep your files and data safe from prying eyes. It can be frustrating when you have the document in front of you but can't access it. That's where signing a PDF comes into the picture. It enhances the document's credibility and makes it safe and secure.
However, signing a password-protected PDF can be tricky without help, and it is not always native to basic PDF viewers. While most PDF applications include a signing feature, only a few can actually sign a password-protected file.
So, have you ever encountered a password-protected PDF you needed to sign but didn't know how? Here's a comprehensive guide on how to carry out the process with offline and online applications. Read the instructions carefully and get it done in the least possible time. The guide also outlines some limitations of password-protecting a PDF, which is why you should prefer signing it. Without further ado, let's get into it.
In this article
Part 1: Limitations of a Password-Protected PDF
Before we dig deeper into the guide on how to sign a locked PDF, let's first learn about some drawbacks of password-protecting the PDF file here. Password-protecting a file may seem like a good idea at first. After all, it adds an extra layer of security to your data. But there are also some disadvantages to password-protecting a file that you should be aware of before you decide to do so. Check them out and evaluate why you should sign a locked PDF to strengthen the safety of the file.
● When you password-protect a file, it can only be opened and edited by someone who knows the password. This can be a disadvantage if you need to share the file with multiple people, as not everyone can access it. Additionally, if you forget the password, you may be unable to open the file and lose it forever.
● Password-protected files can be more challenging to share with others. If someone else needs access to the file, they must know the password. This might challenge the integrity of your security codes while helping others know your pattern of setting a passcode.
● Such files can be more difficult to open on different devices. If you are trying to open a password-protected file on a device that does not support password protection, you may not be able to access it at all.
Owing to all these reasons, it becomes vital to sign password protected PDF to enhance its security. Keep scrolling the page and find out how you can carry out this process without putting in much effort.
Part 2: How to Securely Sign a Password-Protected PDF in 3 Stages?
Signing a password-protected PDF isn't as difficult as it may seem, providing that you use the right tool to execute the process. While the internet has tons of options to offer, we directly recommend Wondershare PDFelement - PDF Editor Wondershare PDFelement Wondershare PDFelement for various reasons. This tool is a one-stop platform to handle all PDF-related functions in one place.
This tool is widely appreciated for its simple yet powerful interface, making it ideal for both beginners and professionals. With PDFelement, you can securely sign a password-protected PDF in three simple stages. First, you need to unlock the PDF file, use the digital or handwritten signature, and edit and save the signed PDF file. But before you initiate the process, you must download the tool and follow the on-screen instructions to install it.
So, what are you waiting for? Proceed to the step-by-step guide to sign protected PDF using Wondershare PDFelement, and get it done in a few clicks. Do not skip any steps to avoid the last-minute hiccup.
Stage 1: Unlock the Password Protected PDF
Step 1 First, launch the tool on your system and click the Open PDF button in the left pane. A file explorer window will appear on the screen from where you can choose the PDF file to import. Alternatively, you can drag and drop the file for quicker access.
Step 2 Since the PDF is locked or password-protected, you must enter the security code to access the file. Make sure you add the correct passcode to avoid any trouble later on. If you have set a preset password, then tick the checkbox located next to Preset Passwords and access the file. Once you have entered the security code, click Ok and move to the next step.
Step 3 As soon as you gain access to the locked PDF, go to the toolbar and click the "Protect" button. A sub-menu will appear on the screen where you need to choose the "Set Password" option.
Step 4 A dialog box will appear on the screen, reflecting the fields of Open and Permission Password. Uncheck these boxes, and click the Save button at the bottom to unlock the PDF file permanently.
Stage 2: Sign Your Unlocked PDF
Now that you have unlocked the PDF file, it's time to move to stage 2, to sign the protected PDF. Users can sign the PDF file in two ways. They can either use the digital signature method or go with the handwritten signature for added security. Read on to find the detailed description of both methods here.
Method 1: Add a Handwriting Signature to the PDF
A handwritten signature is always preferred over a digital one, as it is more personalized and secure than its counterpart. You can easily create your signature by drawing, typing, or uploading pictures. To create a signature, go to the Comment option in the toolbar and tap the Signature icon from the sub-menu.
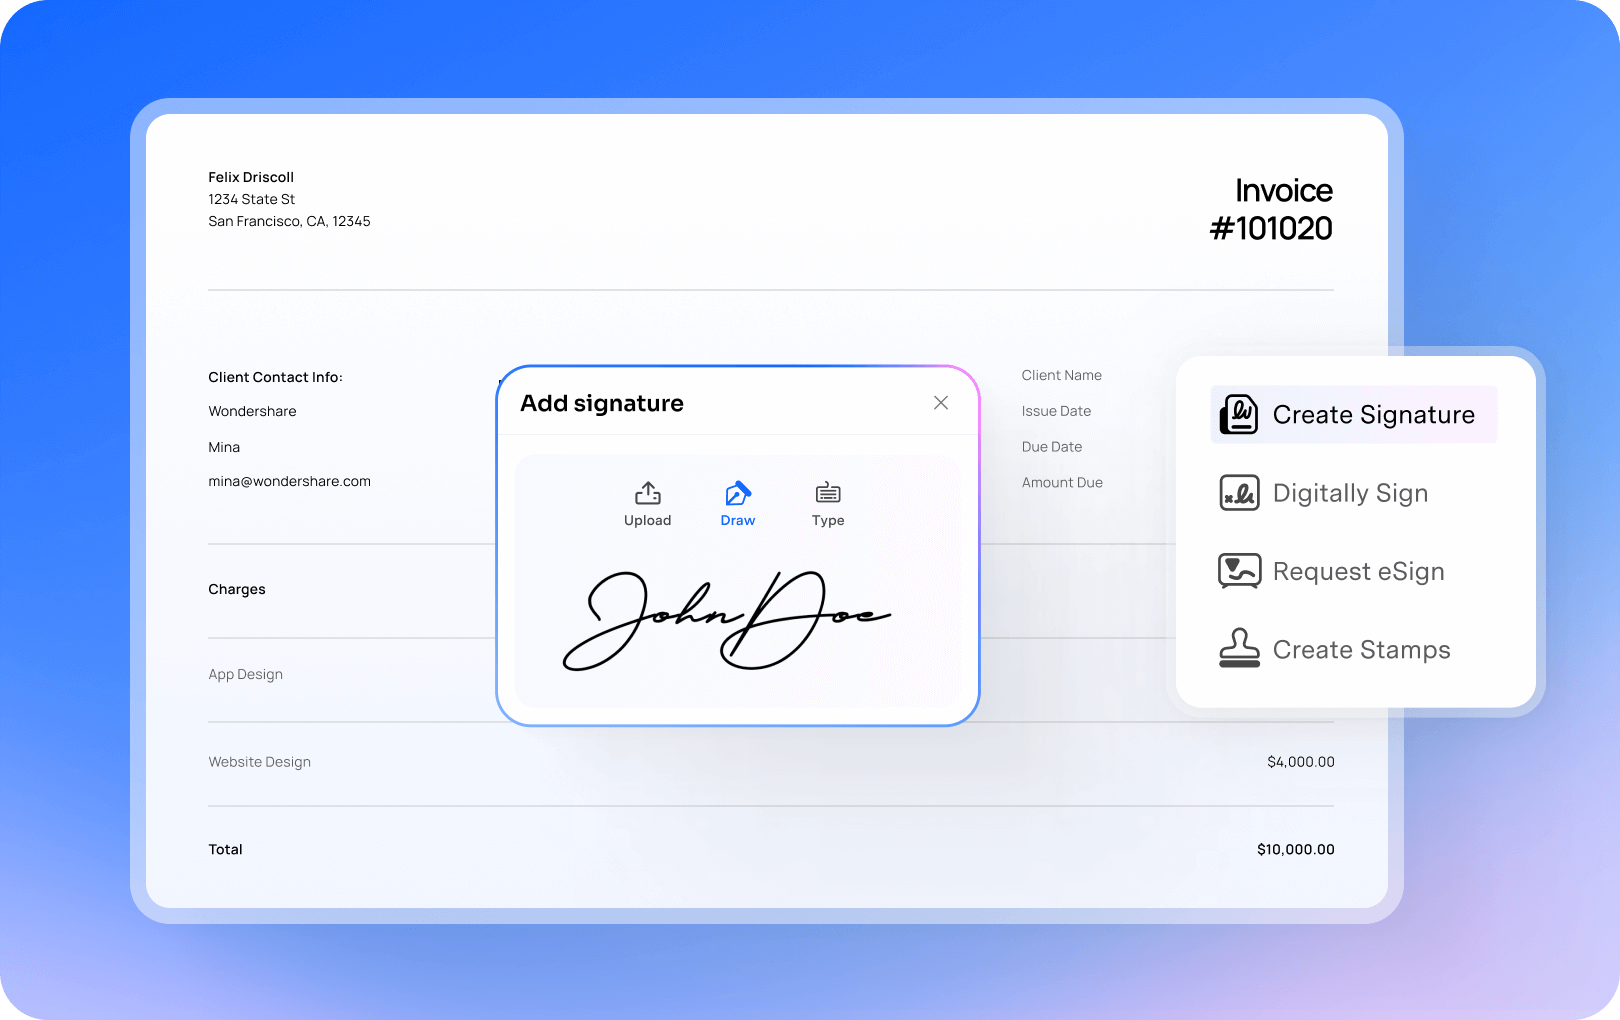
This feature will then give three different options for creating the handwritten signature, namely Upload, Draw, and Type. You can pick any of these based on your choice.
If you want to import an image, then click the Upload button and tap the "Choose Image" option to import an image signature saved on your PC. Once you are done uploading, click the OK button to save changes.
If you wish to type something to create a personalized signature, then click the Type button and enter your signature manually. When creating the handwritten signature, you can select your favorite fonts from the fonts list and choose a color. Once you are satisfied with whatever you have typed, click the Ok button to save changes.
In addition, you can click the Draw button to draw your name or anything you want to select as your signature. You can also select among different colors to make it unique and appealing.
Method 2: Add a Digital Signature to PDF
Do you find creating a handwritten signature time-consuming? Don't worry, and you can skip that part and opt for Digital signatures to save time. These signatures contain your name, email id, serial number, expiration date, and the name of the organization. Here's how you can create them.
Step 1 Go to the Protect option in the toolbar and select the "Sign Document" tab from the sub-menu.
Step 2 A dialog box titled, Sign Document, will pop up on the screen, where you need to fill in certain fields, such as Sign As, Password, Reason for signing, Location, Certificate Issue, and Appearance. Once you are done adding these details, click the Sign button to add a digital signature to the PDF. You can also click the checkbox saying "Lock Document After Signing" to password-protect the document again.
Step 3Most users confuse about what they should add in the "Sign As" field mentioned above. Here, you'll be required to add a digital ID. If you don't have one, then click the "New ID" option to create the digital ID first. A dialog box will appear on the screen where you'll be prompted to enter the digital id from a file. To upload the existing ID, click the Browse button and upload an ID instantly. After that, enter the password, and click the Next button to move further.
Step 4 However, if you don't have any ID, then tick the checkbox, saying "I want to create a new digital ID," and a new page will appear on the screen. You can create a new ID with your name, email address, company name, etc. Once you are done creating your ID, it will again take you to the "Sign Document" pop-up, so you can complete the sign password-protected PDF process.
Stage 3: Edit and Save the Signed PDF
Last but not least stage of the process is to edit and save the signed PDF. Editing in the signed PDF is entirely optional. You can make several modifications to the PDF file if required. These editings include adding texts, images, links, watermarks, changing backgrounds, adding header and footer, and much more to count.
To edit the file, click the Edit option from the toolbar and use any editing option from the sub-menu.
Once you are done making changes, expand the File menu and click the Save or Save As option to export the signed PDF file to the specific location.
That's all about how to sign a locked PDF using Wondershare PDFelement. While this desktop application is easy and safe to use, PDFelement won't give you the freedom to use it from anywhere. But there's no need to worry about it, as you can move to the online tools as well to carry out the process. Read on to find out how to sign locked PDF files online.
Part 3: How to Sign Locked PDF Files Online?
To sign locked PDFs online, turn to the HiPDF tool and add a signature to your password-protected PDF file in a few clicks. This one-stop PDF solution is simple to use and lets you perform various PDF-related functions under one roof. It is home to 39 different tools to handle your PDF files easily and efficiently.
The best thing about HiPDF lies in its security. This award-winning tool takes care of the safety of your files, so you can use it without worrying about anything. Signing a locked PDF using HiPDF is divided into two stages. First, you need to unlock the file, and then you can add the signature.
Want to get started? Here's a comprehensive guide outlining the step-by-step instructions to sign password-protected PDF using HiPDF. Let's have a look.
Stage 1Unlock PDF
Open the HiPDF tool in the web browser and click the "All Tools" tab from the top right corner. Select the "Unlock PDF" option and move further. Click the "Choose File" option to add the locked PDF file to sign.
Now, enter the password to open the PDF, and tap "Unlock" to begin the unlocking process. It may take a few seconds to complete it. Tap the Download button to save the unlocked PDF to your system.
Stage 2Sign PDF
Now that you have unlocked your PDF file, it's time to add a signature. For this, select the Sign PDF option and proceed next. There, tap the Choose File button to import the PDF file (the same file that you unlocked in the previous step) to sign.
Once you are done uploading, you'll find three options to add a signature, Type, Draw, and Upload. Pick any of these options to create a unique signature for your PDF. Add the signature to the document as required and select the Download button to save the signed PDF.